2005-10 CHEVROLET COBALT |
||||||||||||||||||||||||||||||||||||||||||||||||||||||||
|
Download this guide as a PDF Document.
Or, if you are installing a MOMO handle, download this one.
For automatic shift boot installation, please click here.
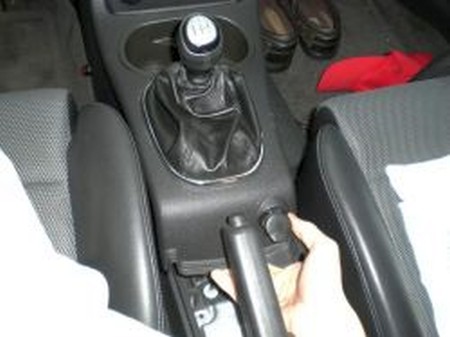
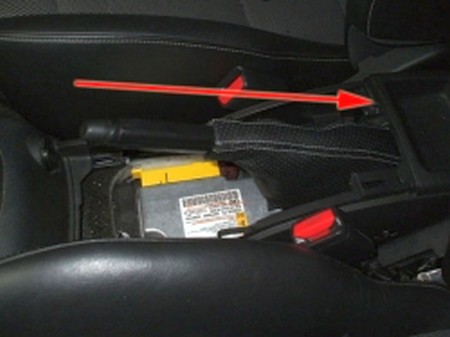
1. Remove plastic bezel that surrounds e-brake by pulling up on the sides gently. |
 |
|
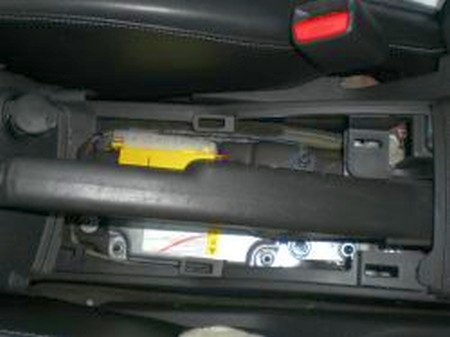
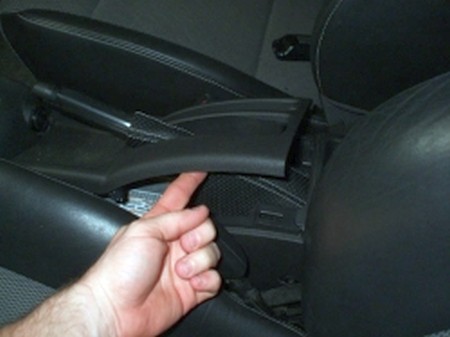
2. Then lift up on the bezel that surrounds the shifter but do not remove. (It was easier for me to also remove the cupholder to help get under it. |
 |
|
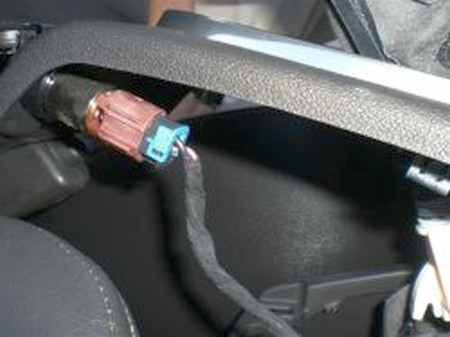
3. Once the bezel is loose, you must disconnect the electrical connectors to the accessory input by the e-brake and the cigarette lighter by pushing down on the clips and pulling out at the same time. |
 |
|
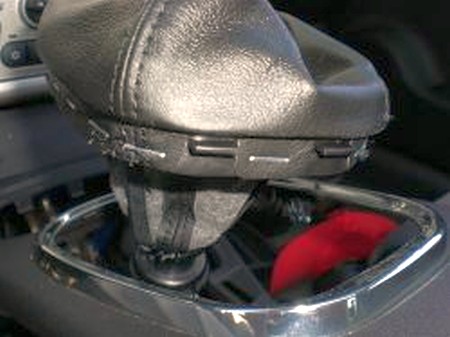
4. Now disconnect the shift boot from the surrounding bezel by reaching under and pushing inward on the clips on the dash-end of the boot and upward to release. Then lightly pull toward the dash and work the boot loose but do not attempt to remove the boot entirely. |
 |
|
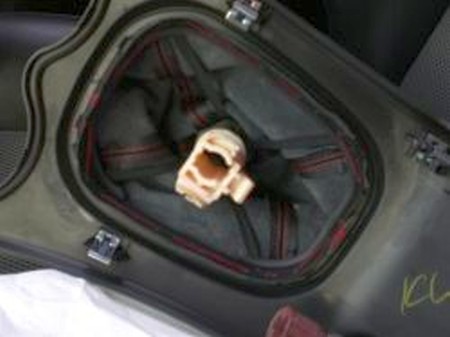
5. Now remove the bezel surrounding the shift boot. You may need to maneuver the shift boot to slip through the hole in the bezel. |
 |
|
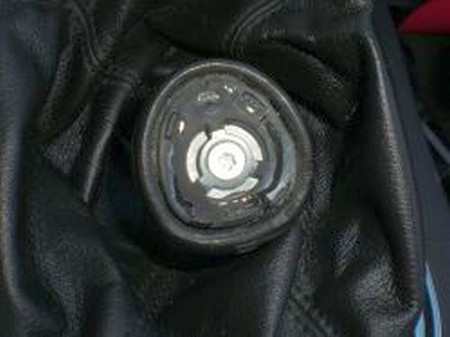
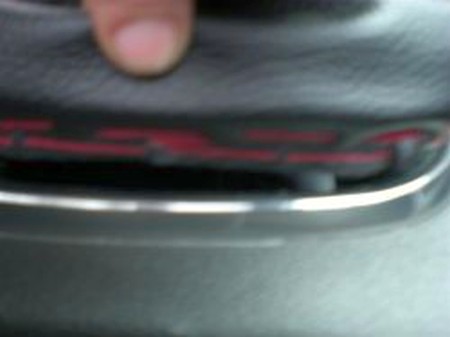
6. Now place the shifter in 4th gear and remove the silver shift knob plastic to reveal a T20 Torx screw. Be careful not to break the plastic tabs that hold down the plastic piece or you will have to find another way to reapply the plastic to the shift knob. Remove the screw. |
 |
|
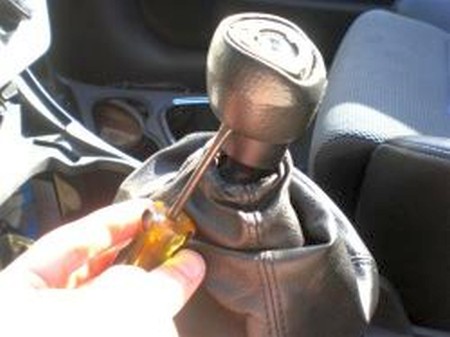
7. To remove the shift knob, insert two flat head screwdrivers of medium size into opposite ends in the bottom of the shift knob and pry it upwards and off. A good amount of force must be used, and any grinding/cracking sound is most likely the screwdrivers slipping against the grooves on the metal of shifter. Alternate positions if its giving you trouble. |
 |
|
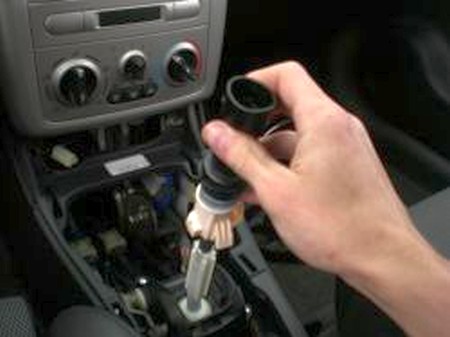
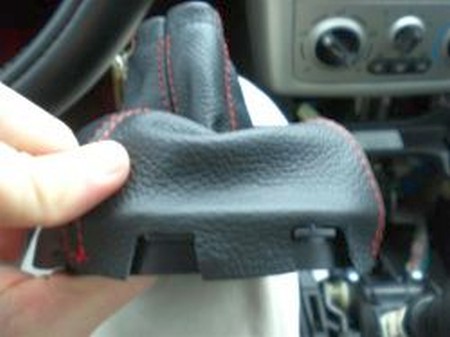
8. Once the shift knob is off, remove the spring/spring foam & the old shift boot. The plastic piece on the shifter will come off as well. |
 |
|
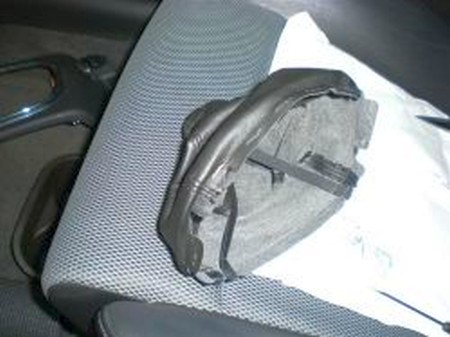
9. 9. Notice the staples on the base of the old shift boot that secure it to the plastic boot bracket. Remove the staples by prying them out with a flathead screwdriver. |
 |
|
10. Once they are all off and the old boot removed from the bracket, place the new boot over the bracket and align the boot correctly with the clips. You may need to trim the boot a little to make it fit perfectly. If you chose leather for your boot, you might need to skive the bottom of the leather so it has a better change of fitting between the boot bracket and the bezel. It is easiest dane with coarse sandpaper. Make sure to file down from the inside of leather. |
 |
|
11. To secure the boot to the boot bracket, you can staple or replace factory staples, or glue. |
 |
|
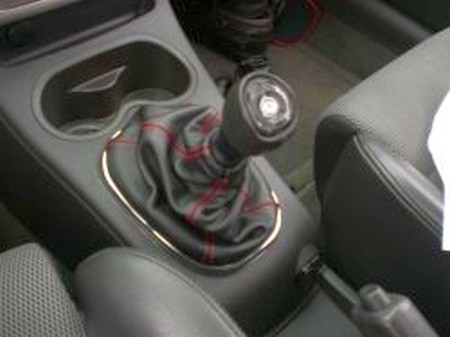
12. Now install the boot/boot bracket into the bezel and slide the plastic through the boot. Be sure to align the boot neck into the groove on the plastic piece. |
 |
|
13. Put the bezel back into place and reconnect the two electrical connectors and push the bezel in to secure it. |
 |
|
14. Mount the spring/foam back on the shifter and reseat the knob. It may take a little force but you’ll get it done. Tighten the torx screw, and reapply the silver cap. Done! |
 |
|
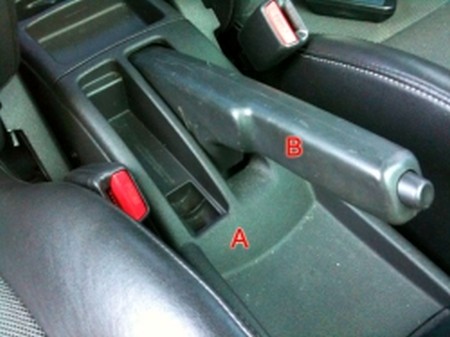
15. Lift the e-brake in its upright position and begin this installation by removing the e-brake bezel (A) as well as the handle cover (B). The bezel is held in place by metal snap fittings. A light tug and the panel will pop up. Push the manual shifter (if applicable) forward to provide enough space to slide the e-brake bezel forward and up. The e-brake handle cover can be removed by pressing the plastic tab on the bottom and sliding the cover off. |
 |
|
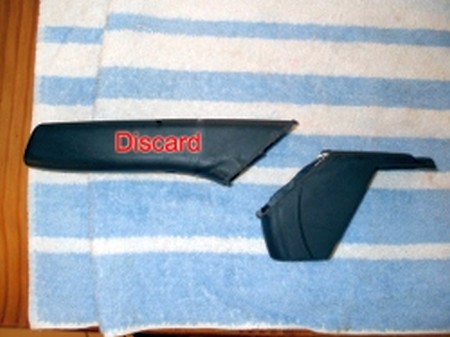
16. Cut the e-brake handle cover as shown and discard the front portion as it will not be needed for this installation. |
 |
|
17. Slide the portion of the e-brake handle cover that we just cut onto the e-brake handle as shown. |
 |
|
18. Slide the new e-brake boot onto the e-brake handle as shown. The boot will cover the plastic e-brake handle cover that we installed in the previous step. |
 |
|
19. Re-install the e-brake bezel by sliding it over the handle and boot and secure it by pressing down. Ensure that you hear the metal clips snap into place. That’s it! Test that the e-brake boot doesn’t snag by extending and releasing the e-brake a couple of times. Also ensure that the operation of the e-brake is not restricted. Make necessary adjustments accordingly. |
 |
|
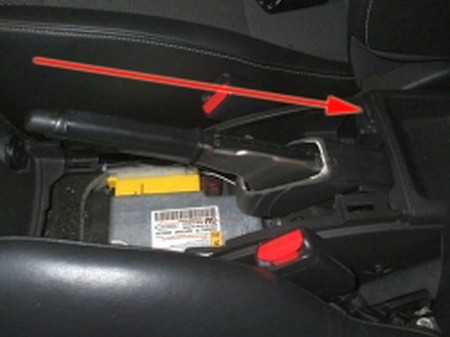
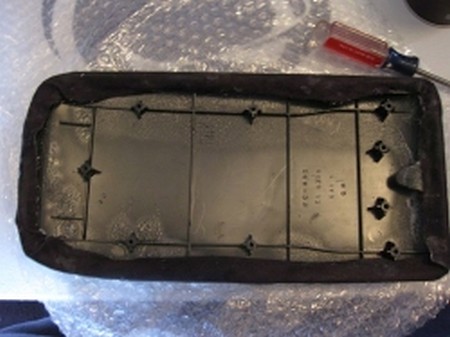
20. Remove arm rest lid by the 2 Philips screws on the hinge. |
 |
|
21. Remove the 7 philips screws holding the lid to the plastic under cover. |
 |
|
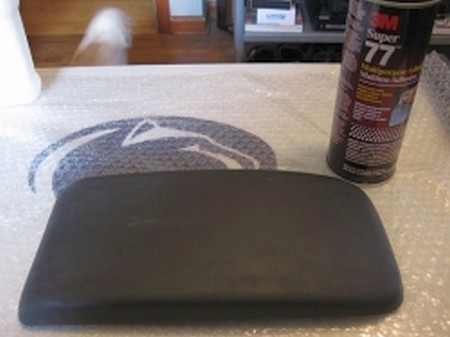
22. Using spray adhesive, I used 3M super 77 adhesive, cover the top of the lid completely with 2 coats.
BE AWARE!!! this stuff is sticky as hell and gets on everything so use a garbage bag or something to cover your work area. |
 |
|
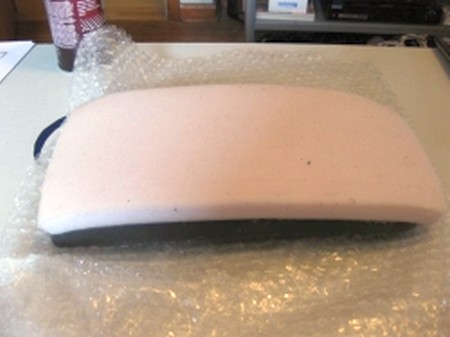
23. Place the padding on top the the deck lid lining it up as you press down. I worked from front to back. |
 |
|
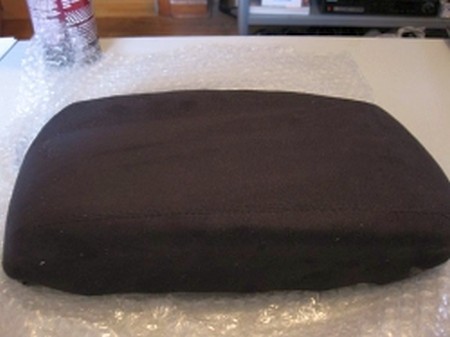
24. Place the cover over the padding lining up the stiching on the sides so its even. NOTE*** let the glue from step 3 dry for appox 30 mins so it doesnt stick to the material and get everywhere. |
 |
|
25. Once you have the cover aligned where you want it, use the 3M super 77 adhesive again and spary the underside of the material and some of the underside lid. Then pull the material over the lip of the lid and press it on the adhesive. It make take a few times till the adhesive becomes tacky enough to hold by itself.
26. Work out all the wrinkles (I had none) and folds in the corners and press down on the material assuring a firm bond between material and lid.
27. Reinstall in reverse order of removal |
 |
|
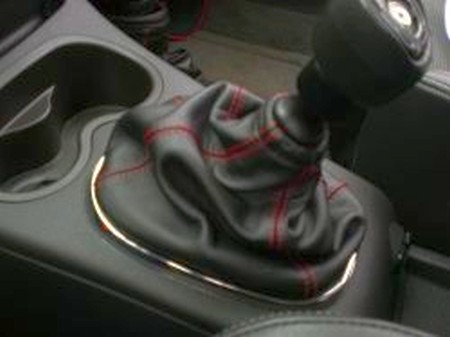
ENJOY YOUR NEW LEATHER BOOTS! |
|
|
Useful tip You have installed a product made out of genuine leather. As you know, to maintain a leather product in good condition, you should take care of it. We suggest occasionally (every 4-6 week for example) applying some leather conditioner/UV protector to keep your leather from drying up in the sun and cracking. |
|
Please subscribe to our newsletter.
Get an instant 20% discount and enter our montly $100 CASH sweepstakes!