2011-18 HYUNDAI VELOSTER |
||||||||||||||||||||||||||||||||||||||||||||||||||||||||||||||||||||||||||||
|
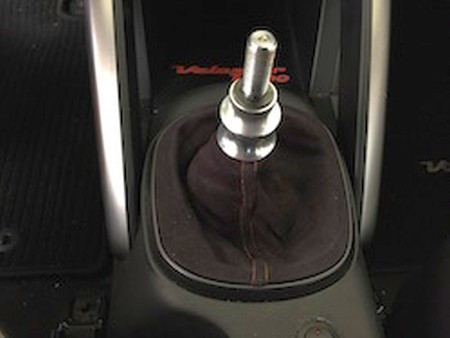
MANUAL SHIFT BOOT |
 |
|
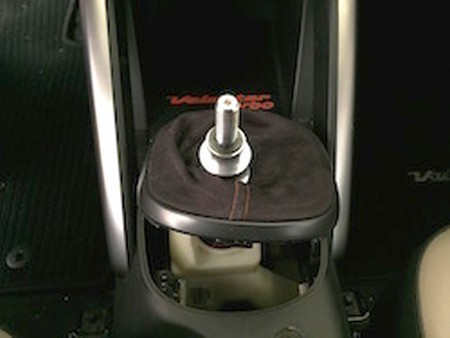
2. Remove Trim Ring by pull up on ring. |
 |
|
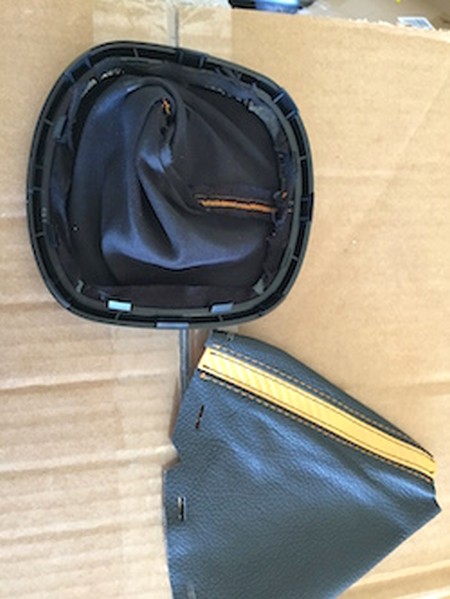
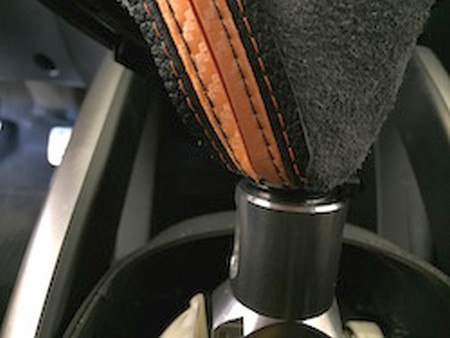
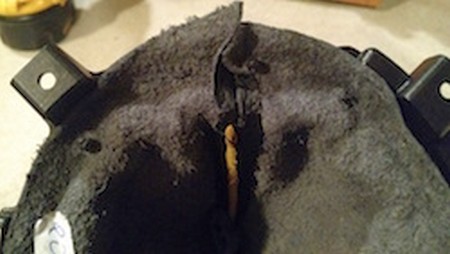
3. Remove Boot from shifter assembly/shift knob. |
 |
|
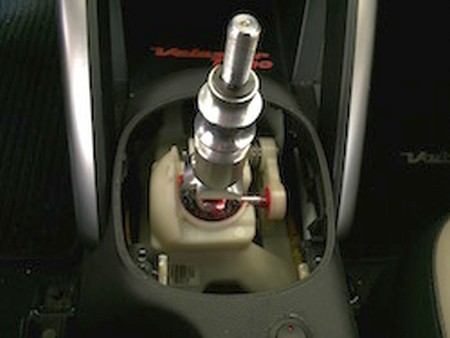
NOTE: If your shifter is this setup as seen on the picture to the right, the procedure for removal is different: |
 |
|
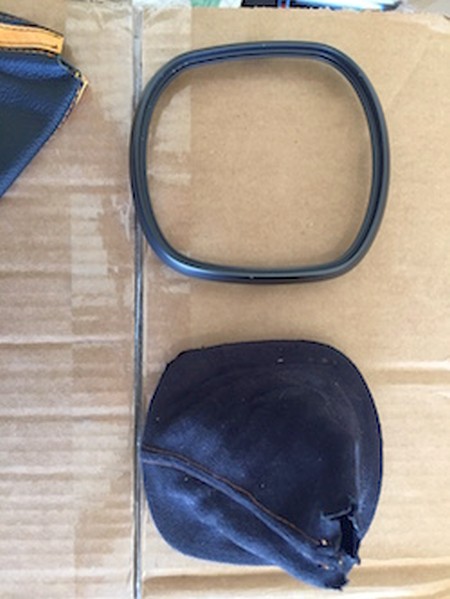
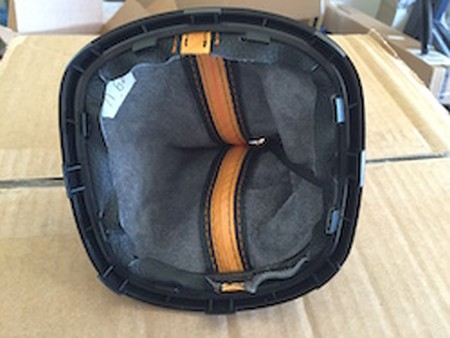
4. Separate Trim Ring from Shift boot inner retention ring by pressing in clips. |
 |
|
5. Trim Ring and Retention Ring Separated |
 |
|
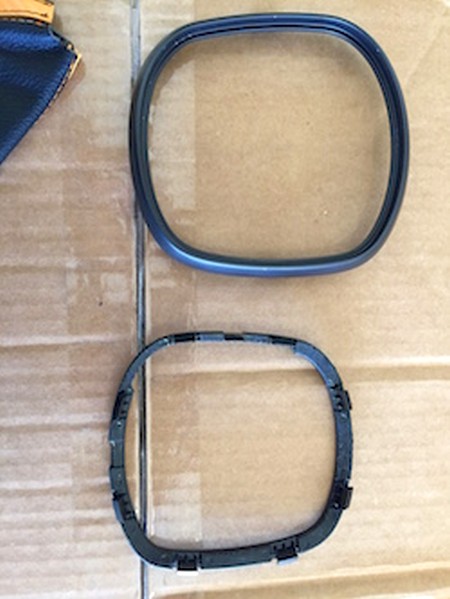
6. Remove Shift boot from retention ring. |
 |
|
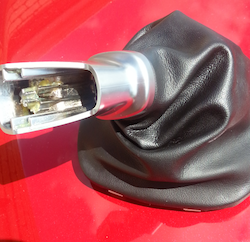
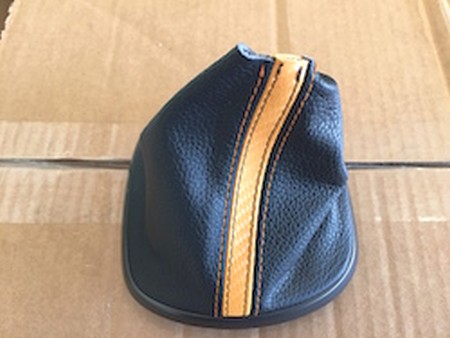
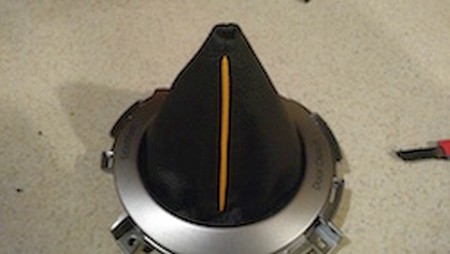
7. Install Redline Goods Shift Boot on retention ring by lining up pre-cut holes. |
 |
|
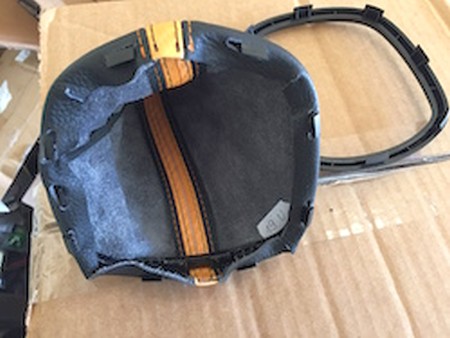
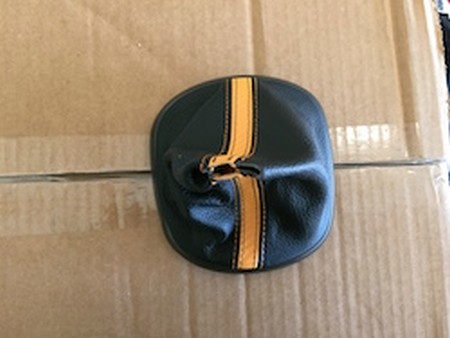
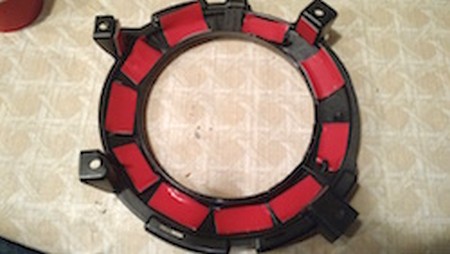
8. Install Retention Ring into Trim Ring. |
 |
|
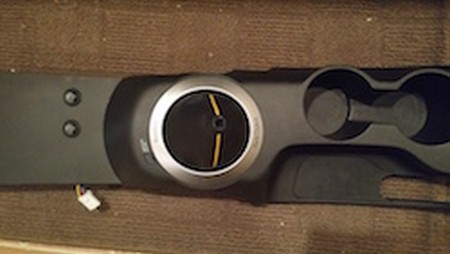
9. More pictures detailing this... |
 |
|
10. ... and the last one. |
 |
|
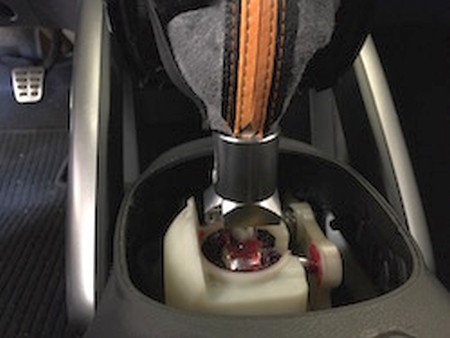
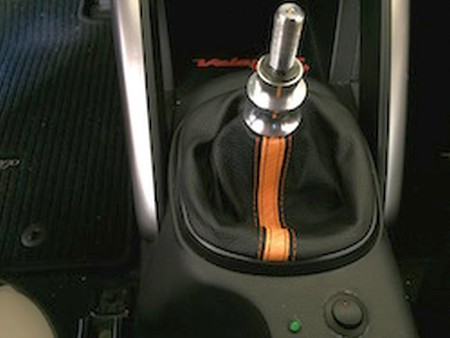
11. Turn shift Boot inside out and install on Shift arm |
 |
|
12. Secure with a zip-tie |
 |
|
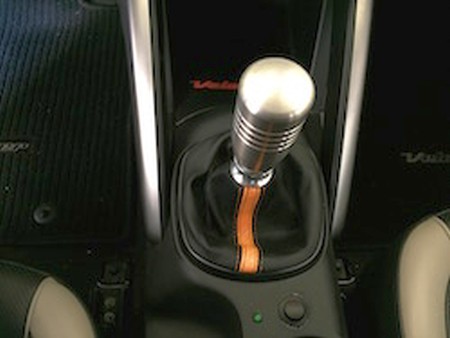
13. Install Trim ring and boot back into center console. |
 |
|
14. Install Shift knob. |
 |
|
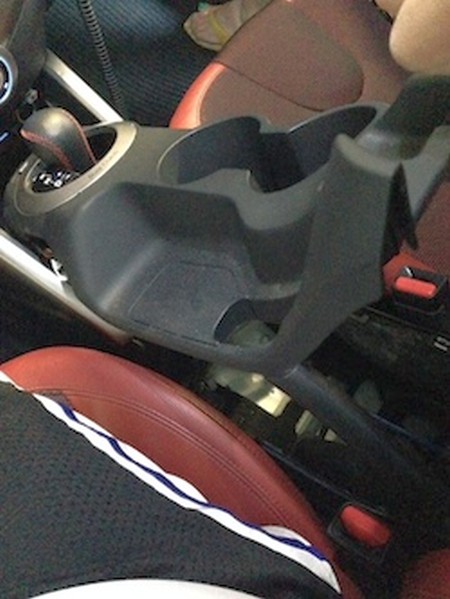
AUTOMATIC SHIFT BOOT
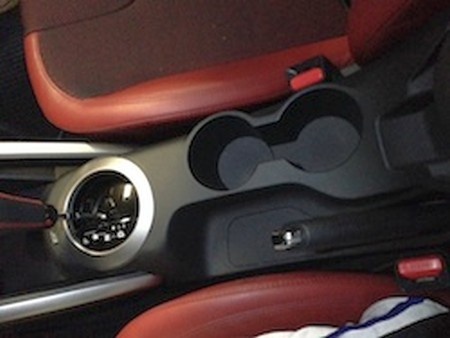
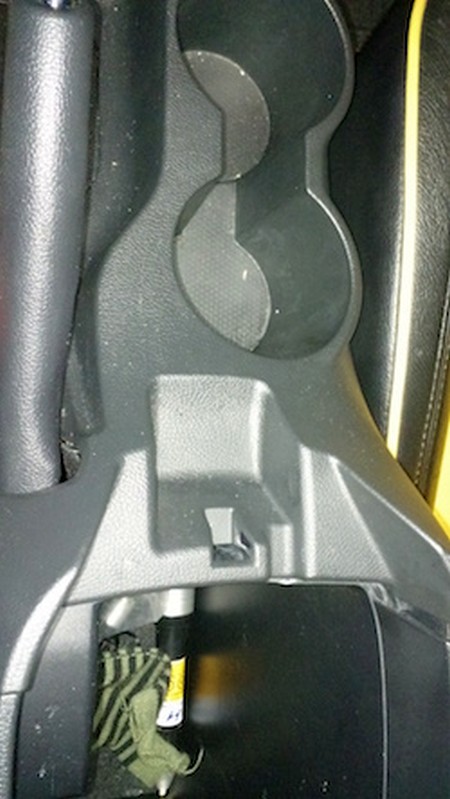
2. Open the center console completely then you should be able to pop out the plastic centerpiece where the cupholders are from the further back end near the console. |
 |
|
3. Pull the handbrake all the way up and put the car in neutral. |
 |
|
4. Remove the entire center console. |
 |
|
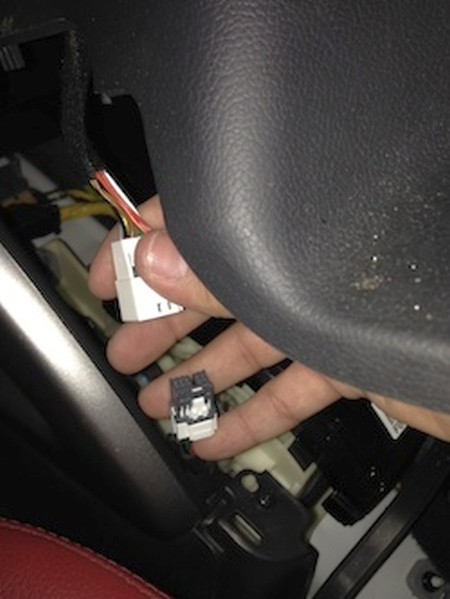
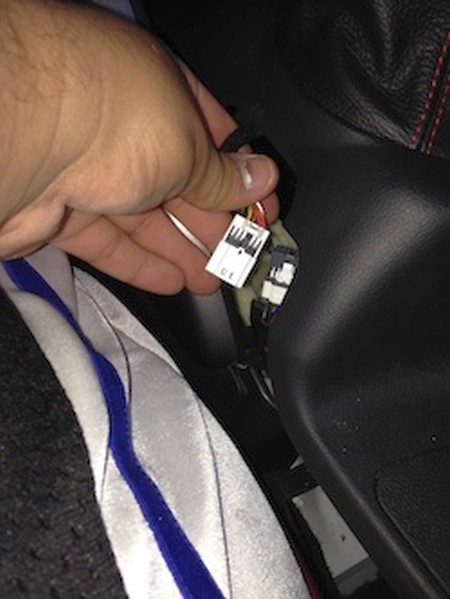
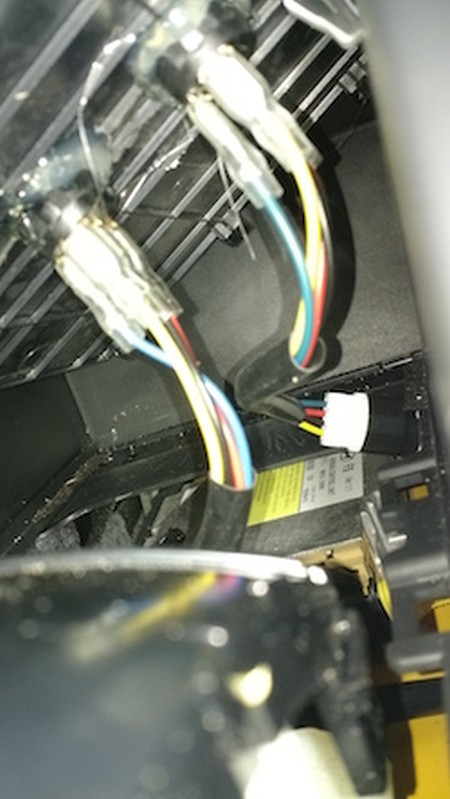
5. Remember to disconnect the plug for the lights for the gear indicator. |
 |
|
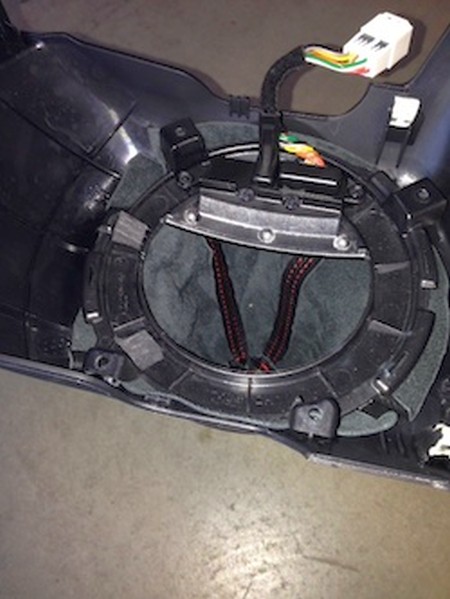
6. Next, you need to remove the silver plastic ring by unscrewing 4 screws on the bottom side of the hole for the ring. |
 |
|
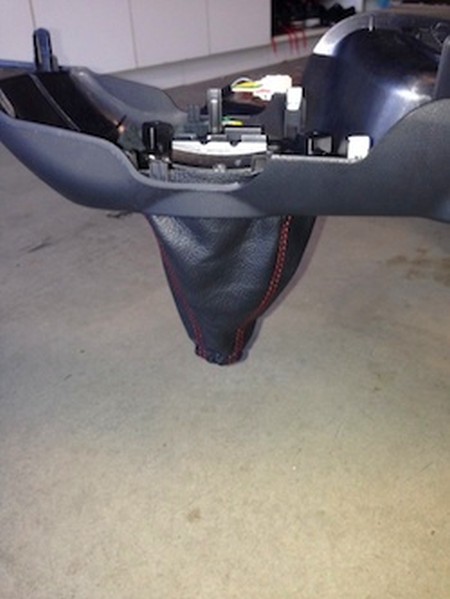
7. Take the boot and slip the bottom of it through the space where you removed the ring. Only put it far enough to get stuck between the black plastic piece and the silver ring. |
 |
|
8. Put the ring back into place... |
 |
|
9. ... and screw it back. Make sure the shift boot is well sandwiched between the piece and the center console! |
 |
|
10. The best way to mount the boot is the following: flip the boot inside out, slide it thin-end first on the shifter, with the console hovering above it (a pair of extra hands would be great to have at this point!), reinstall the shift knob, zip-tie the shift boot either to the shift knob or to the shifter directly beneath the knob. Make sure the zip-tie is quite tight and cut off the tail of the zip-tie. |
 |
|
11. Reinstall center console back on the car and remember to plug it in again, although you wont be able to see what gear you are in or see the indicator lights anyway. |
 |
|
DCT SHIFT BOOT
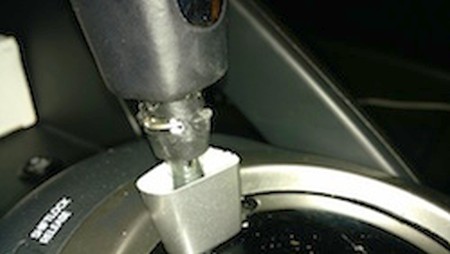
2. Use a flat head or needle nose plyer to remove. Once removed knob should twist off. |
 |
|
3. Open the armrest. Dislodge the center console by wiggling and pulling it up slowly. |
 |
|
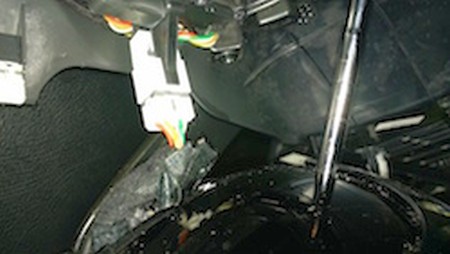
4. The center console trim is held by clips be careful not to crack. If car has heated seats do not yank panel. Gently pry up and there should be two connections that you will need to remove. |
 |
|
5. Another connection is for the lights that indicate vehicles gear PRND or M for triptonic. Once all is disconnected panel will come off. |
 |
|
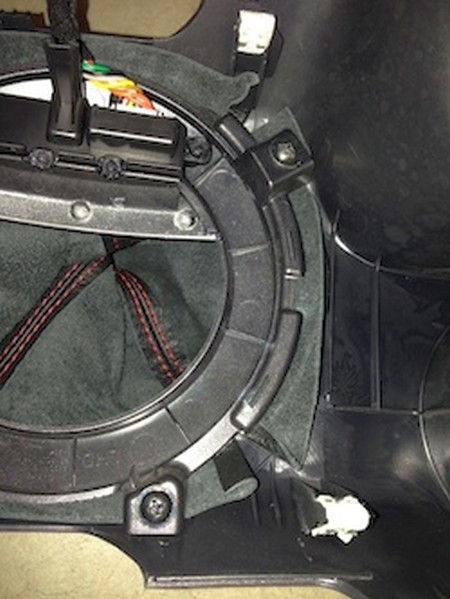
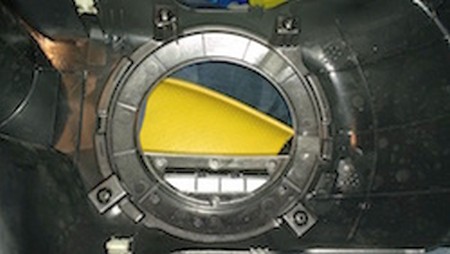
6. Now for the tricky and very meticulous part of the process. 4 screws will hold the trim in place. Remove the 4 screws and the trim will seperate from console. There will be the black indicator that says PRND or M connected to the ring as one solid piece. |
 |
|
7. To remove this you will see 3 spots that appear to be where it was melted together. Use a 1/4" drillbit and heat it to remove these three spots. |
 |
|
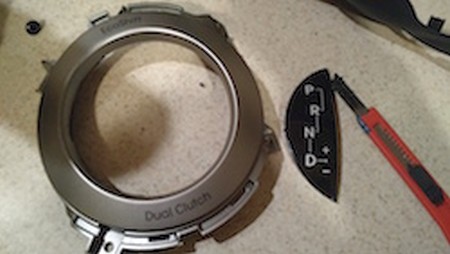
8. After all is drilled plastic peice will come off. What will be left is the frame of where it was held. Use a hack saw or dremel to cut and round. |
 |
|
9. Once all is smooth and cut, now comes the fun part seeing your new boot come on. There will be 3 prongs where the plastic indicator was, use those three to help hold the boot in place and have a set position. Make little holes so on boot so it can fit snug in. Now remove the boot and get it ready for the installation. |
 |
|
10. Clean all grease from back of trim, place the boot, then stretch out and fit into the silver trim use double sided tape and some glue to hold. AutomotiveGOOP works great. |
 |
|
11. Stick the boot where it is snug then firmly hold it till the glue and tape are bonded with the boot. |
 |
|
12. After it is all dry its time to reinstall, screw in the trim and repeat the removal steps in reverse order to reinstall. |
 |
|
ENJOY YOUR NEW LEATHER BOOTS! |
|
|
Useful tip You have installed a product made out of genuine leather. As you know, to maintain a leather product in good condition, you should take care of it. We suggest occasionally (every 4-6 week for example) applying some leather conditioner/UV protector to keep your leather from drying up in the sun and cracking. |
|
Please subscribe to our newsletter.
Get an instant 20% discount and enter our montly $100 CASH sweepstakes!