1997-02 HYUNDAI TIBURON |
||||||||||||||||||||
|
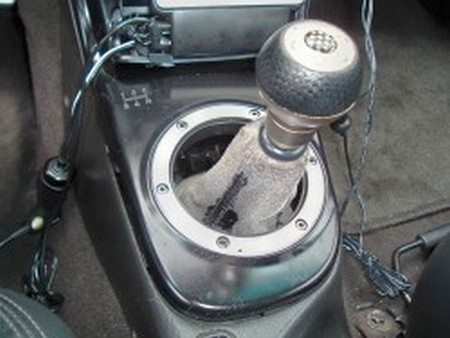
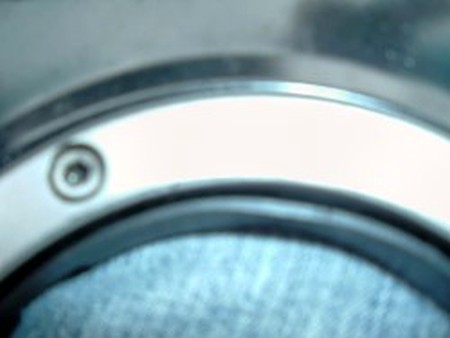
1. Remove shift knob by wrapping a towel/cloth around stem of shift knob and using a wrench to loosen. Unscrew and remove. |
 |
|
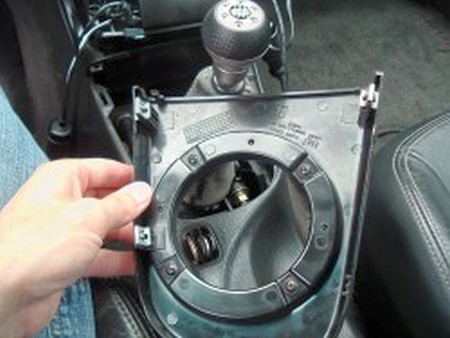
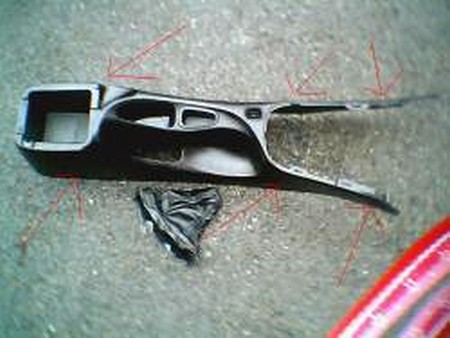
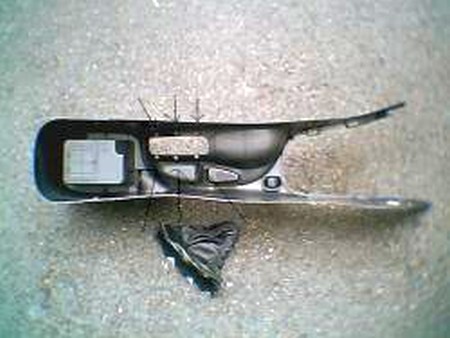
2. The platform around the shifter unclips. With the boot still attached, slide the platform up from around the shift rod and turn it over.
|
 |
|
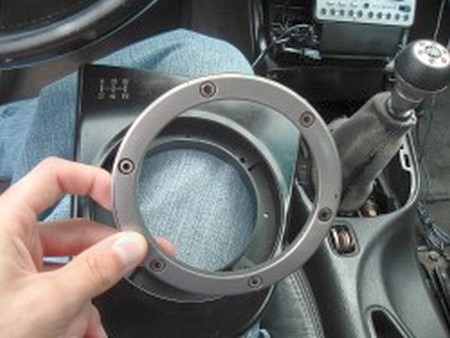
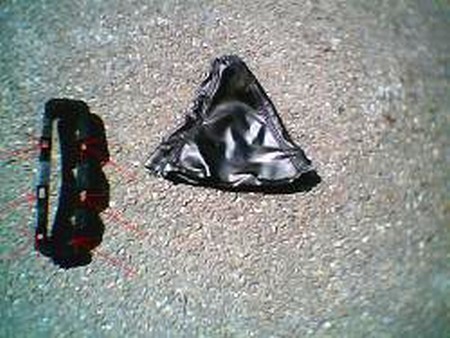
3. Unscrew the allen screws to separate the ring from the platform. |
 |
|
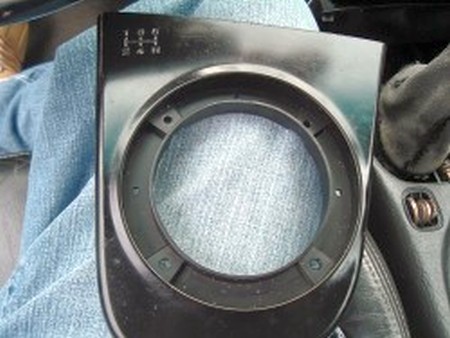
4. Remove the old shift boot and fit the new one around the inside ring of the platform. IMPORTANT! The new boot must fit almost perfectly in order for the ring to be able to reattach. As you can see, there is absolutely no room for slack! |
 |
|
5. If installing the ebrake boot as well, may want to take out the seats, at least the passenger side. This will make your job much easier.
6. Next step is to take out console between seats. There are 6 screws to remove before you can take out console: - 2 below radio (1 one each side) - 2 between console and front of seats (left and right side) - 2 between console and rear of seats (1 each side) ... |
 |
|
7. Remove the console. Slide it out of the car, make sure you do it carefully so that you don't scratch it against anything. Once out of the car, turn it over and you will see 6 screws that fasten the ebrake boot into the console bottom. Take those out then the pull boot off. |
 |
|
8. All that is left is to take out staples holding boot to boot frame (a flat head screwdriver works great). Re-staple the new boot from the bottom, then bend staple prongs over (I recommend a backboard to staple against – even into – which can then be removed so you can bend the prongs over). Alternatively, you could drill some holes through both pieces and pop-rivet them together. |
 |
9. Reinstall everything in the reverse order of disassembly and you're done! |
 |
|
ENJOY YOUR NEW LEATHER BOOTS! |
|
|
Useful tip You have installed a product made out of genuine leather. As you know, to maintain a leather product in good condition, you should take care of it. We suggest occasionally (every 4-6 week for example) applying some leather conditioner/UV protector to keep your leather from drying up in the sun and cracking. |
|
Please subscribe to our newsletter.
Get an instant 20% discount and enter our montly $100 CASH sweepstakes!