1) Pre-align and test-fit the cover in order to mark the places where thumbgrips should be located.
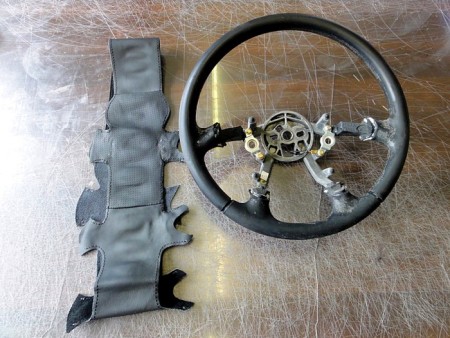
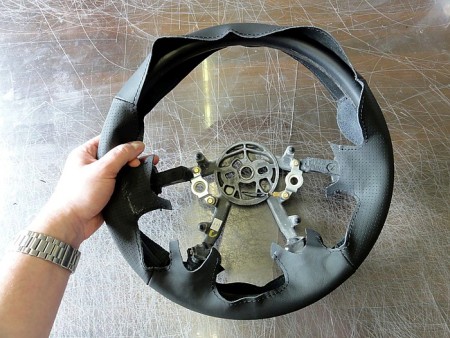
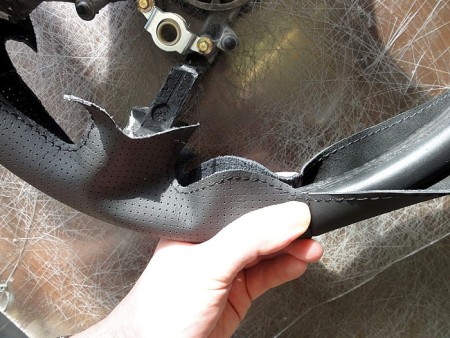
2) Mark the top and bottom of the thumbgrip shape on steering wheel core - i.e. mark the places where the thumbgrip curve starts and ends on the leather cover. This way you will know the space where the thumbgrip should be located. You can do the same thing on both sides of the steering wheel or you can do it on one side only then measure the mark locations and based on those measurements mark thumbgrip location on the other side of the wheel.
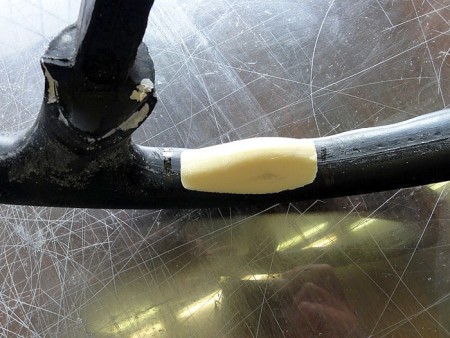
4) Apply the glue on the thumbgrip - use regular 2-component epoxy for best durability - use generous amount of glue so that when you press the thumbgrip against the wheel, some extra glue flows outside and you can use it as filler around the thumbgrip.
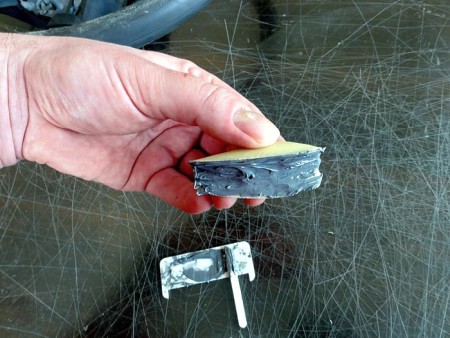
5) Put the thumbgrip onto the steering wheel, press it hard so that it sticks to the wheel as much as possible, align it precisely in the middle between the marks. Then apply decent amount of glue all around the thumbgrip in order to use it as filler to reduce all the sharp edges.
While pressing thumbgrip it hard against the wheel, secure the thumbgrip with the sticky tape so that it does not relocate while you leave it for the glue to dry and bond.
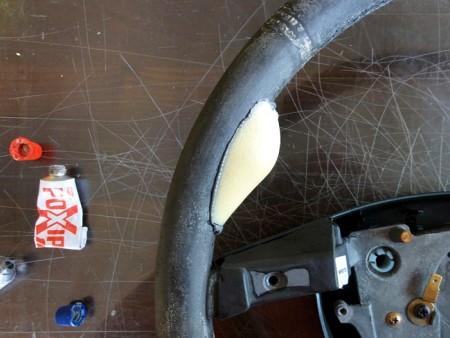
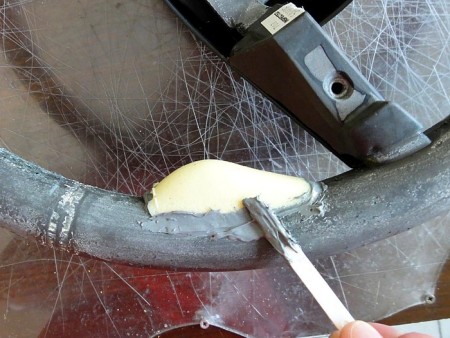
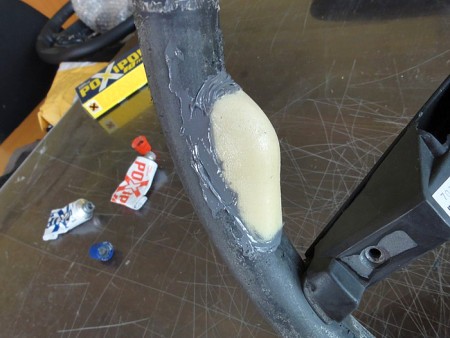
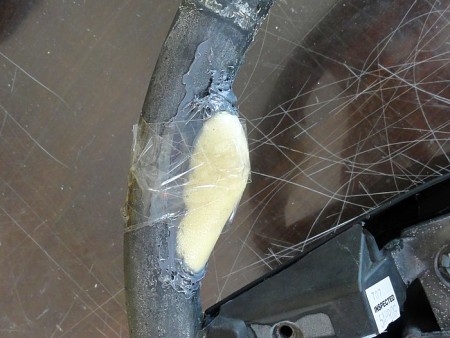
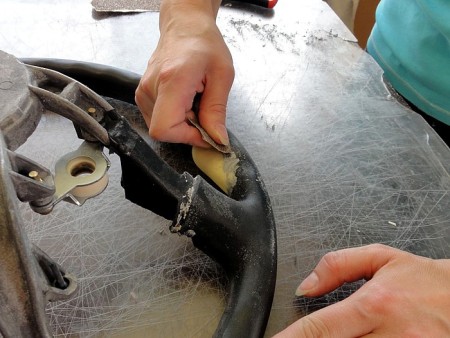
6) After the glue dries and bonds properly (in most cases it takes around 15-30 minutes) take some sandpaper and smoothen the glue all around the thumbgrip to achieve nice and smooth surface where it meets the steering wheel core. If the excess of the glue is too much to be sanded down with sandpaper only, you can first cut some glue with a knife and then sand down the rest.
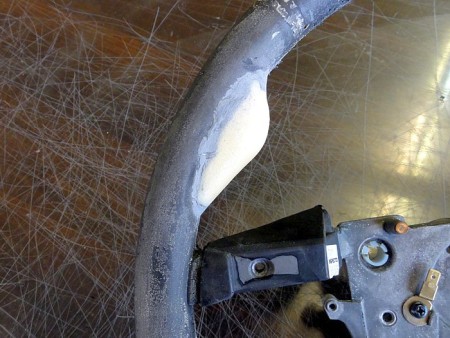
7) If you do it properly, after around 30 more minutes your thumbgrips should look like this:
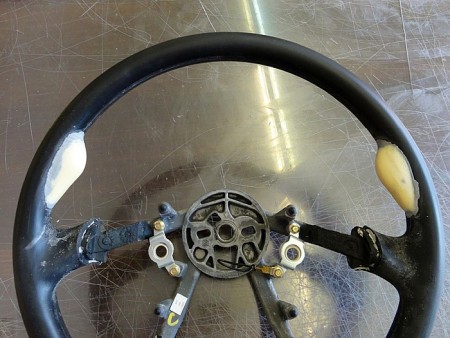
8) And now you are ready to install your brand new leather cover from RedlineGoods (or apply padding foam before you do this) :-)
Redline Automotive Accessories Corp. will not be held liable for any labor, incidental or consequential damages of any kind. Proceed at your own risk.