2005-15 TOYOTA TACOMA |
||||||||||||||||||||||||||||||||||||||||||||||||
|
Tools Needed: Flathead Screwdriver Philips Head Screwdriver Needle-nose pliers or panel plug removal tool Utility knife or sharp knife Contact cement Clamps Epoxy type adhesive
THIS WRITE-UP STARTS WITH THE REAR DOOR. FOR FRONT DOOR TRIM REMOVAL PLEASE SEE STEP 17. |
 |
|
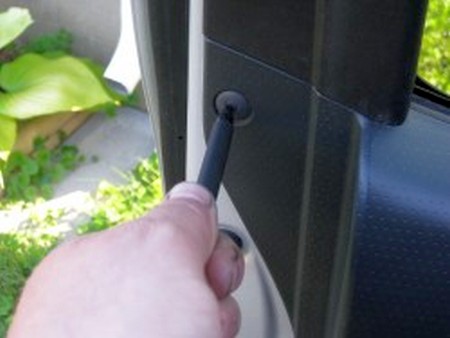
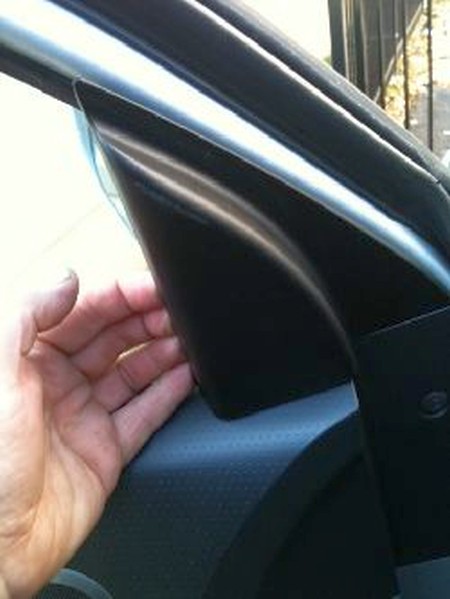
2. Remove upper window trim peace by getting fingers behind it and pull toward you, plastic clips. Hosing it on. |
 |
|
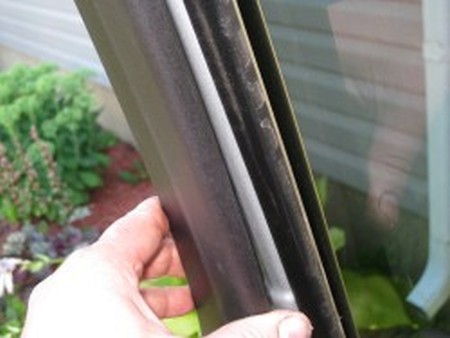
3. Remove plastic clips that held trim peace on and put them back on trim peace that you had removed. Be careful not to push them into the door frame. |
 |
|
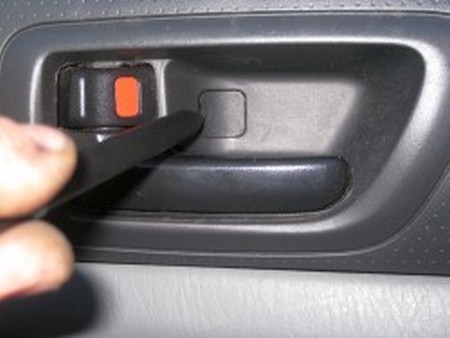
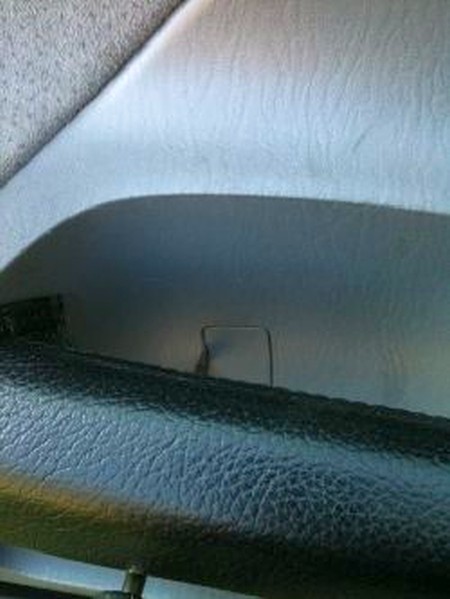
4. Pop clip open on door lever. |
 |
|
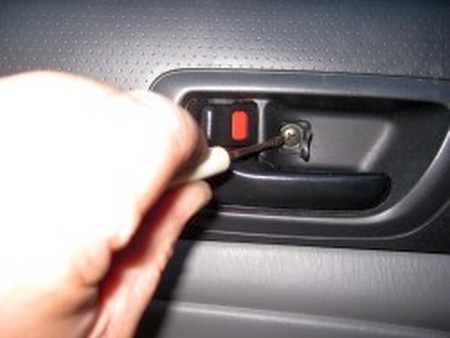
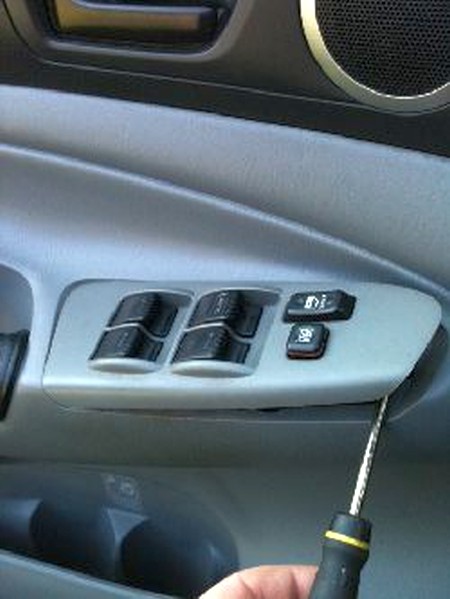
5. Remove screw from door lever. |
 |
|
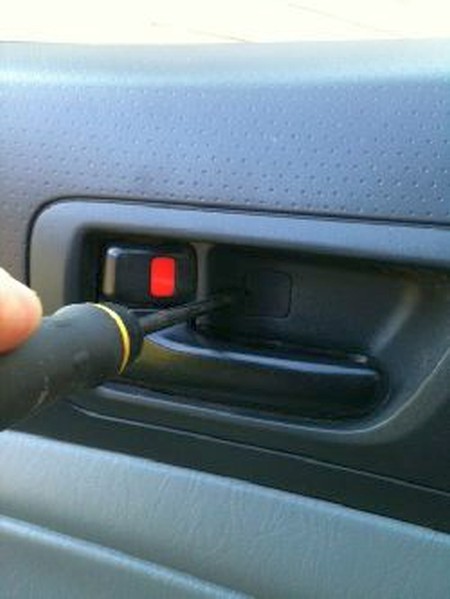
6. Remove window switch. The clip is at the front of the switch sometime difficult to get out be careful. Then un plug switch. |
 |
|
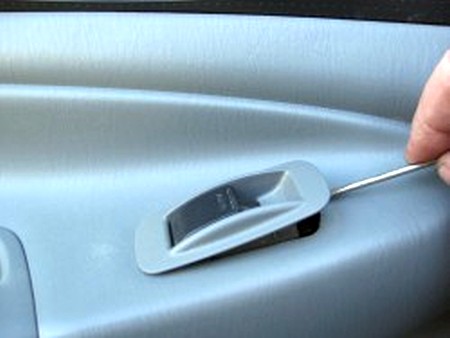
7. Remove screw in door handle and pull up wards on handle to pop out. |
 |
|
8. Door handle removed you do NOT need to remove bolt in picture. |
 |
|
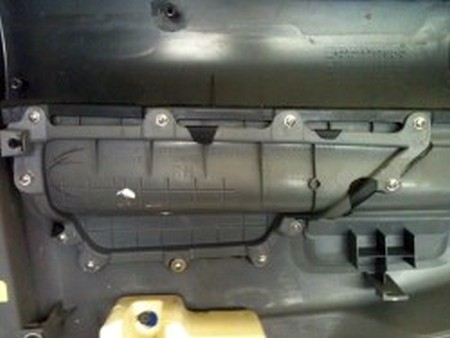
9. Remove the door trim from the car and flip it inside-out. |
|
|
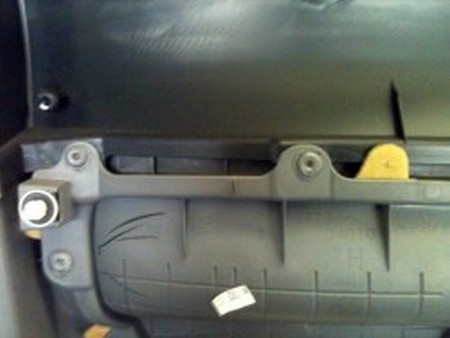
10. Remove plastic welds with dremal tool. |
 |
|
11. Plastic welds removed and popping off insert. |
 |
|
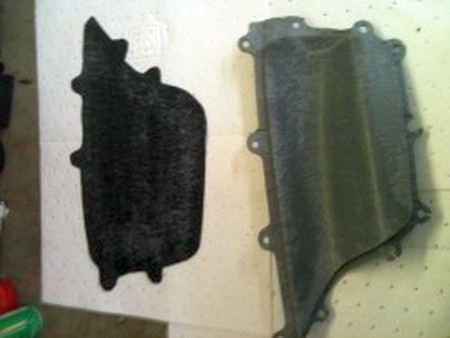
12. Glued and ready for install of leather make sure you get all the old glue off before doing this. Spray both inserts and leather liberally with contact cement, glue nice and flat on the insert. |
 |
|
13. Leather glued to insert. |
 |
|
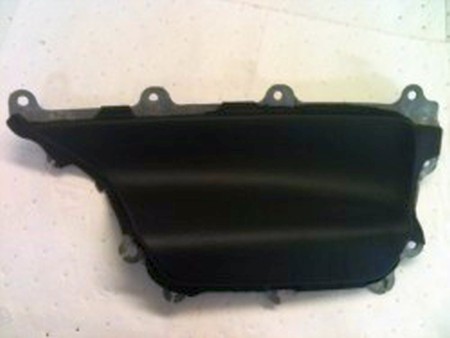
14. Replace original plastic welds with self-tapping screws. Suggest using screw under 10 mm had to add washer so would not go through panel. |
 |
|
15. Be careful the screws are not to long will go right through panel. |
 |
|
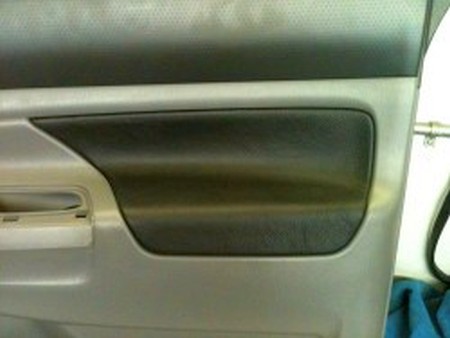
16. Once the glue has dried, you can reinstall the newly leathered door panel onto the car! Just use reverse instructions from removal to reinstall. |
 |
|
FRONT DOOR |
 |
|
18. Remove screw from behind front door handle pop open plastic tab. |
 |
|
19. Remove door window switches. Pry up on front. |
 |
|
20. Remove window trim piece pull outward. |
 |
|
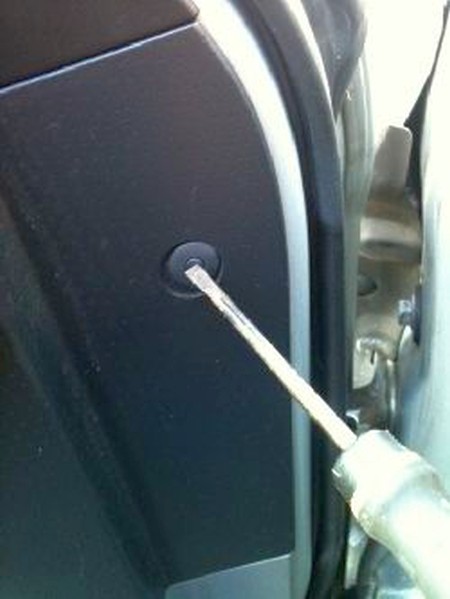
21. Remove push clip. Push center in and pop clip out. |
 |
|
22. Install the leather the same way you did on the rear doors (steps 9-15). After installing leather re secure with screws like rear door panels. |
 |
|
ENJOY YOUR NEW LEATHER BOOTS! |
|
|
Useful tip You have installed a product made out of genuine leather. As you know, to maintain a leather product in good condition, you should take care of it. We suggest occasionally (every 4-6 week for example) applying some leather conditioner/UV protector to keep your leather from drying up in the sun and cracking. |
|
Please subscribe to our newsletter.
Get an instant 20% discount and enter our montly $100 CASH sweepstakes!