1999-09 HONDA S2000 |
||||||||||||||||||||||||||||||||||||||||||||||
|
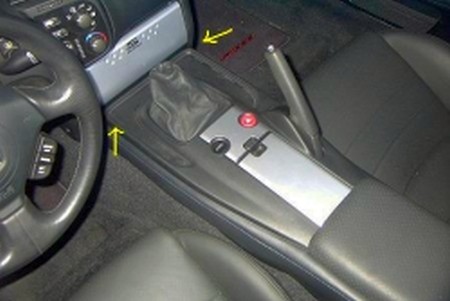
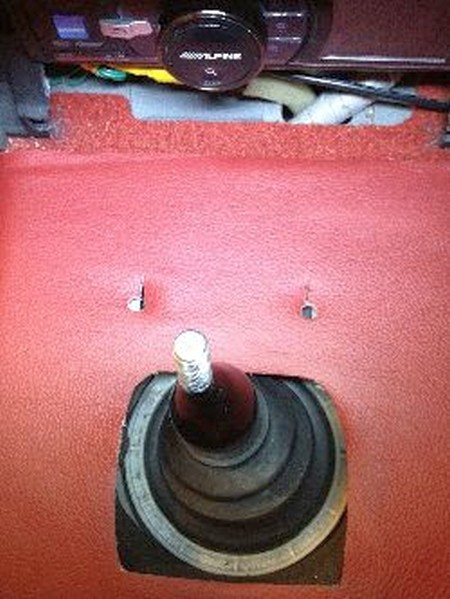
1. Remove shift knob. Begin by gently lifting front corners of center console . |
|
|
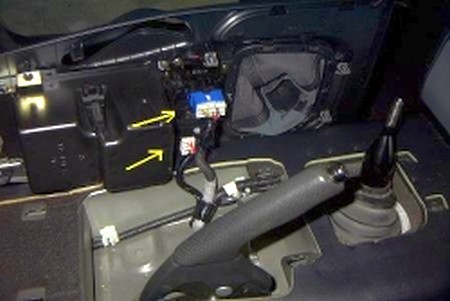
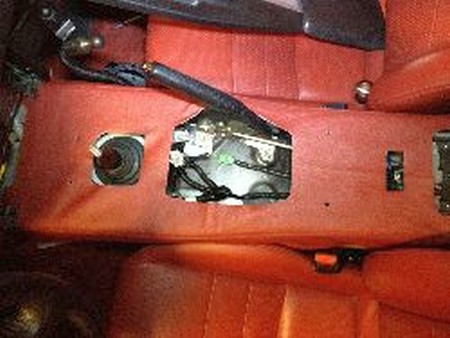
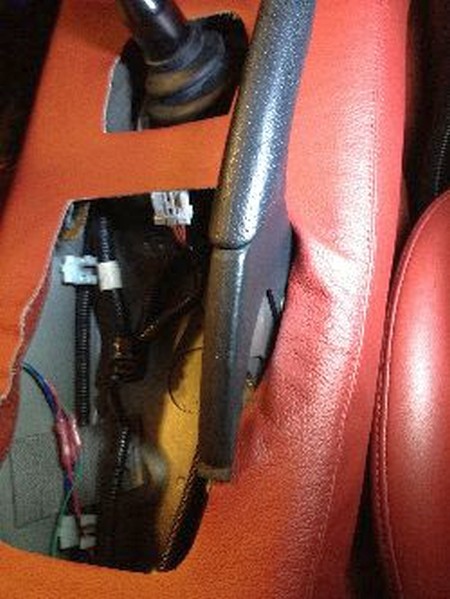
2. Disconnect convertible top and hazard switches. |
 |
|
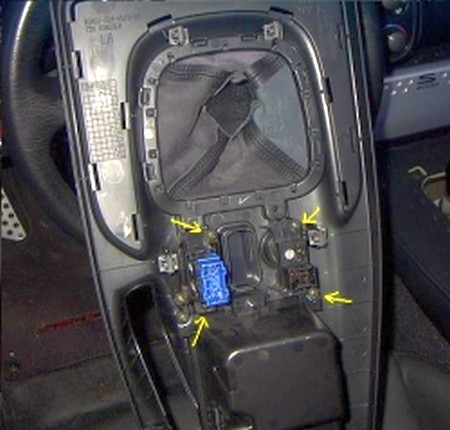
3. Remove screws holding switches to the console. |
 |
|
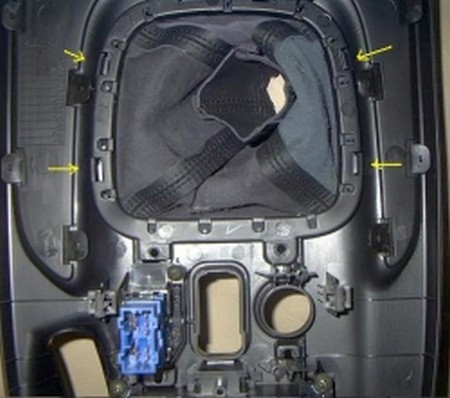
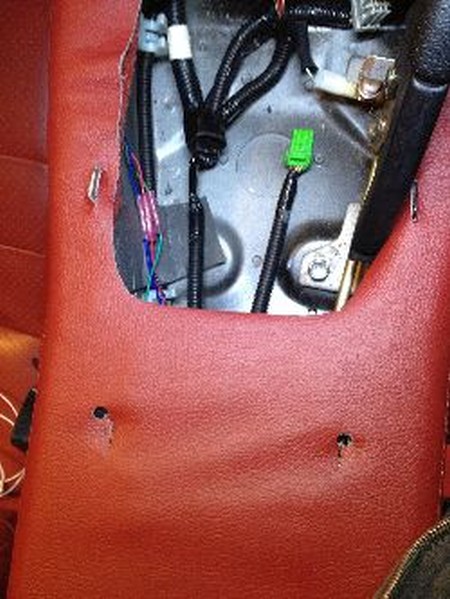
4. Remove trim rim and shift boot by sliding all tabs around trim ring out of the center console. |
 |
|
5. You now have the trim ring and shift boot removed. Simply lift up on the boot to slide the old boot off the prongs holding it in place. Align holes punched in new shift boot to line up with pegs on shift boot trim. Insert trim ring back into console so it snaps into place, and reverse all steps to re-attach console. |
 |
|
CENTER CONSOLE COVER |
 |
|
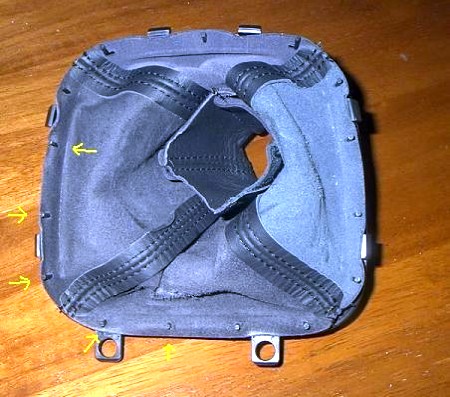
7. At this point you will cut out slits where the holes are in the leather cover, making sure that they correspond where the holes for the clips go. You might need to make larger holes to accommodate the room for the clips. You will also need to cut slits in the areas marked by the green arrows. |
 |
|
8. You will do the same thing here. Cut out slits for the clips to go through. |
 |
|
9. If there is any excess leather, you can either cut it off or tuck it in like I did in the area marked by the green arrows |
 |
|
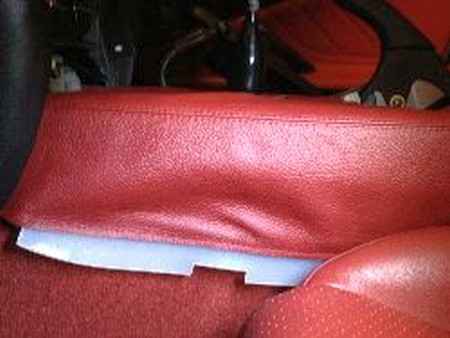
10. Use a putty knife with the edge taped over with painters tape and gently work the extra material underneath the center console. |
 |
|
11. Do the same thing for the rear part of the leather cover, making sure that the cut out tucks under where the clip is located. The cut out is marked by the green arrow. You will do the same thing for the other side. |
 |
|
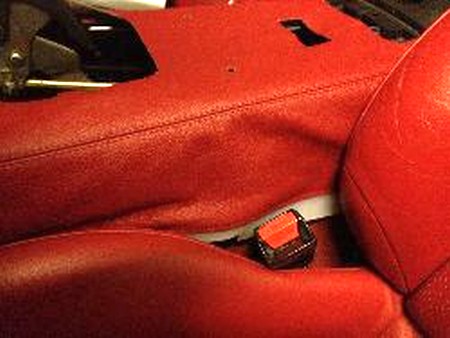
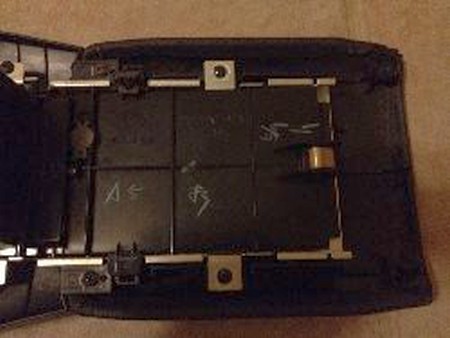
12. This is what it should look like when you are complete. Reinstall the center console unless you're installing the armrest, in which case leave it for the end (don't forget the electrical connections) and the radio door. |
 |
|
ARMREST COVER |
 |
|
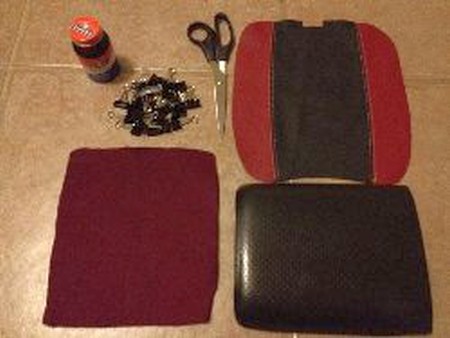
14. Lay out the things you will need to attach the leather to the elbow pad. You will need glue with a brush, binder clips, scissors, and if you want to add more cushion you can add some thick cloth in between the leather cover and the elbow pad. I have also removed the old leather off of the elbow pad so that the new leather can glue properly to the plastic elbow pad. You can do this by slowly peeling the leather off. |
 |
|
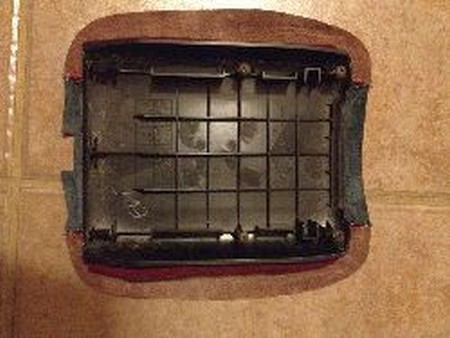
15. Flip the leather cover over, and place the cushion cloth in the middle along with the elbow pad. Center everything and make sure that its the way you like it. |
 |
|
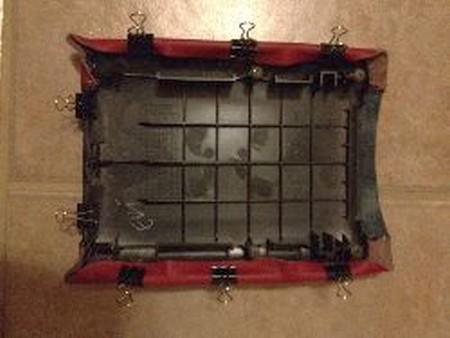
16. Add the binder clips to keep the leather from moving off center. Than brush the glue on one side of the elbow pad and attach binder clips to secure the leather to the elbow pad until the glue dries. |
 |
|
17. After you have put glue on all sides of the elbow pad, and attached the binder clips. this is what the elbow pad will look like. Leave binder clips attached overnight so that the glue has time to dry. Remove clips when dry. Reinstall the elbow pad back on the center console, the same way that you took it off. |
 |
|
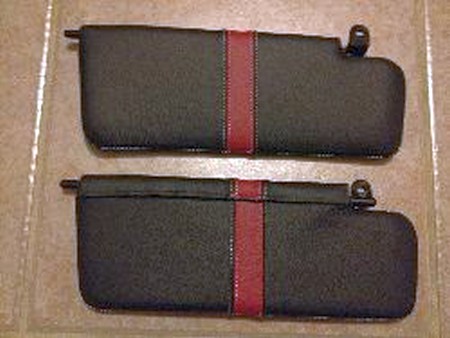
SUN VISOR COVERS |
 |
|
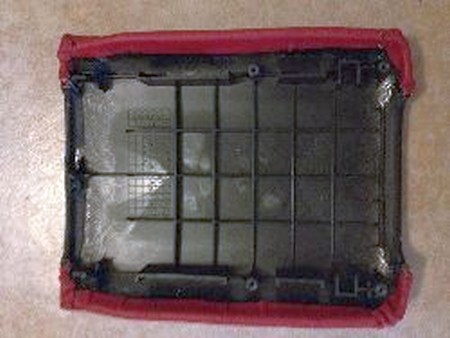
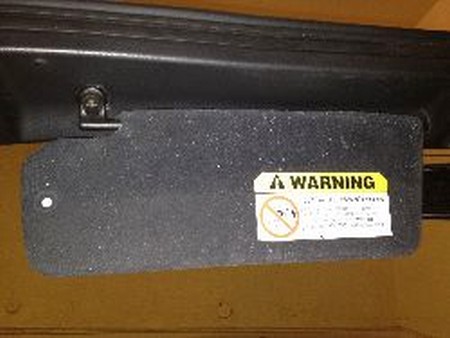
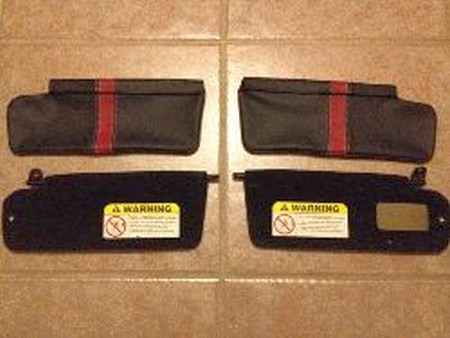
19. Lay out the sun visor covers and the sun visors so that you know which cover goes on which visor. |
 |
|
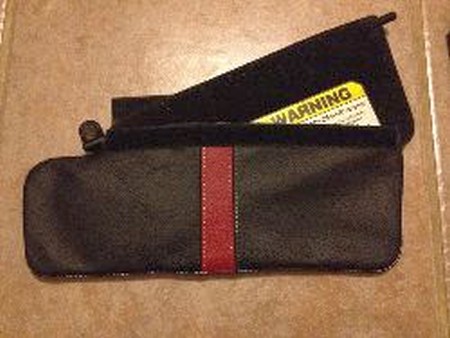
20. Slide the sun visors inside the covers, and fold over the flap to secure it with Velcro. |
 |
|
21. Re-Install the sun visors the same way you un-installed them. You are done! |
 |
|
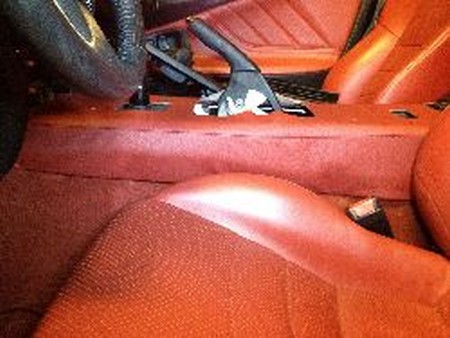
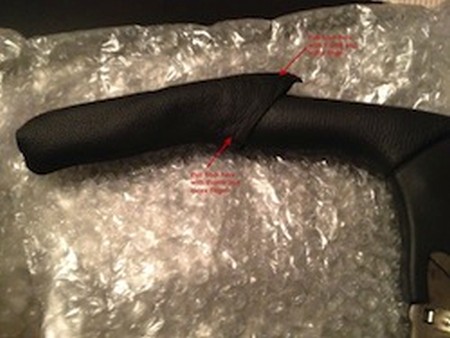
E-BRAKE HANDLE INSTALLATION |
 |
|
CONGRATULATIONS - YOU HAVE SUCCESSFULLY INSTALLED YOUR NEW LEATHER BOOTS!
Useful tip You have installed a product made out of genuine leather. As you know, to maintain a leather product in good condition, you should take care of it. We suggest occasionally (every 4-6 week for example) applying some leather conditioner/UV protector to keep your leather from drying up in the sun and cracking. |
|
Please subscribe to our newsletter.
Get an instant 20% discount and enter our montly $100 CASH sweepstakes!