2019-23 FORD RANGER |
||||||||||||||||||||||||||||||||||||||||||||||
|
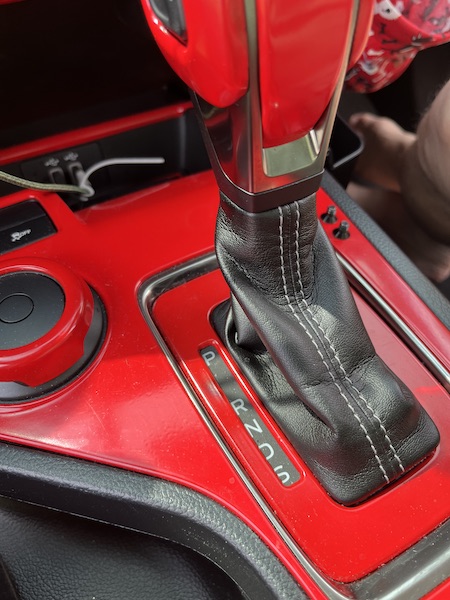
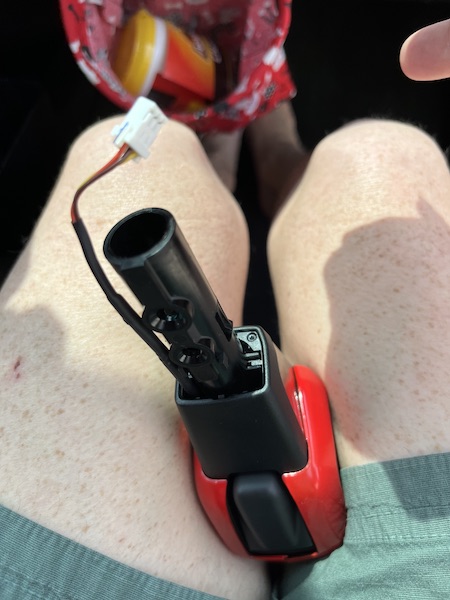
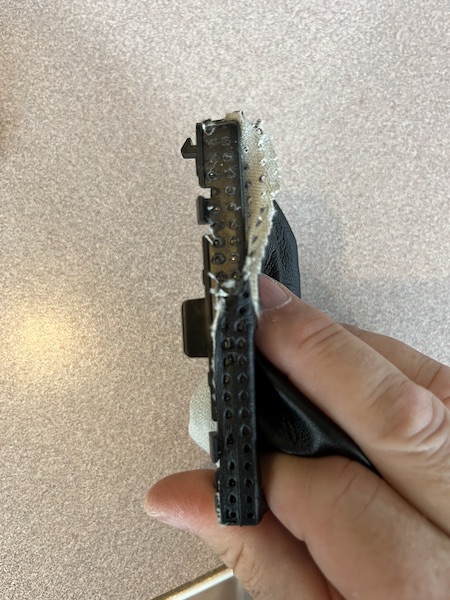
1. This is the original boot. NOTE: Be careful removing the locking clip and lower retaining ring and from top and bottom as they will be used with the new boot. |
 |
|
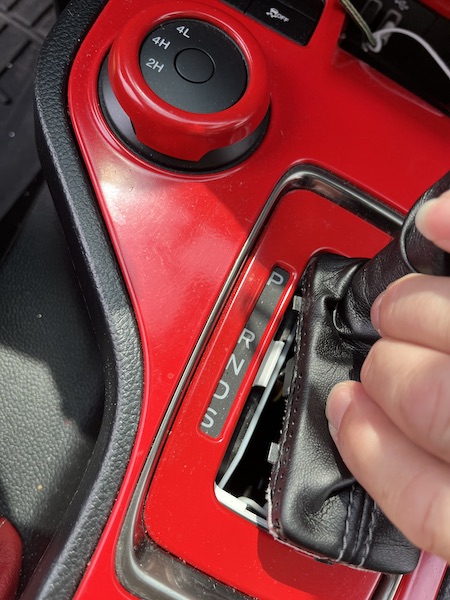
2. Start by removing the lower retaining ring, pull the old boot towards the shifter itself. |
 |
|
3. As you do it will separate and you will be able to remove it from all 4 sides. Once you have the bottom retaining ring separated. |
 |
|
4. You will need to carefully pull that retaining ring up as high as you can to access the 2 phillips screws facing the front of the truck. Be careful not to break the lower retaining ring. |
 |
|
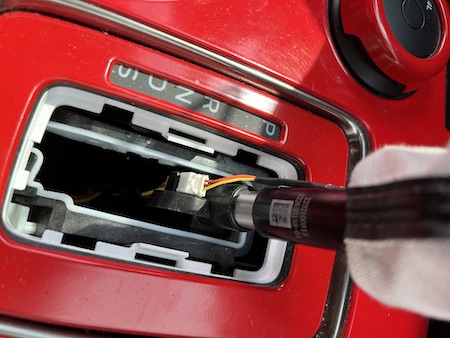
5. After both screws are removed. |
 |
|
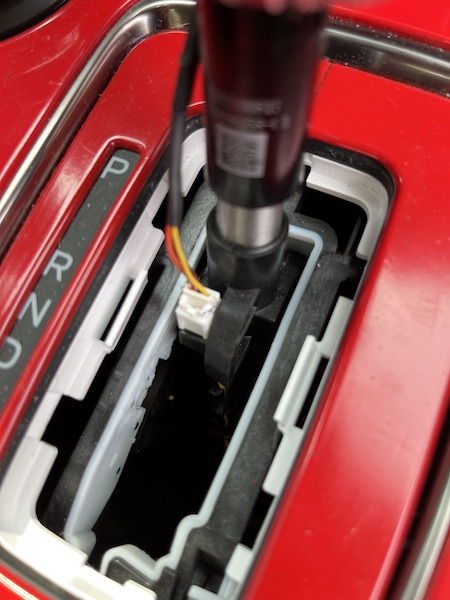
6. Disconnect the wire and now you can pull the shifter handle straight up and remove it from the vehicle.. |
 |
|
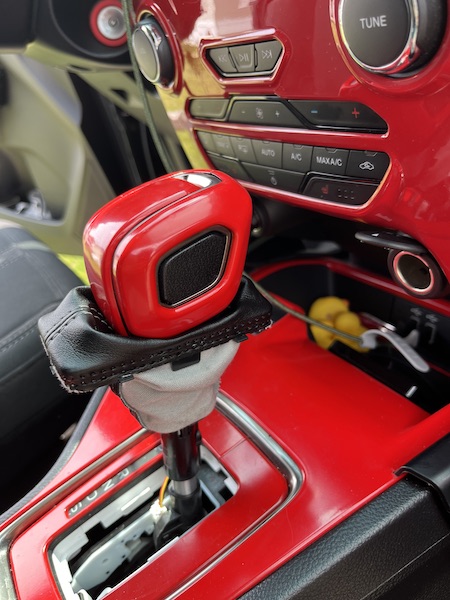
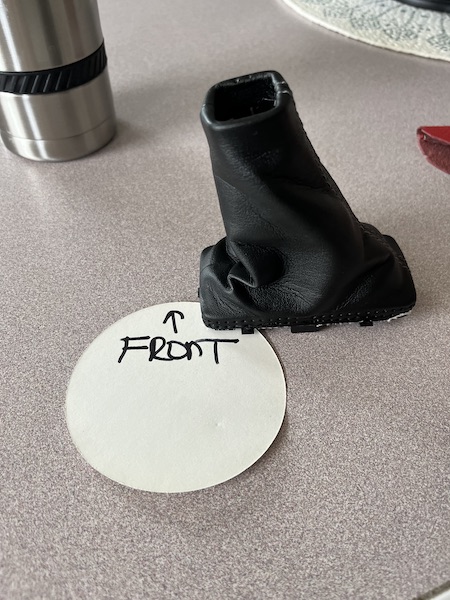
7. Find a suitable working area. |
 |
|
8. Fold the old boot down as much as you can to expose the locking clip on the inside of the handle itself. There are 2 tabs, one on either side of the handle. Once these tabs are pressed in, it releases the boot. |
 |
|
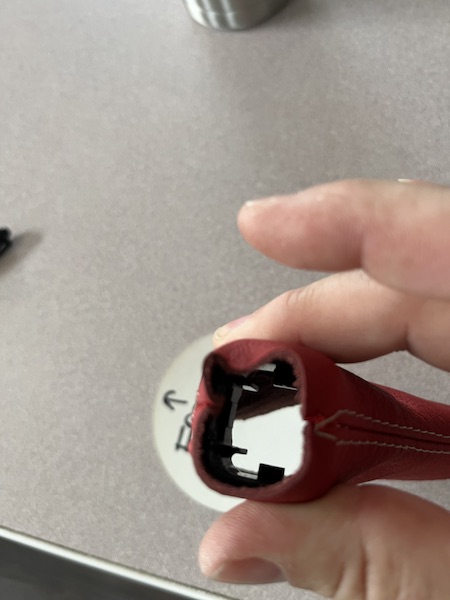
9. Note that the inside of the locking clip is directional. |
 |
|
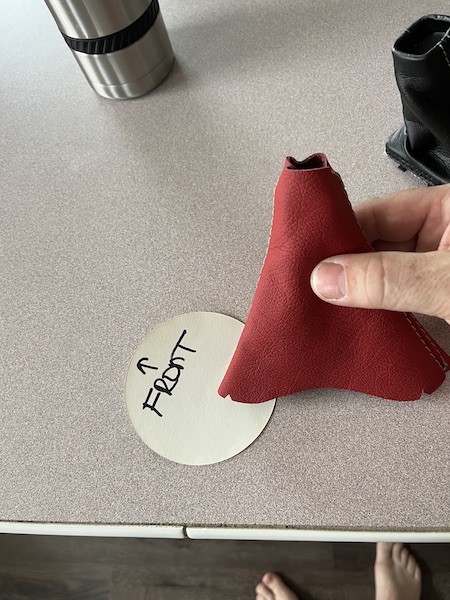
10. The wider slot is to be towards the front of the replacement boot. |
 |
|
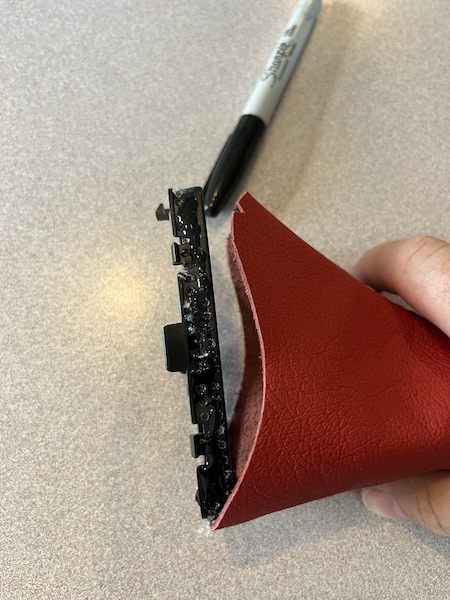
11. Peel the old boot off of the locking clip as this will be re-used. Do not remove the lower retaining ring yet. Please note that the lower retaining ring is directional as well and you will need to make sure which end faces the front. |
 |
|
12. Push the locking clip up inside the new boot leaving approx. 3/16" of boot above the clip itself. |
 |
|
13. Using superglue coat the inside of the locking clip and carefully fold over the top 3/16" inside the clip. Once this dries a little you can insert the shift handle into it. Again, noting which side goes to the front. Do not force, it will only go one way. |
 |
|
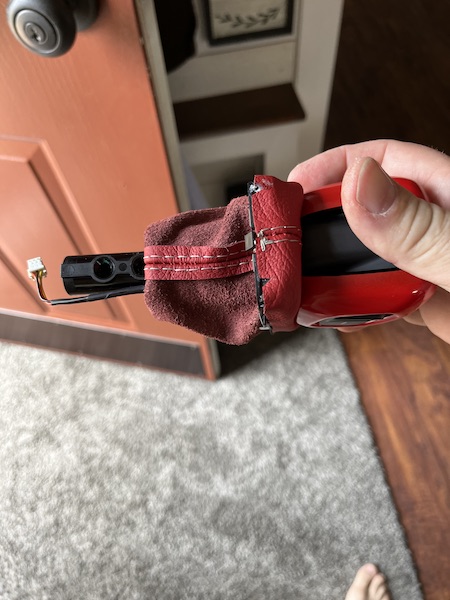
14. The fit will be tight as the new boot is a little thicker than the original. Carefully push it until the locking fingers on the lock clip lock into place. Then pull the boot down as in. |
 |
|
15. Next you will need to carefully remove the lower retaining ring from the bottom of the original boot. Note that this is directional and mark which side is to the front of the vehicle. |
 |
|
16. Once removed and orientation is correct, you will need to use superglue sparingly to attach the boot to the retainer clip. Make sure not to go past the edges where the locking points are on the retainer. |
 |
|
17. Glue one side at a time to keep the glue from running and sticking to your hands. |
 |
|
18. Allow to dry for a few minutes. Now pull back the boot... |
 |
|
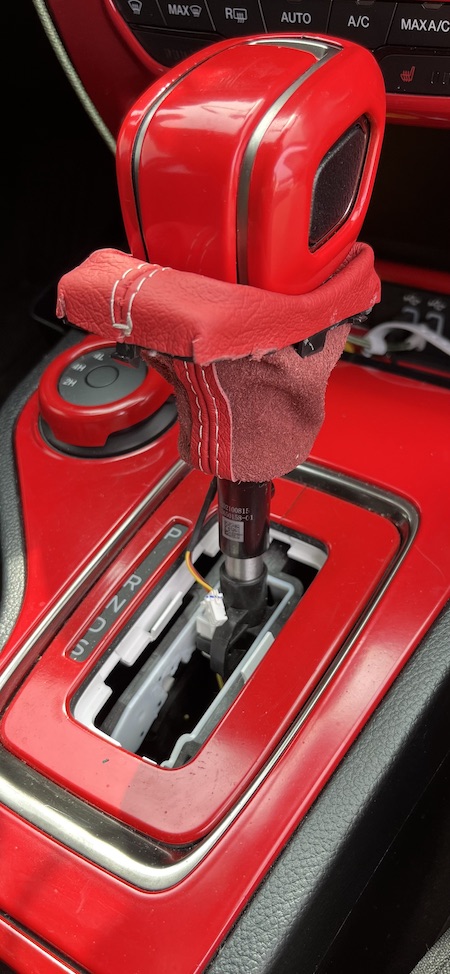
19. ... so that you can place the shifter and new boot back into the vehicle. Place the boot and handle over the shifter. |
 |
|
20. Reconnect the wiring. Reinstall the 2 phillips screws to lock the handle to the shifter. |
 |
|
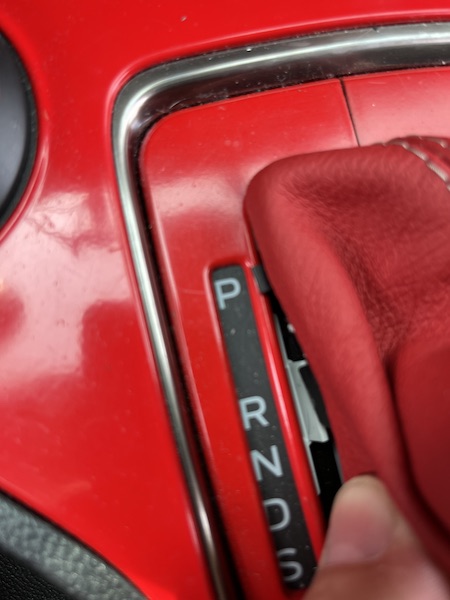
21. Pull the boot down now and carefully put it back into place. There is a slot and a tab on the left and right of the lower retainer that need to be placed properly in order for the boot to fit well. |
 |
|
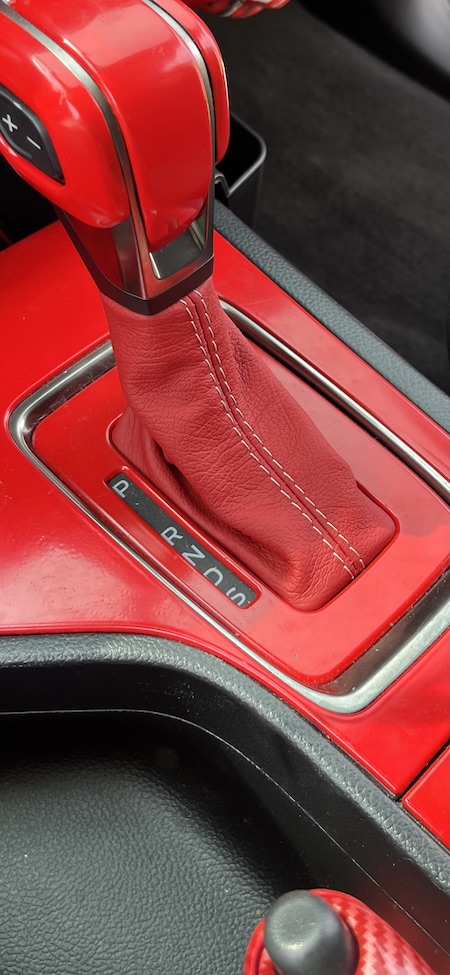
22. Completed installation. |
 |
|
Useful tip You have installed a product made out of genuine leather. As you know, to maintain a leather product in good condition, you should take care of it. We suggest occasionally (every 4-6 week for example) applying some leather conditioner/UV protector to keep your leather from drying up in the sun and cracking. |
|
Please subscribe to our newsletter.
Get an instant 20% discount and enter our montly $100 CASH sweepstakes!