2015-23 FORD MUSTANG |
||||||||||||||||||||||||||||||||||||||||||||||||||
|
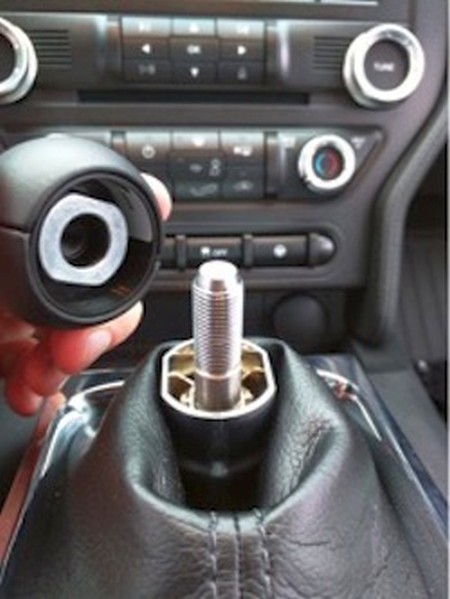
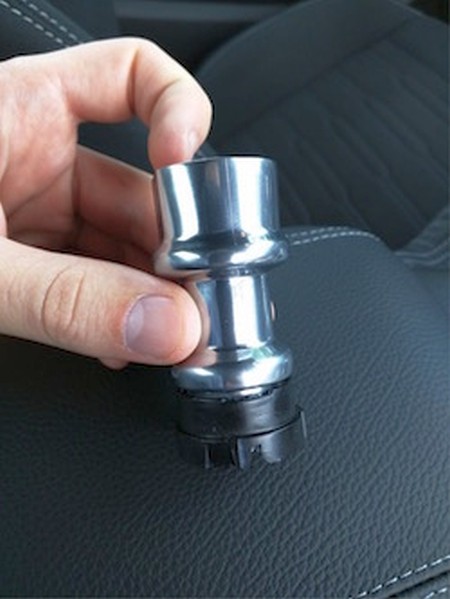
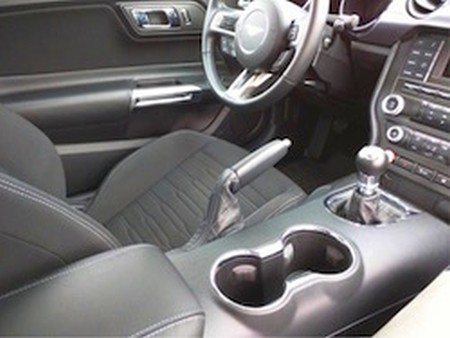
1. Remove the factory shift knob by unscrewing the knob counter clockwise. |
 |
|
2. Remove the chrome trim ring from the center transmission tunnel by pulling up firmly. This chrome trim ring is held on by several plastic clips that install vertically. |
 |
|
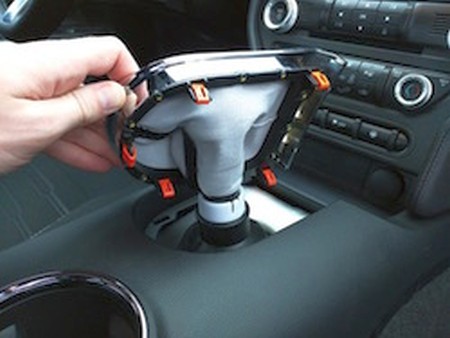
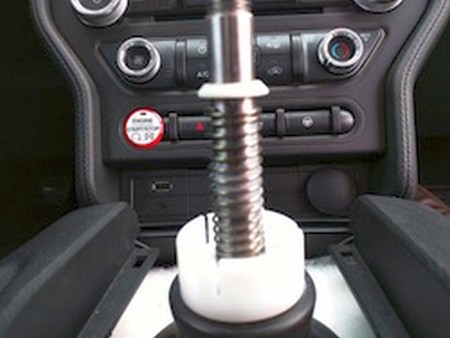
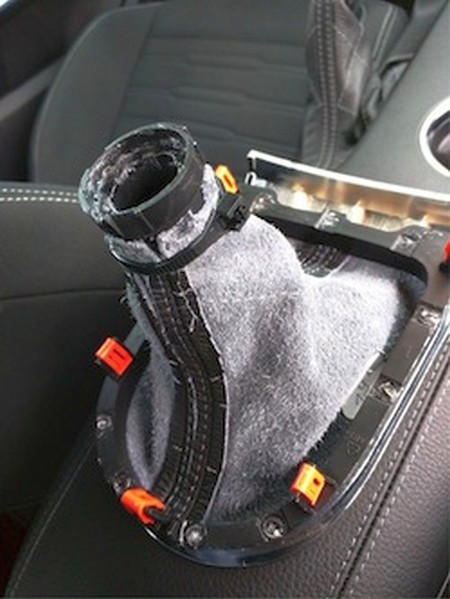
3. The white ring at the base of the shifter shaft clips over the black ring of the underside of the shift boot with three white clips. Pull back these three white clips back while pulling up on the black ring to remove the factory shifter boot. A small plastic white ring is located of the shaft of the shifter. Place this small plastic white ring back on the shaft of the shifter if it came off, and make sure the tapered edge is facing up. |
 |
|
4. There are several plastic rivets that hold the chrome trim ring to the black trim ring. Undo these rivets to allow removal of the factory shift boot. |
 |
|
5. Install the chrome trim ring over the black trim ring and adhere these two rings together with adhesive. |
 |
|
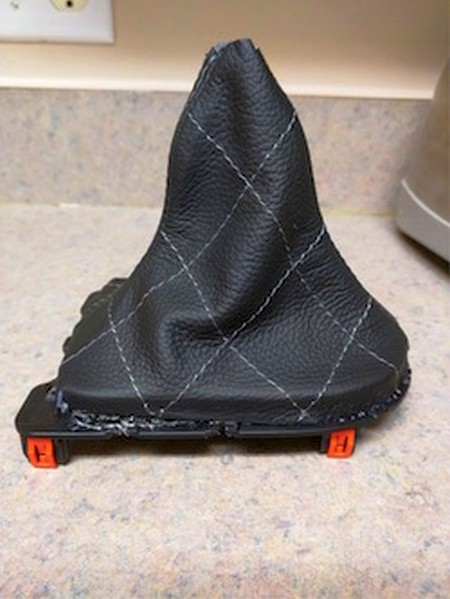
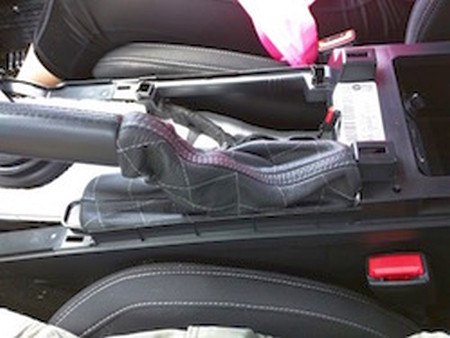
6. Install the new shift boot with the reverse lockout grip of the shifter (now attached to the black plastic trim ring) via zip tie. The black trim ring is covered by the boot and the chrome is viewable when re-installed. Having the boot inside out makes this easier. |
 |
|
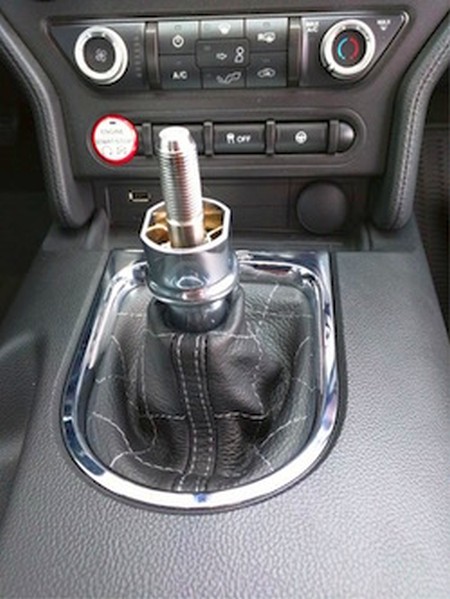
7. IF INSTALLING THE EBRAKE BOOT, DO THAT NOW, THEN COME BACK TO THIS STEP TO FINALIZE REASSEMBLY OF SHIFT BOOT! You must leave enough clearance for the three white plastic clips on the base of the shifter to clip over the black plastic trim ring when re-attaching the shift boot. Take note that these three white plastic clips have their own grooves in the black plastic trim piece. Make certain the grooves are at the three o?clock position, seven o?clock position and eleven o?clock position once the boot is re-installed so the shifter re-aligns. The flat sides of the chrome shift knob are parallel with the sides of the car. |
 |
|
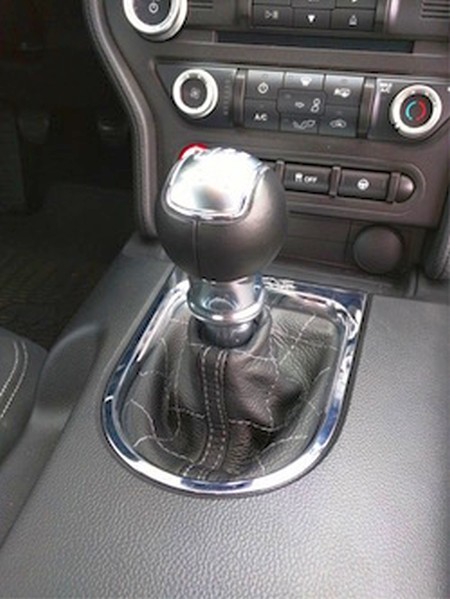
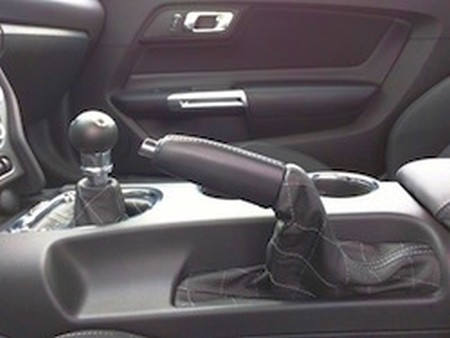
8. Re-install the shift knob screwing on clockwise. |
 |
|
9. EBRAKE BOOT INSTALLATION ASSUMES YOU REMOVED THE SHIFT BOOT. PLEASE SEE STEPS 1-6 ABOVE FOR DETAILS. |
 |
|
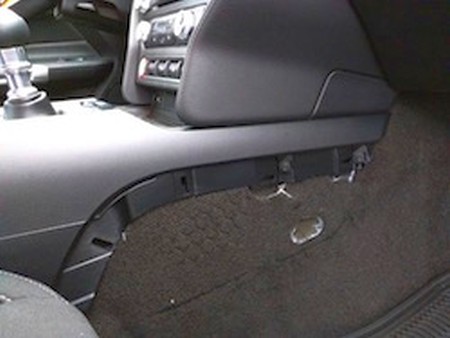
10. Remove the two screws on each side that were exposed by removing the previous panel. These screws can be removed with a 7mm socket. |
 |
|
11. Pull straight up very hard to remove the top panel of the transmission tunnel. This top panel includes the cup holders. Depending on your trim model of Mustang you may have electrical clips underneath this trim panel. If so, undo the necessary clips to remove the top black plastic cover of the transmission tunnel. |
 |
|
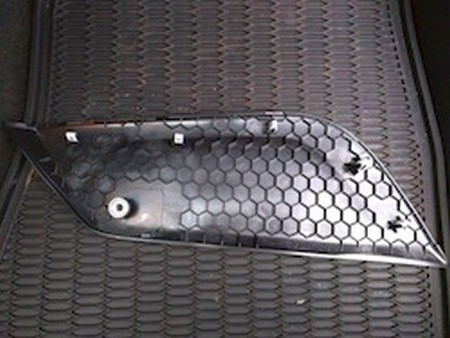
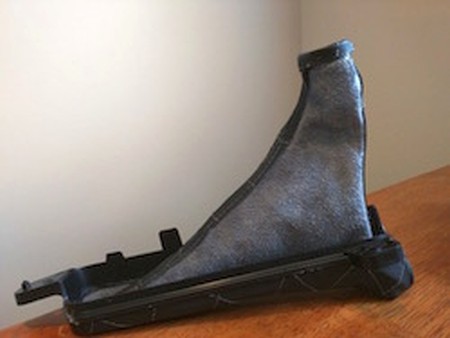
12. Adhere the new brake boot to the trim ring, making sure to allow for enough boot material for the parking brake handle to fully extend when in the inactive position. The front of the boot has the screw directly in line with the trim ring. The front of the boot is shorter than the back of the boot. |
 |
|
13. Re-attach the black plastic trim ring with the two 7mm screws. |
 |
|
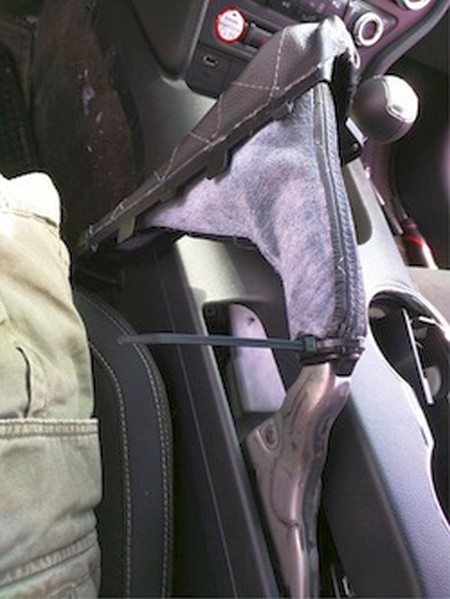
14. Test the parking brake to make sure the brake can be fully engaged and disengaged. |
 |
|
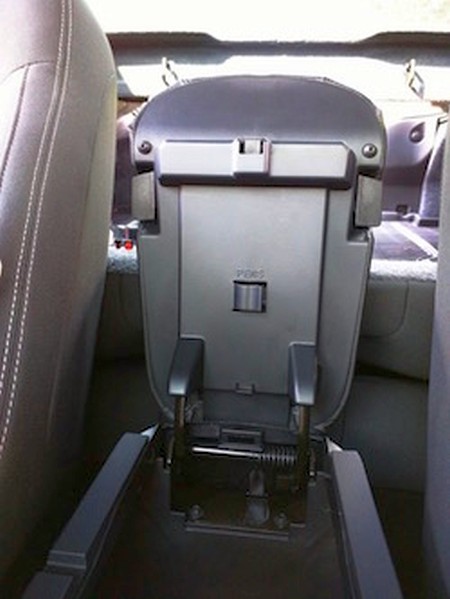
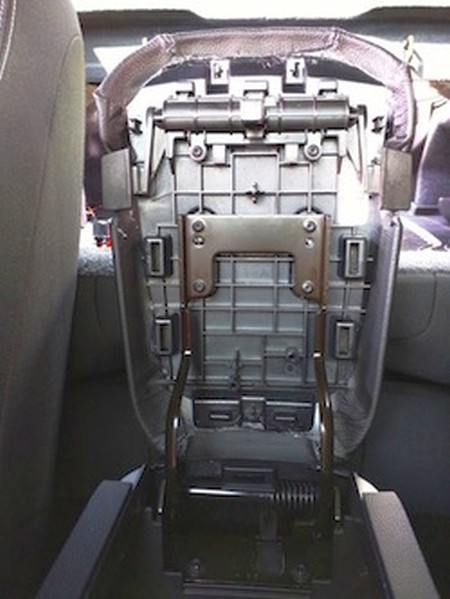
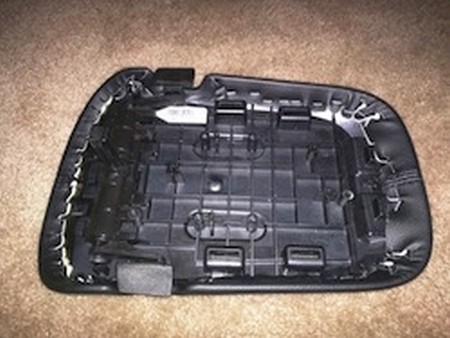
15. ARMREST COVER INSTALLATION. Open center armrest completely so the armrest is vertical. Remove the plastic underside of the armrest. This plastic piece is large and is the ceiling of the center armrest cavity when closed. This piece is only held in by clips. Pull firmly away from the top of the armrest to disengage the clips. |
 |
|
16. Remove the four screws using a T20 Torx bit that are located on the underside of the armrest and attached to the hinge. |
 |
|
17. Remove the original leather cover by removing all staples around the perimeter of the armrest. |
 |
|
18. To install the Redline cover, glue or staple the new cover over the center armrest. Be sure to include the factory rubber pad that mounts flush on the top of the armrest. |
 |
|
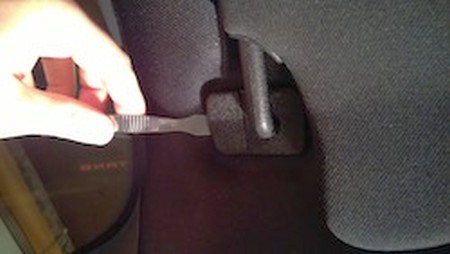
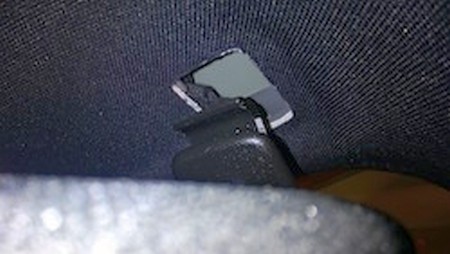
SUN VISOR COVERS |
 |
|
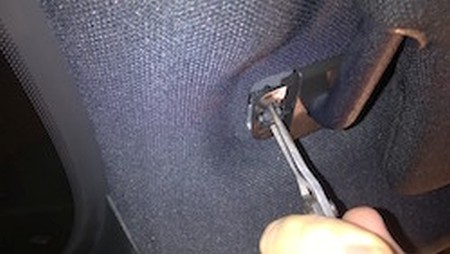
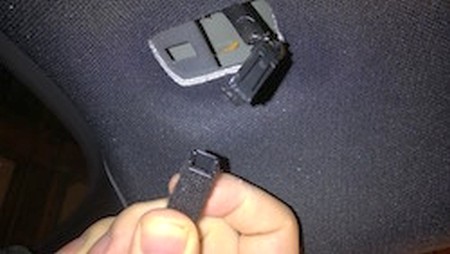
2. Compress the metal clip exposed during step 1 using a pair of needlenose pliers. Pull the compressed clip down with light force while wiggling it in a circular pattern until it either comes dislodged or you feel the entire visor assembly drop loose. |
 |
|
3. Tilt the windshield-facing side of visor assembly downward while pushing towards the windshield to free it from the opening. |
 |
|
4. Unplug the power connection. |
 |
|
5. Install the visor cover over the visor.
6. If you want to retain the vanity mirror, pop the mirror out of the visor, slide the cover on, trim out an opening for the mirror, and reinstall the mirror. Make sure to cut a hole slightly smaller than the perimeter of the vanity mirror casing, so that the mirror, once reinstalled, covers the edges of your cut.
7. Reinstall the visors into the car reversing steps 2-4.
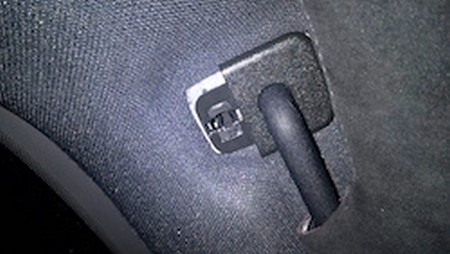
8. Push the retaining clip directly into socket, no tools necessary. It will click once in place and the visor will be stable. Push the plastic cap originally removed in disassembly step 1 over the exposed clip assembly.. |
 |
|
ENJOY YOUR NEW LEATHER ITEMS! |
|
|
Useful tip You have installed a product made out of genuine leather. As you know, to maintain a leather product in good condition, you should take care of it. We suggest occasionally (every 4-6 week for example) applying some leather conditioner/UV protector to keep your leather from drying up in the sun and cracking. |
|
Please subscribe to our newsletter.
Get an instant 20% discount and enter our montly $100 CASH sweepstakes!