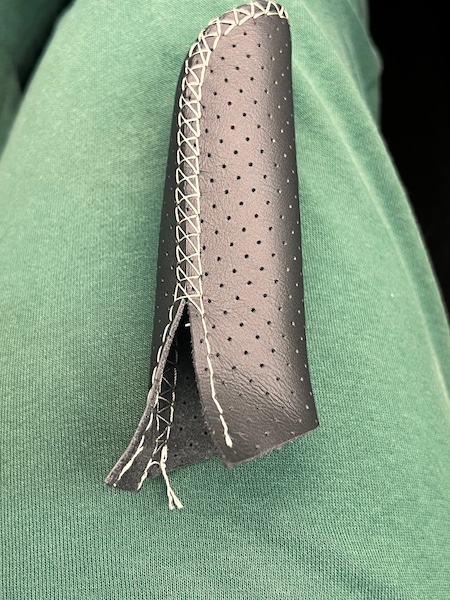
1. Stitch the two pieces of the cover together.

 2.
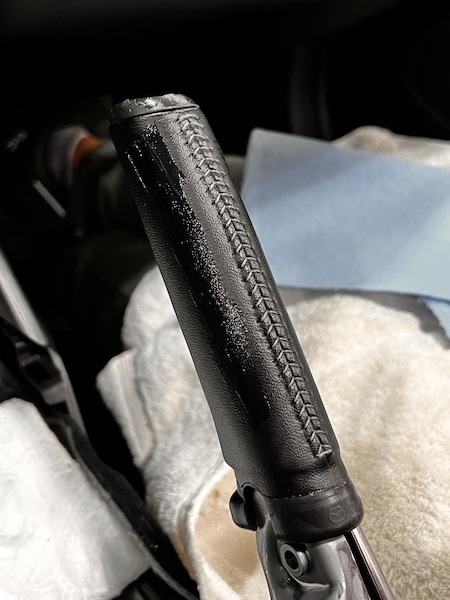
2. Apply the glue to the handle - put lines of glue using a small brush to the handle under the two top seams of the cover, another along the bottom, and all the way around the button.
3. Apply glue to the same spots on the inside of the cover.
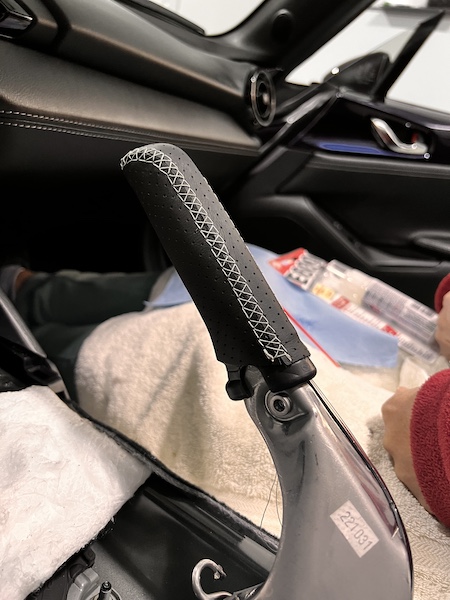
 4.
4. Slide the cover over the handle. Let the glue cure, and reinstall everything you might have removed prior to installing the ebrake handle cover (ebrake boot in case of this installation).
Useful tip
You have installed a product made out of genuine leather. As you know, to maintain a leather product in good condition, you should take care of it. We suggest occasionally (every 4-6 week for example) applying some leather conditioner/UV protector to keep your leather from drying up in the sun and cracking.
Redline Automotive Accessories Corp. will not be held liable for any labor, incidental or consequential damages of any kind. Proceed at your own risk.