1986-90 ACURA LEGEND |
||||||||||||||||||
|
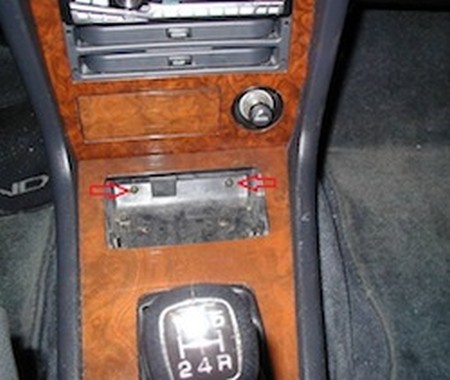
1. Remove center console compartment by pulling up and out. Remove both screws underneath to loosen the console piece. |
 |
|
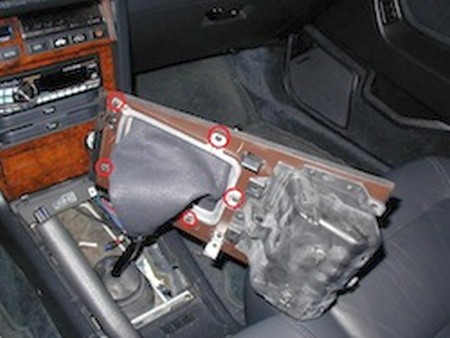
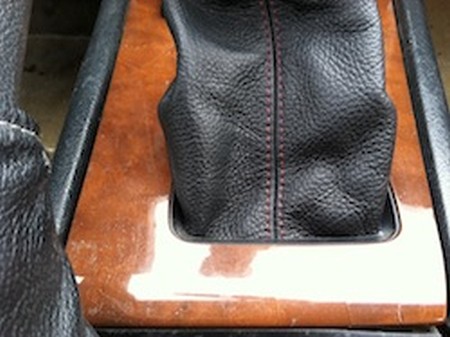
2. Lift center console panel out by carefully prying the edges up and gently pulling it loose from the clips. Pull it up and remove the screws in the metal frame holding the shift boot to the base. Lift the panel up and over the shifter to set it out of the way. |
 |
|
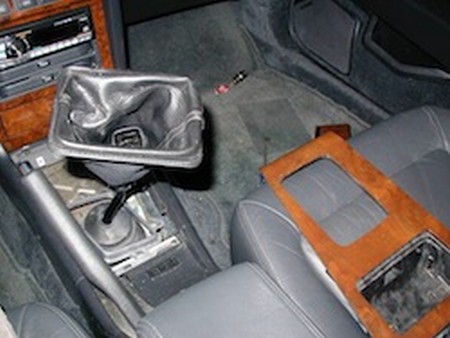
3. Unscrew the shift knob counterclockwise - the shift boot should turn with it as it unscrews. Count the number of turns the knob takes to fully remove, and write the number down, as you will need it again to install later. |
 |
|
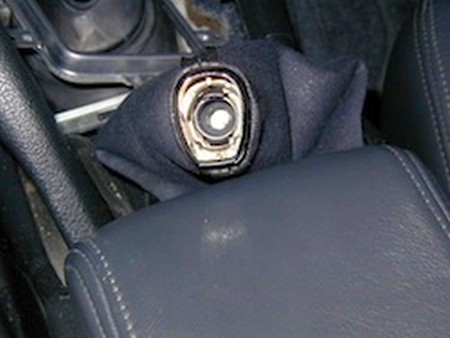
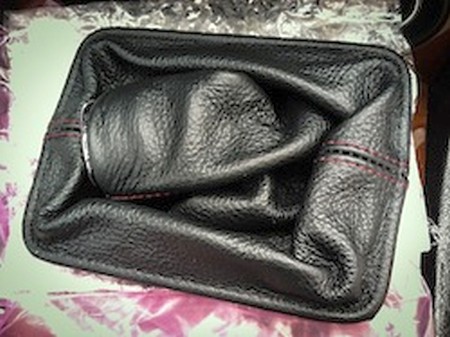
4. Grasp the shift boot at the chrome ring and gently pull apart from the shift knob to remove. This is a friction fit, so sometimes it takes a little bit of slight twisting to get them apart. |
 |
|
8. Assembly is pretty much the reverse of the removal process. A couple of points are worth noting, however. First, be sure to add about 1/4" to your shift boot measurements to give a little extra room and prevent pulling. Secondly, the wire frame can be tricky to snake through the seamed edge. It helps to use a lubricant such as WD-40. (Or, if you prefer, you can use four pieces of new wire from a common coat hanger cut to length.)
|
 |
|
9. The rubber band that came off the old boot has a thicker section with a notch in it. This notch goes over the end of the wire tie and will smooth out what would otherwise be a bulge in the boot from the wire tie end when the boot is right side out. Once the boot, chrome ring, and wire frame are assembled, the rest is simply a matter of putting it all back together.
|
 |
|
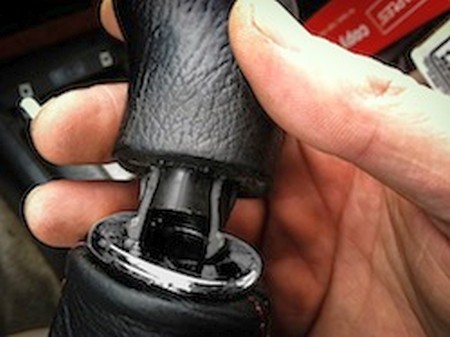
12. Screw your shift knob back onto the shifter rod, using the same number of turns it took to remove it. Then, snap the top of the new boot together with the bottom of the shift knob, and you are finished! |
 |
|
ENJOY YOUR NEW LEATHER BOOTS! |
|
|
Useful tip You have installed a product made out of genuine leather. As you know, to maintain a leather product in good condition, you should take care of it. We suggest occasionally (every 4-6 week for example) applying some leather conditioner/UV protector to keep your leather from drying up in the sun and cracking. |
|
Please subscribe to our newsletter.
Get an instant 20% discount and enter our montly $100 CASH sweepstakes!