2005-06 NISSAN ALTIMA |
||||||||||||||||||||||||||||||||||||||||
|
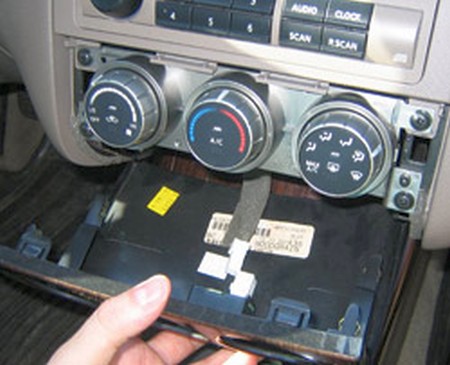
1. First thing is to remove the shift knob. It will screw off... it might be a little tough but it will screw off. Then you start removing panels. First pop off the bezel around the HVAC. You just pull it towards you... get a good grip under the bezel and it will slide right toward you. Be careful not to pull to hard cause once it pops off you need to disconnect the airbag light. |
 |
|
2. Then pull up and out on the bezel around the shifter. It will pop up on the part close to the cup holders, then you slide it toward you to get the back edge out. |
 |
|
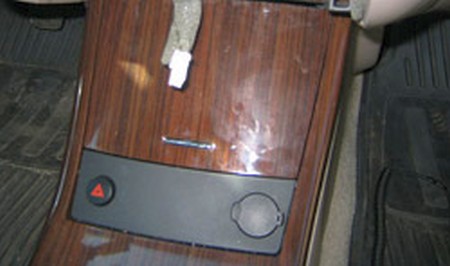
3. There is some slack to the wires, but be careful as you turn it over to discount the wires to the 12v power and the hazard light switch. |
 |
|
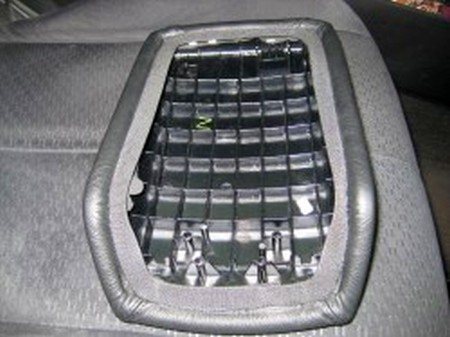
4. The shift boot is held in place with some clips. Carefully remove the OEM boot. You need to cut a piece of the boot open and remove the metal circular ring and then slip that into the new boot. It is what will hold the boot in place. |
|
|
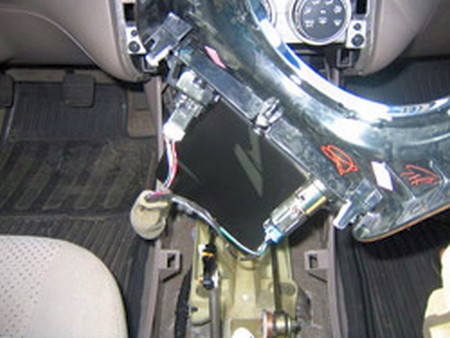
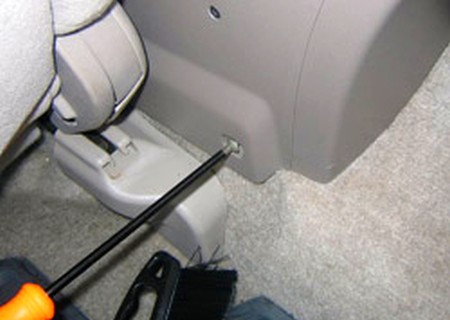
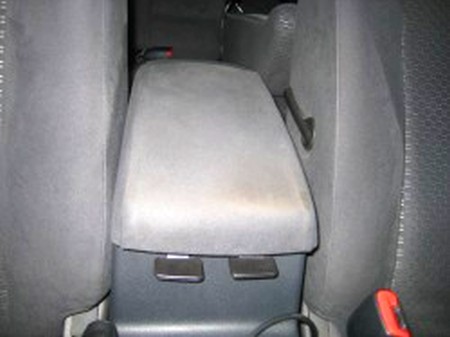
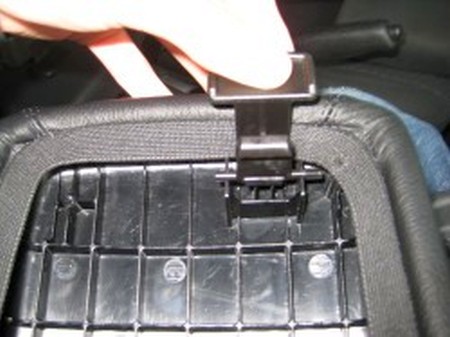
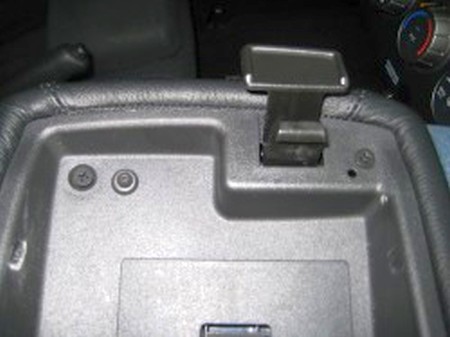
5. To get to the EBrake area you need to remove the entire center console... but no worries. It only takes four screws! There are two under the shift boot bezel.
|
 |
|
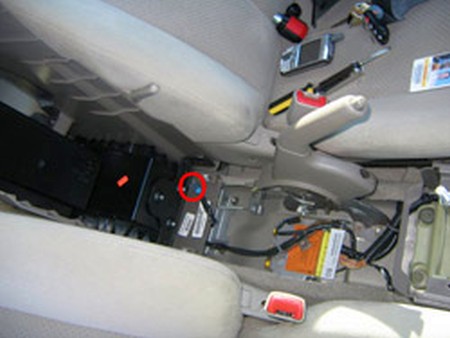
6. Then you just need to remove two screws from the bottom of the back of the console and it comes right out. |
 |
|
7. I tilted the console back and then it was easy to remove the wires to the 12v plug in the console. Then you can just lift out the console. Piece of cake. |
 |
|
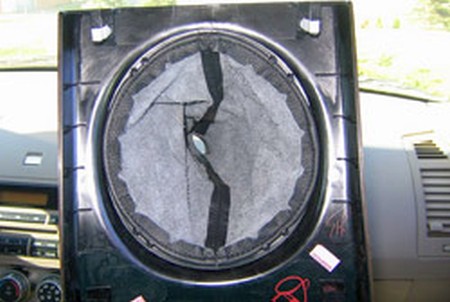
8. I pulled out the rubber ebrake surround. With the angle and space I had for mounting the boot, I didn't try to use some of the same clips. I figured it would be easy to just use two sided tape. |
 |
|
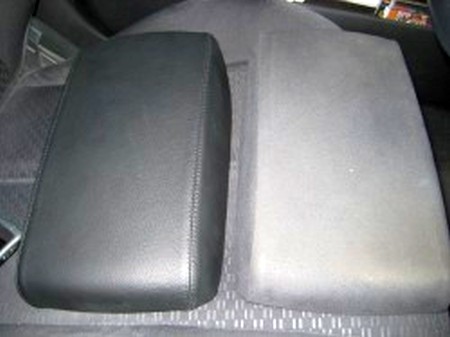
9. I cleaned the area well and used tape. I started on the long end and used small pieces to stick it little by little and get it right where I wanted. A couple of tips... with the ebrake boot don't stick too much under the console. The leather is just barely the right size so you don't have much to spare. I think it turned out great.
Reinstall everything in the reverse order of removal and ENJOY! |
 |
|
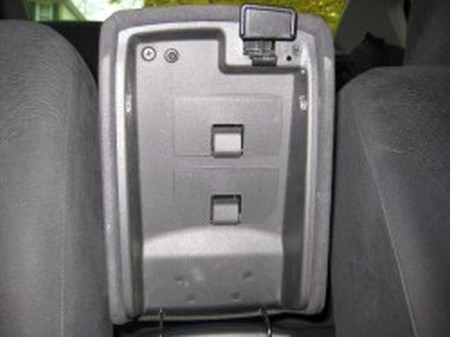
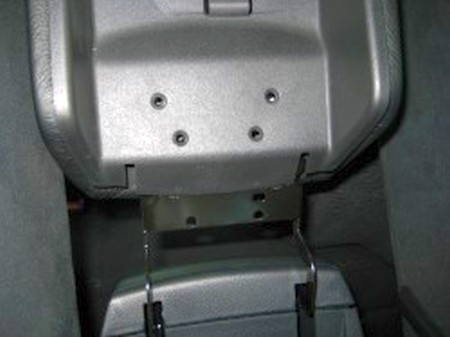
10. To install the armrest cover start by opening it. |
 |
|
11. Unscrew the 6 screws(they are short so be sure to not drop them). |
 |
|
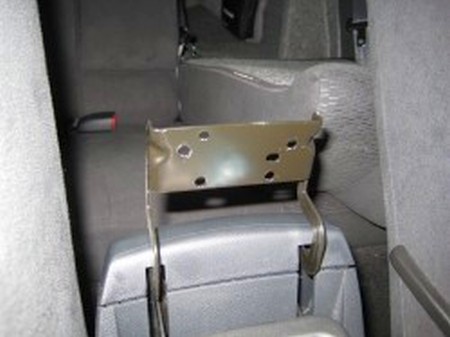
12. Slide the armrest off the hinge |
 |
|
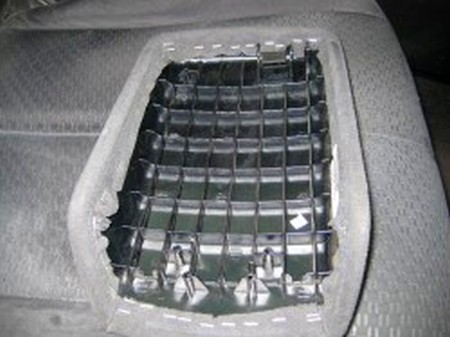
13. Remove the old cloth |
 |
|
14. Install the RedlineGoods armrest cover, it has elastic so it's really straightforward. |
 |
|
15. You can try (I opted not to) install the leather cover on the old one for extra padding. |
 |
|
16. Then place it face down and place the second half of it over it. (Be sure to align the tab when you place the inside cover back on) |
 |
|
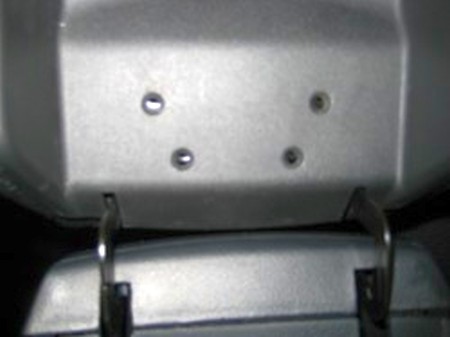
17. Then press the top together tightly and partly screw in the top 2 screws. Enough so that the tab is held into the correct place. |
 |
|
18. Next slide the whole top cover over the metal hinge. If there’s not enough room you might have to back out the top 2 screw a bit. |
 |
|
19. Align the screw holes and screw in the remaining 4 screws. |
 |
|
Useful tip You have installed a product made out of genuine leather. As you know, to maintain a leather product in good condition, you should take care of it. We suggest occasionally (every 4-6 week for example) applying some leather conditioner/UV protector to keep your leather from drying up in the sun and cracking. |
|
Please subscribe to our newsletter.
Get an instant 20% discount and enter our montly $100 CASH sweepstakes!