1999-04 PONTIAC GRAND AM |
||||||||||||||||||||||||||||||||
|
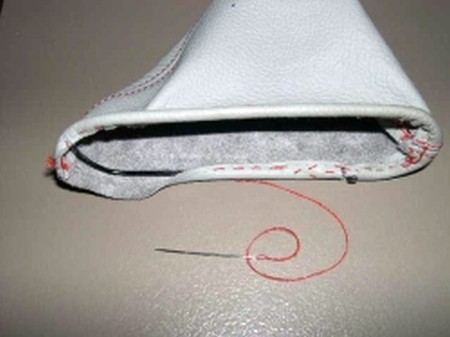
1. Tools needed -Flat blade and phillips head screwdrivers -Rachet and extensions -10mm and 7mm sockets -Staple gun and 1/4” (6mm) staples or Automotive GOOP (or any other epoxy-based glue) -Needle and thread
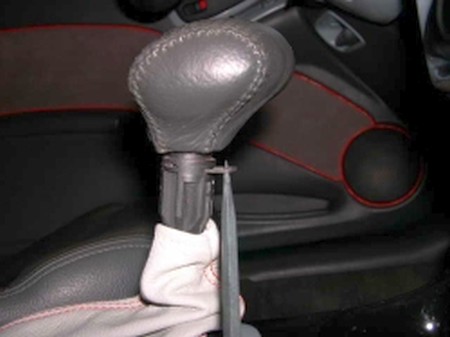
2. Pull down stock boot and remove retaining pin. Remove shift knob. |
 |
|
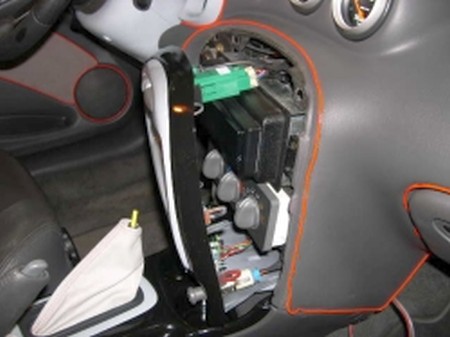
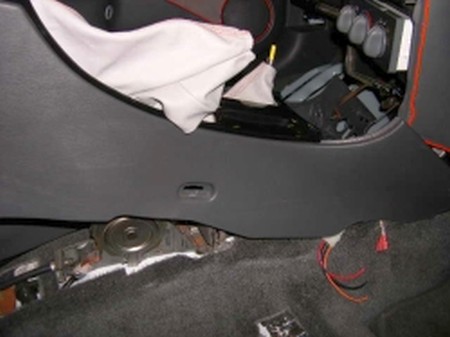
3. Using a flat blade screwdriver, pry the radio and HVAC trim bezel out from the dash. Unplug the wires from the back and set it aside. |
 |
|
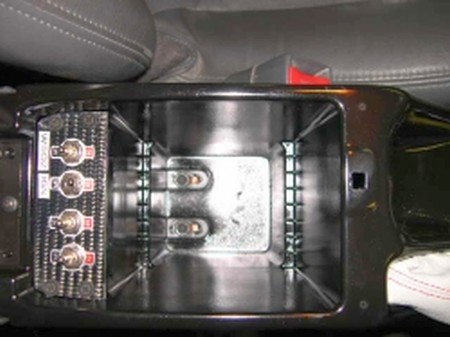
4. Remove the phillips head screws in the bottom of the cup holders. |
 |
|
5. Pull the cup holder and storage tray up and out. |
 |
|
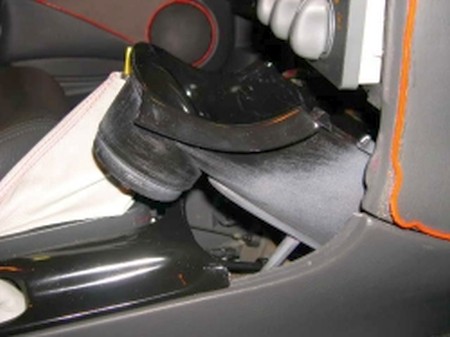
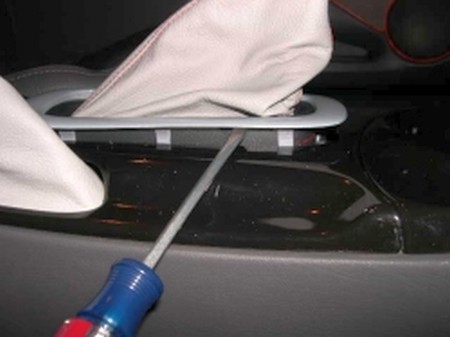
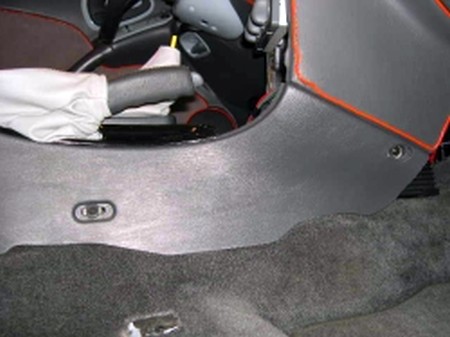
6. Using a flat blade screwdriver, pry up the plastic trim piece around the shift boot retainer and gear selection indicator. |
 |
|
7. Remove the 10mm bolts on both sides of the center console next to the seats. Remove the plastic covers on both sides of the center console by the foot wells and remove the 7mm bolts. |
 |
|
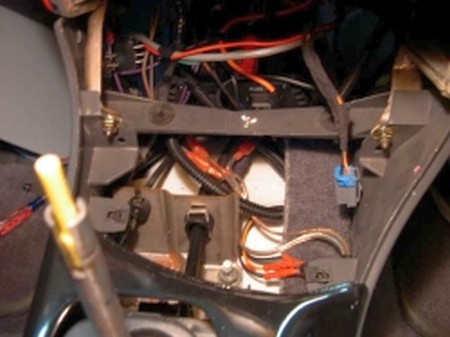
8. Lift out the rubber mat in the bottom of the center console storage compartment and remove the 10mm bolts. |
 |
|
9. Remove the 10mm nuts underneath where the storage tray was. You can now remove the center console. |
 |
|
19. Pull up the emergency brake handle as far as it will go. Lift the back of the center console up until you can slide it up and over the shifter and e-brake handle. |
 |
|
11. Flip over the center console so you can get to the underside. Remove the phillips head screws holding the e-brake boot in. |
 |
|
12. Use a screwdriver and release the plastic tabs holding the gear selection indicator and shift boot. |
 |
|
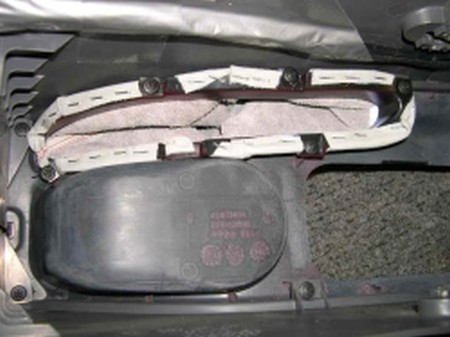
13. Remove the staples holding the stock e-brake boot to the plastic frame. Line up your new boot on the frame the same way and staple it down using the staple gun and 6mm staples. It's best to hold the frame on the edge of a counter top and start on one side and work around until it's finished. |
 |
|
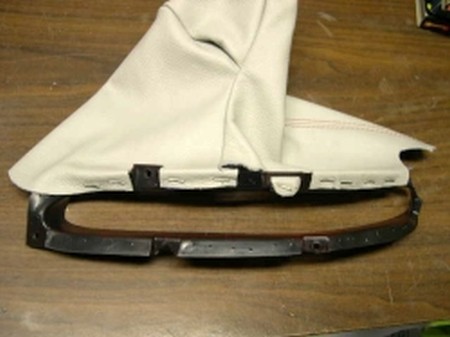
14. Remove the stock shift boot from the retainer, cut open the bottom and remove the wire frame inside. This is required to keep the boot's shape and hold it in the retainer. Cut the wire open and feed the wire frame inside the new shift boot's bottom fold.
You might want to replace the old wire frame with a drycleaners' style coat-hanger. The girth of wire they use is perfect. Just cut a length out, feed it through the fold in the bottom of the new boot and then shape it as the stock wire frame is. |
 |
|
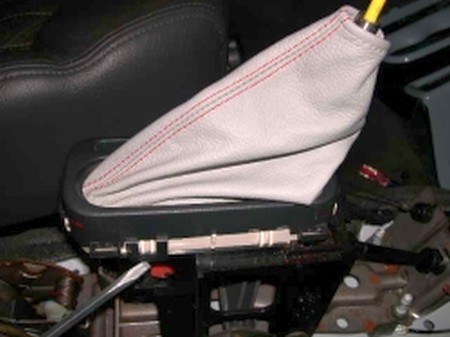
15. Once the frame is in, install the new boot in the retainer and push the frame under the tabs.
16. You are now ready to install your new boots. Put everything back together in reverse order of removal and you are done!
For the ebrake boot, use either the staple gun and staples to attach it to the stock frame, or glue them together instead. |
 |
|
ENJOY YOUR NEW LEATHER BOOTS! |
|
|
Useful tip You have installed a product made out of genuine leather. As you know, to maintain a leather product in good condition, you should take care of it. We suggest occasionally (every 4-6 week for example) applying some leather conditioner/UV protector to keep your leather from drying up in the sun and cracking. |
|
Please subscribe to our newsletter.
Get an instant 20% discount and enter our montly $100 CASH sweepstakes!