2013-15 HYUNDAI GENESIS COUPE |
||||||||||||||||||||||||||
|
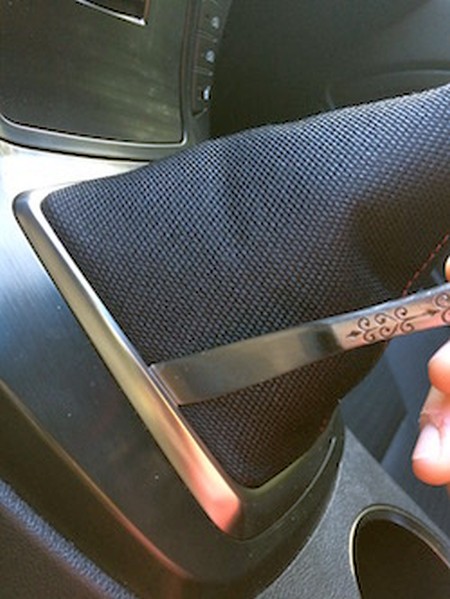
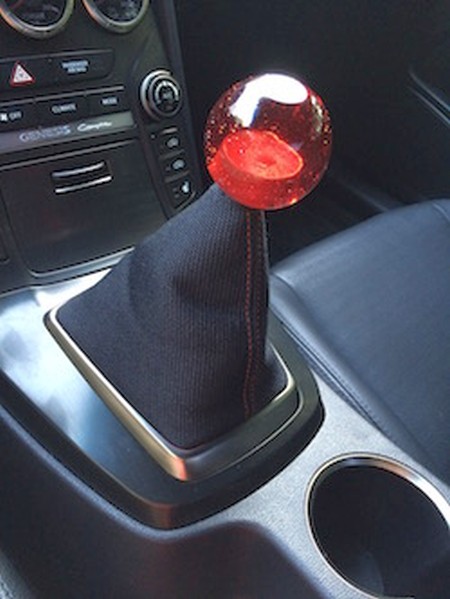
1. Remove the shif knob (unscrew). To remove the shift boot slide anything thats thin like a butter knife or a plastic tool, just anything that fits in between the actual boot and the silver trim. |
 |
|
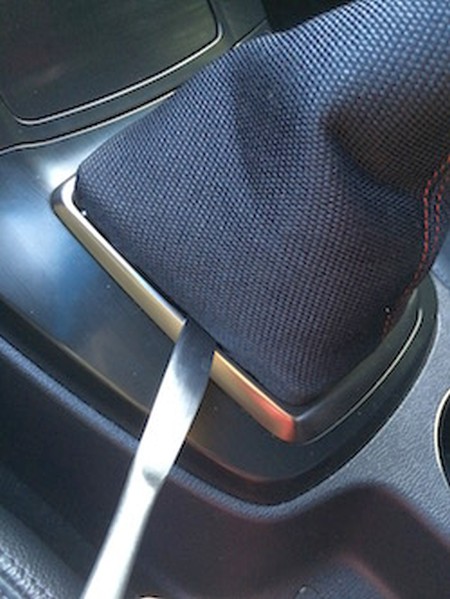
2. Once you have the tool in between the shift boot and silver trim very gently start pulling the tool towards you as you will hear the shift boot disconnecting from the console. Once you get one side done you should be able to pull the boot out with ease, if its giving you trouble just use your tool and just repeat this step on that side. |
 |
|
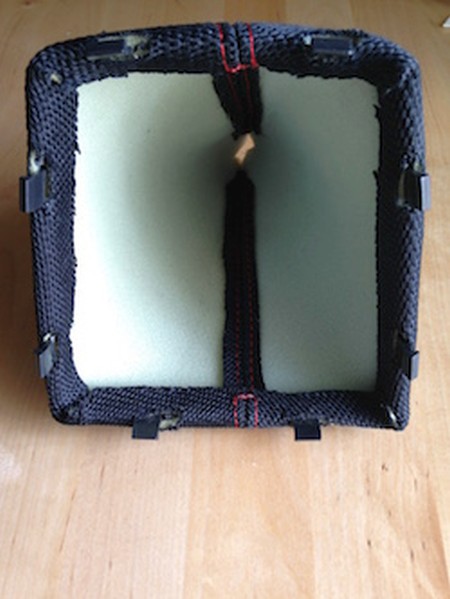
3. You can notice this isn't the stock shift boot as I already installed mine but to take the mounting bracket off the OEM shift boot all you do is peel back the shift boot as it is only held on by glue. Be gentle with it so you don't rip it but it shouldn't give you any trouble. Once thats off now you can install your custom shift boot! Make sure the pins are facing down when sliding the bracket in the custom shift boot, then you want to make sure that each side is on evenly and if you find that the holes are off a little that means you didn't put the bracket on the right way. Take it off and try again until the each side is even. Now you can fold the extra shift boot material over the mounting tabs and glue it on the bracket, I used a hot glue gun to get the best adhesive. Just wait for it to dry then you can install it back in the car. |
 |
|
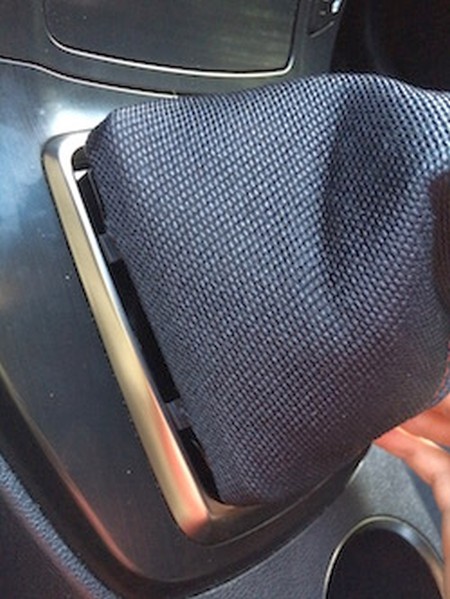
4. Just slide the shift boot in line up the mounting bracket to the holes and click it in place. |
 |
|
5.Reinstall the stock OEM shift knob back on and you are done! |
 |
ARMREST COVER |
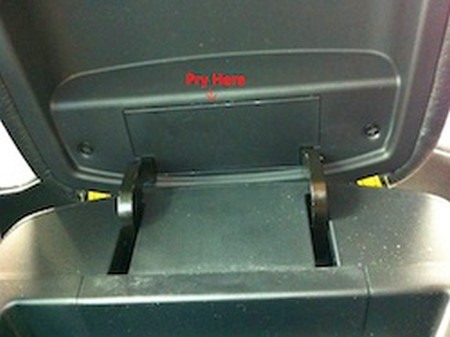 |
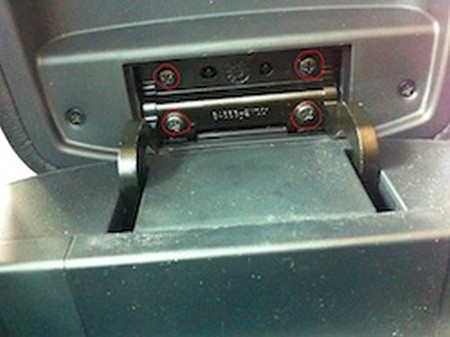
2. Unscrew the 4 screws using a phillips screwdriver and remove the arm rest off the hindge. |
 |
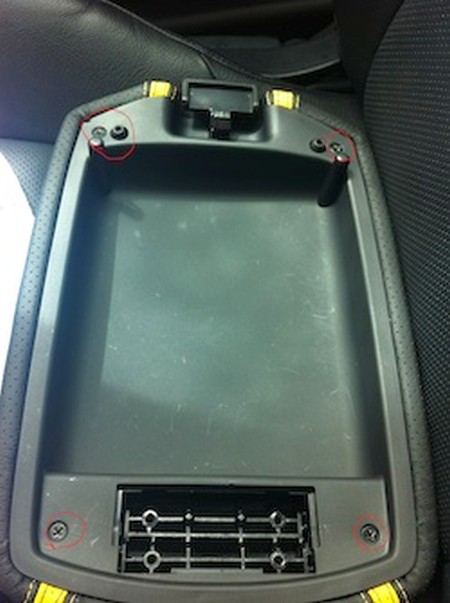
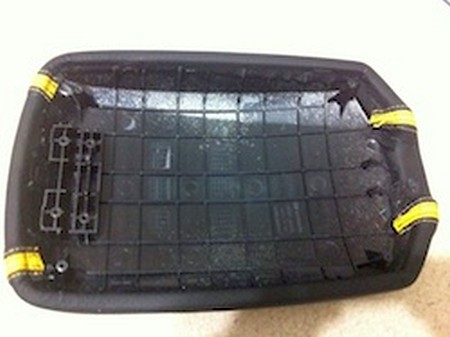
3. Now remove another 4 phillips screw that's holding the plastic backplate to the arm rest. |
 |
4. Now take your leather cover and wrap it around the arm rest and glue gun the sides, wait a few minutes to let the glue dry. Clamps will help you get the alignment right. Make sure to use a spray-on adhesive such as Contact Cement and align your armrest cover carefully (test-fit) before you even open up the glue. Once the glue has settled, put everything back in reverse order and you're done! |
 |
5. To install the ebrake boot, you need to remove the center console. It has screws on both sides, on the front and the rear. |
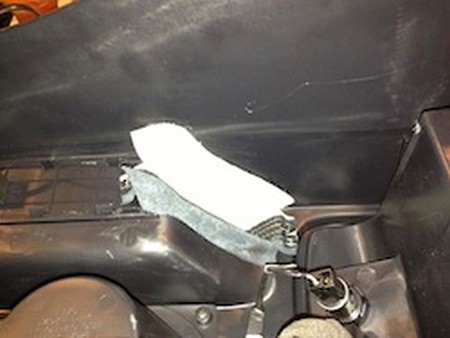 |
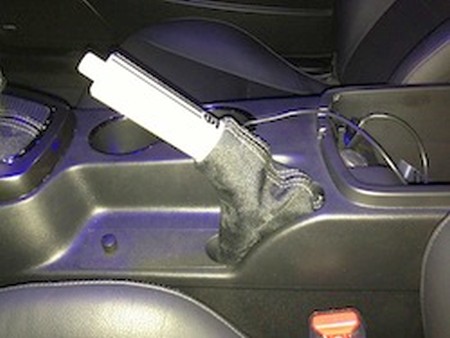
6. Remove the dust guard from the stock ebrake. Hot-glue the new ebrake boot in it's place or use the mounting prongs from the dust guard to affix the RedlineGoods ebrake to the console. |
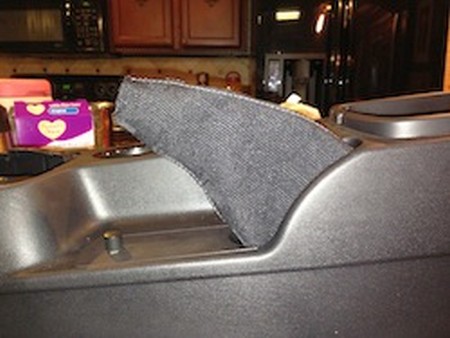 |
7. Reinstall the center console, with the ebrake boot, into the car. That's it! :) |
 |
|
|
Please subscribe to our newsletter.
Get an instant 20% discount and enter our montly $100 CASH sweepstakes!