2008-12 HYUNDAI GENESIS COUPE |
||||||||||||||||||||||||||||||||||||||||
|
butter knife wrapped in painters tape |
|
|
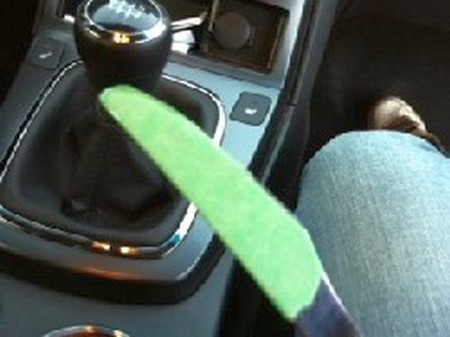
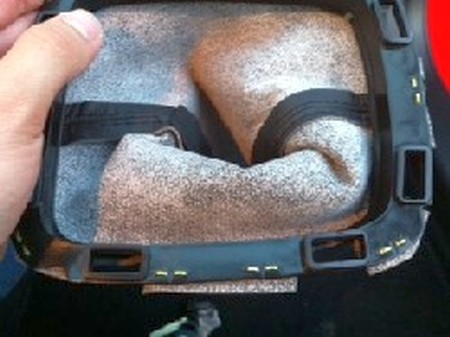
1. Use the butter knife to slowly and gently pry up the console trim, starting with the edge closest to you... |
 |
|
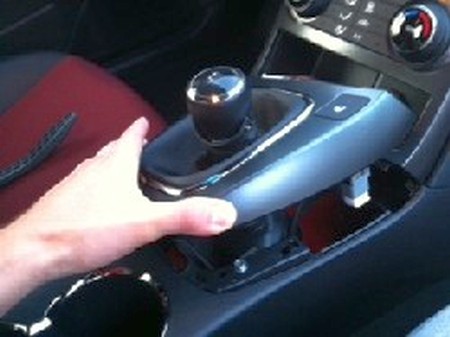
1A. There are two clips on each side, once these are loose, rotate the piece up and you can pull out the entire piece. |
 |
|
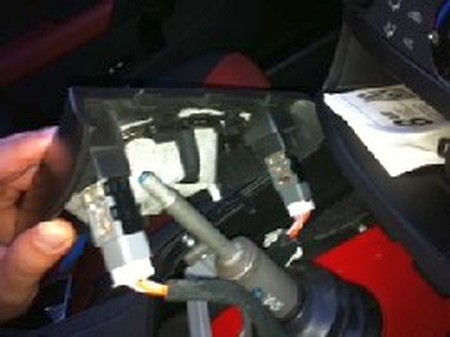
2. Remove the shift knob. Disconnect the two wiring harnesses for the heated seats. |
 |
|
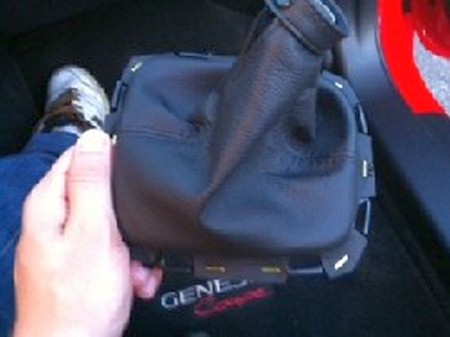
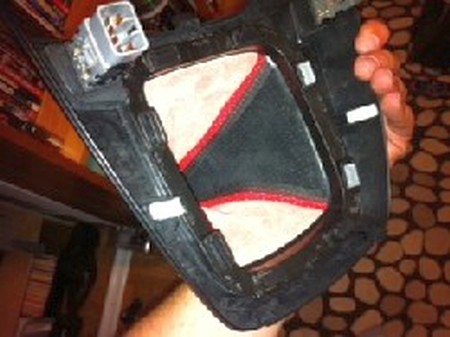
3. Slowly remove the retaining bracket from the trim by working your way around the 6 clips holding the bracket in place. |
 |
|
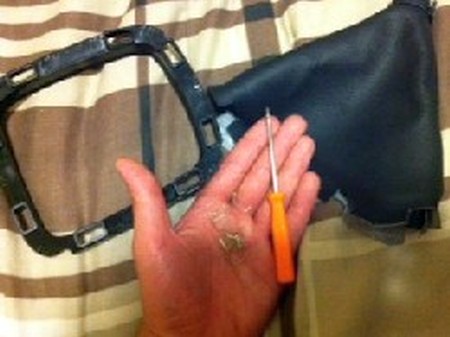
4. Notice the staples, they will
need to be removed. |
 |
|
5. Use the small flat head to
remove all the staples holding the stock boot to the bracket. |
 |
|
6. Either keep the staples if you plan on re-using them, or use a glue-gun (preferred) to reinstall the new boot. |
 |
|
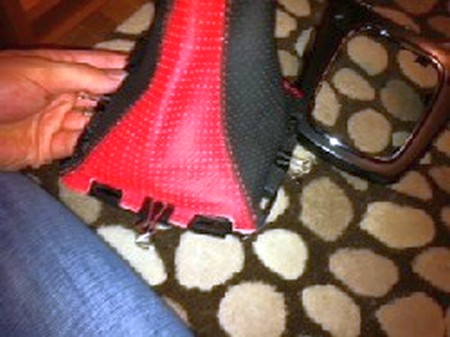
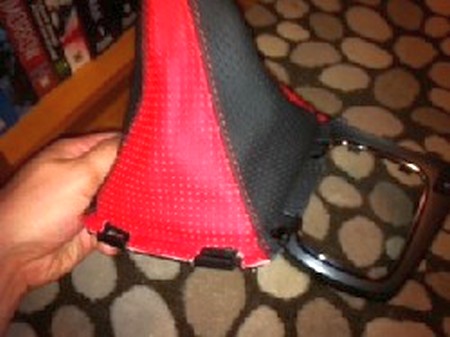
7. Use the clips to position the new shift boot into place on the bracket to make gluing easier. |
 |
|
8. Use the glue gun to attach each flap to the bracket.
|
 |
 |
|
9. Reinstall the bracket to the console trim. Go slowly and work your way around each of the six clips. |
 |
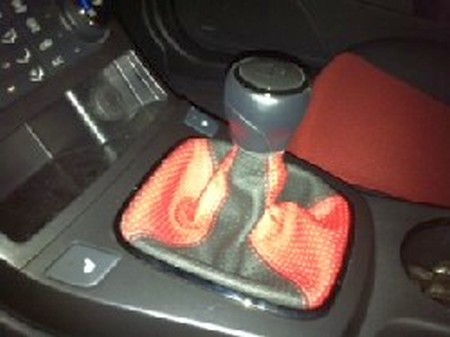
10. Reinstall the harnesses for the heated seats, and install the console trim over the shift knob in the reverse order you removed it. Attach the velcro strap around the know and admire your new shift knob. |
 |
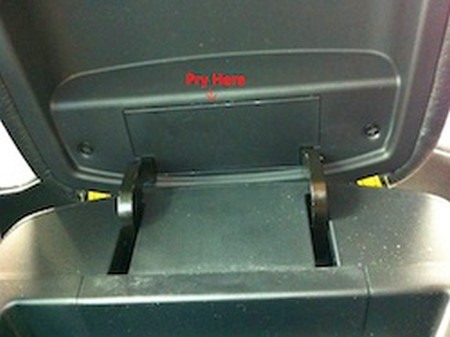
11. Lift up the arm rest and locate the hinge cover. Take the flathead screwdriver and gently push it between the cover and pop it off. |
 |
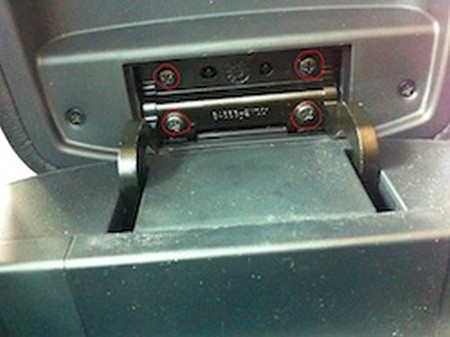
12. Unscrew the 4 screws using a phillips screwdriver and remove the arm rest off the hindge. |
 |
13. Now remove another 4 phillips screw that's holding the plastic backplate to the arm rest. |
 |
14. Now take your leather cover and wrap it around the arm rest and glue gun the sides, wait a few minutes to let the glue dry. Clamps will help you get the alignment right. Make sure to use a spray-on adhesive such as Contact Cement and align your armrest cover carefully (test-fit) before you even open up the glue. Once the glue has settled, put everything back in reverse order and you're done! |
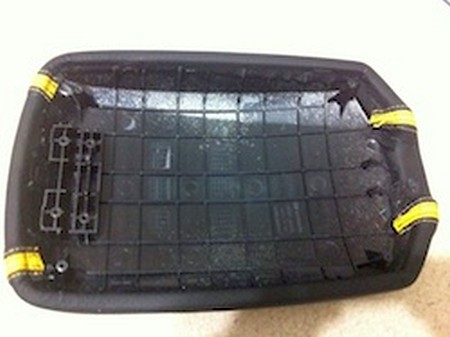 |
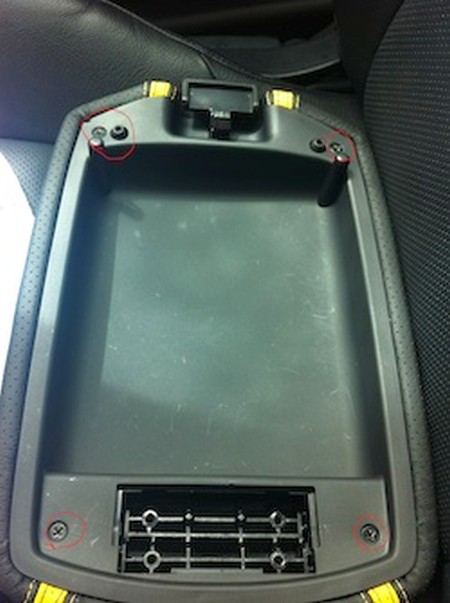
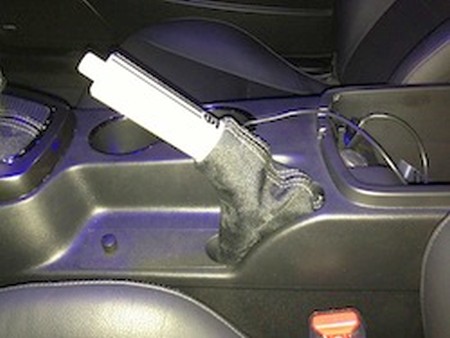
15. To install the ebrake boot, you need to remove the center console. It has screws on both sides, on the front and the rear. |
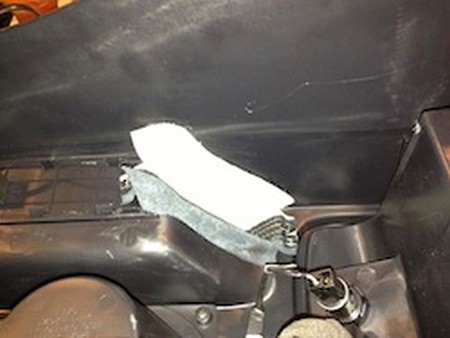 |
16. Remove the dust guard from the stock ebrake. Hot-glue the new ebrake boot in it's place or use the mounting prongs from the dust guard to affix the RedlineGoods ebrake to the console. |
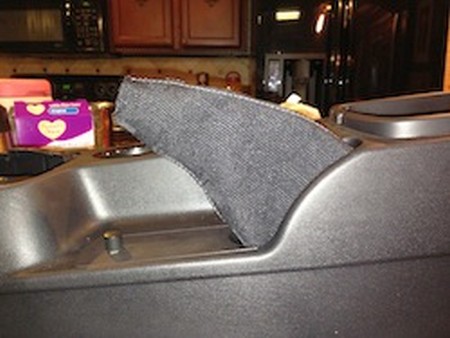 |
17. Reinstall the center console, with the ebrake boot, into the car. That's it! :) |
 |
|
|
Please subscribe to our newsletter.
Get an instant 20% discount and enter our montly $100 CASH sweepstakes!