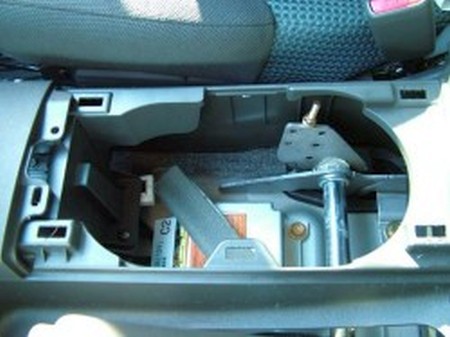
1. Remove the cup holder finisher. The entire piece pulls out with one good tug.
2. This is what the area should look like once the cup holder finisher has been pulled out.
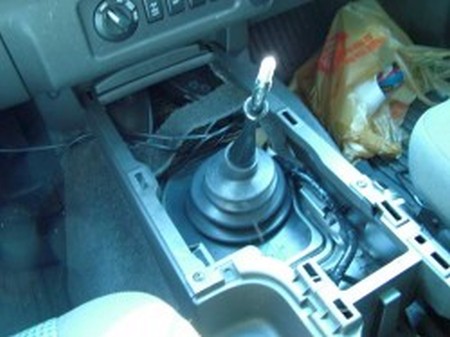
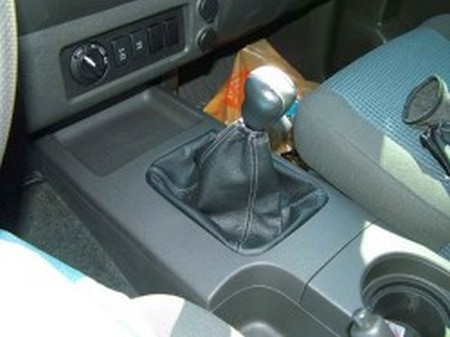
3. Unscrew the shift knob. In some cases, a good twist is needed. Other times, you may need to break out the locking pliers. Wrap a towel around the knob so that you don’t mar the knob, lock the pliers, and twist. The boot has already been removed from the picture.
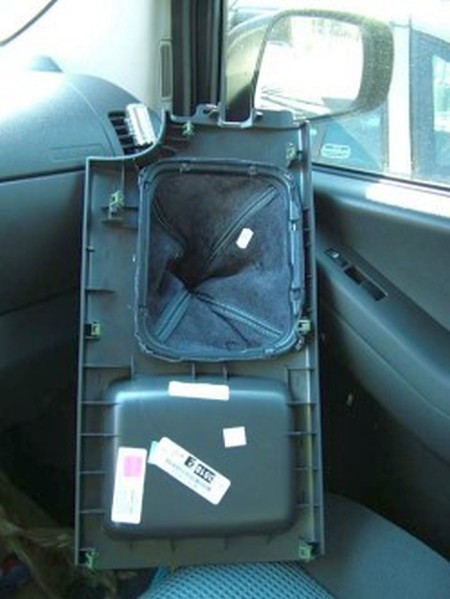
4. Remove the M/T finisher bezel. This is accomplished by pulling up on the retaining clips on the edge closest to the cup holder finisher and then pulling the piece towards the rear of the vehicle.
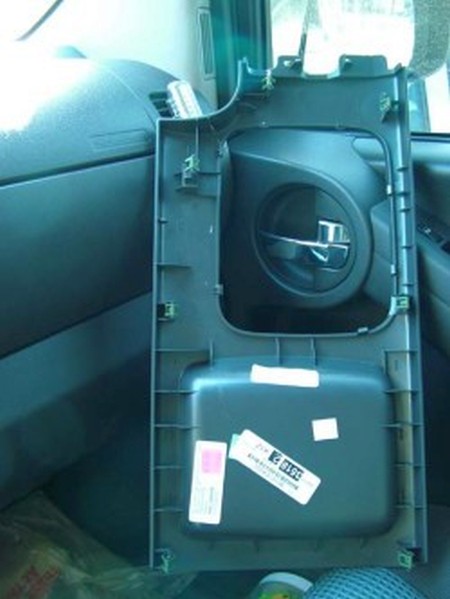
5. Remove the shifter boot by undoing the clips that surround the boot and attach to the M/T finisher bezel. This is what the finisher would look like with the shifter boot removed.
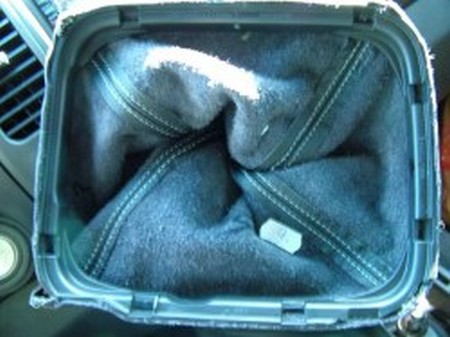
6. This is what the boot will look like once removed. You will need to cut the boot from the plastic trim rings using a razor blade or utility knife. You must save the ring as the new boot will be glued back to the ring.
7. Once the glue has dried, reattach the boot to the M/T finisher bezel.
8. Reverse installation and this is what it should look like when complete. Top it off with a different shift knob and you’re all set.
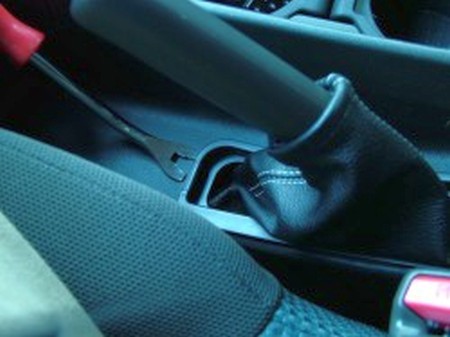
9. Use a flat screwdriver or a trim panel removal tool and pry one end of the boot from the center console. Make sure to start in the rear - some year models of the car have a longer retaining tab in the front, starting from the front will break that trim piece.
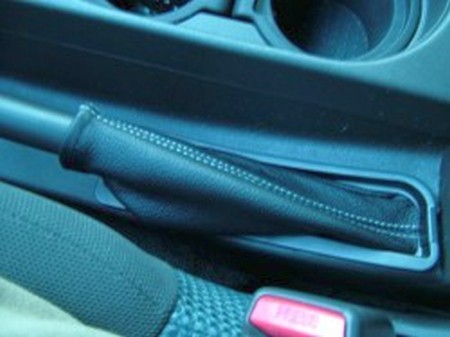
10. You will need to cut the boot from the plastic trim rings using a razor blade or utility knife. You must save the ring as the new boot will be glued back to the ring. Once the glue has dried, reverse the installation procedure and insert back into the center console.
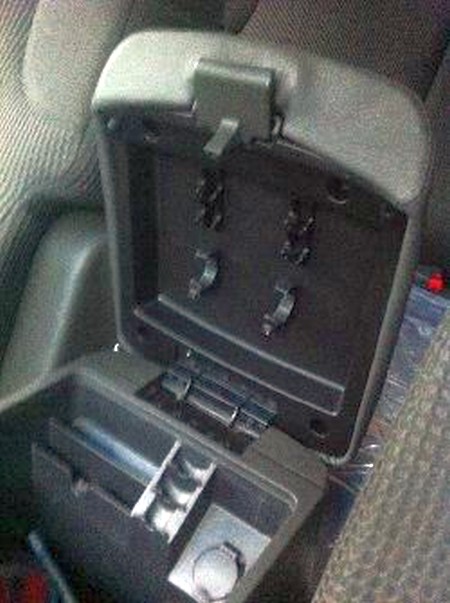
11. Open the console and remove the screws from the hinge. The lid should now come free.
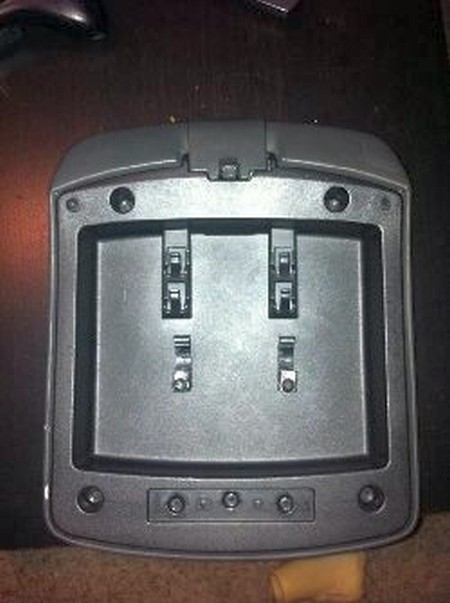
12. Remove the four torx screws in each corner of the inner plastic, and then separate the plastic from the top of the lid.
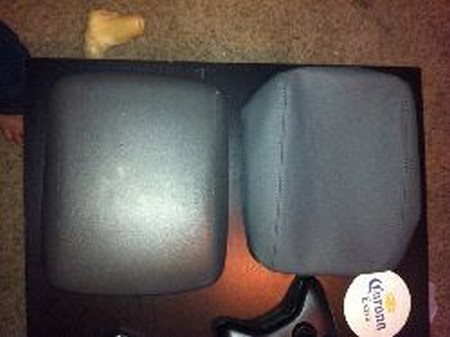
13. I chose to put the leather over top of the stock vinyl. It covers it up nice, and the stock vinyl provides a little extra cushioning.
Fit the leather over top of the console lid and then pull it tight, and put the inner plastic piece back on top.
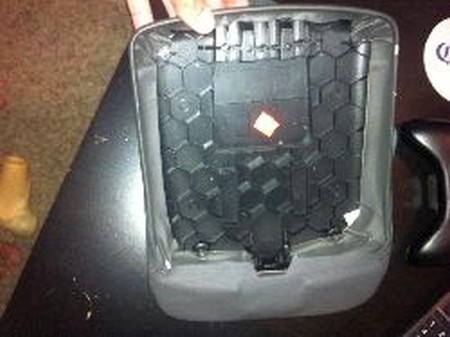
14. You may want to use some kind of adhesive, like super glue to glue the fabric in place. I didn't find it necessary though it took me a couple of tries to get the plastic on top of the leather and hold it in place just right.
15. Put some pressure on the inner plastic to hold everything in place, then replace the corner torx screws.
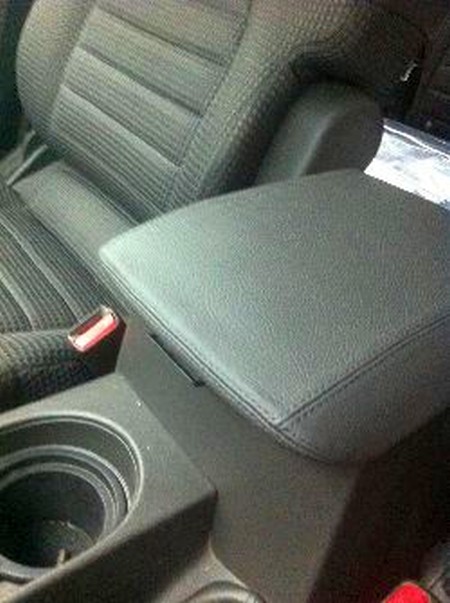
16. Head out to the X, and simply screw the lid back onto the hinge. Admire your leather covered console lid.
DOOR ARMREST COVERS
1. You will need a quick dry adhesive, acetone, and a box cutter handy. Gorilla glue sticks within 10 seconds but there are other adhesives out there you can use that are more professional grade. Make sure you're comfortable with the cure time of your chosen glue. If you've never done this before, choose a longer curing glue.
2. To remove your armrest, you can use a body trim tool, a screwdriver, or even just your fingers. Use it as a lever to pop the armrest up. Pull straight up on the armrest to remove and avoid breaking clips. Once removed, place the Redline leather cover over the armrest for visual alignment.
3. You will first want to tack down the inside corners where you hand would grab when closing the door. The area has pre-cut slits to allow for angling the leather around these corners.
4. Then glue down the smallest edge where the stitching tapers off. It is more important to align the stitch line with where you want it than the cavity cut for the clip underneath.
5. Continue tacking down the outside edge of the armrest with your adhesive.
6. Make sure to pull tight before laying each piece.
7. Check to make sure no glue remains on your hands so as to not ruin the leather.
8. As you make your way around the armrest, you’ll be forming corners. It is best to address these at the end once you’ve achieved the desired look everywhere else on the door armrest.
9. To fix these corners to look nice, you will need to cut them down the middle with a pair of scissors (or box cutter) and fold them in and down.
10. Once you’ve fixed up the corners, you will most likely need to remove excess leather from the edges that may be obstructing any clips so the install goes smoothly. Careful as to not cut into anything that shows! You should only need to remove very little.
11. Repeat steps above with the second armrest. Take the completed armrests and reinstall them by aligning the clips and tapping it back in place.
CONGRATULATIONS - YOU HAVE SUCCESSFULLY INSTALLED YOUR NEW LEATHER BOOTS!
Useful tip
You have installed a product made out of genuine leather. As you know, to maintain a leather product in good condition, you should take care of it. We suggest occasionally (every 4-6 week for example) applying some leather conditioner/UV protector to keep your leather from drying up in the sun and cracking.
Redline Automotive Accessories Corp. will not be held liable for any labor, incidental or consequential damages of any kind. Proceed at your own risk.