|
|
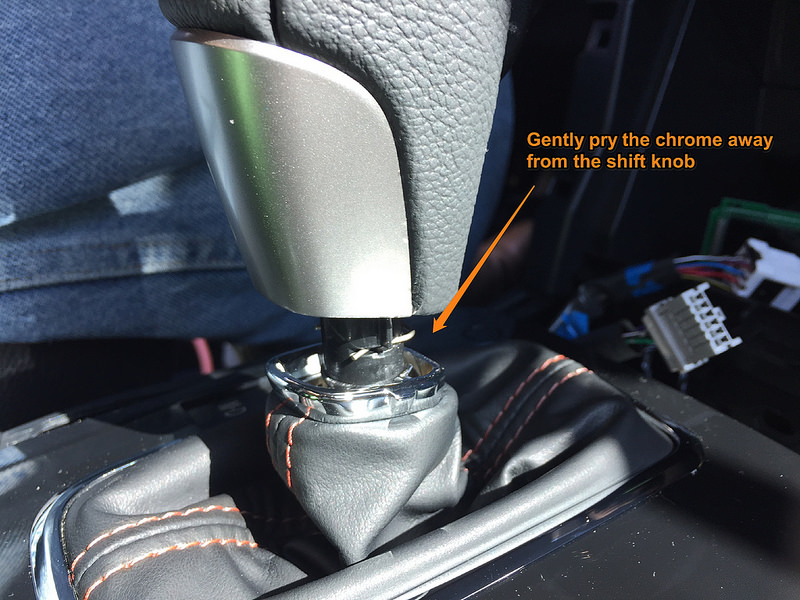
1. To remove the shift boot, start by prying the chrome clip away from the shift knob. Use a nylon trim tool.
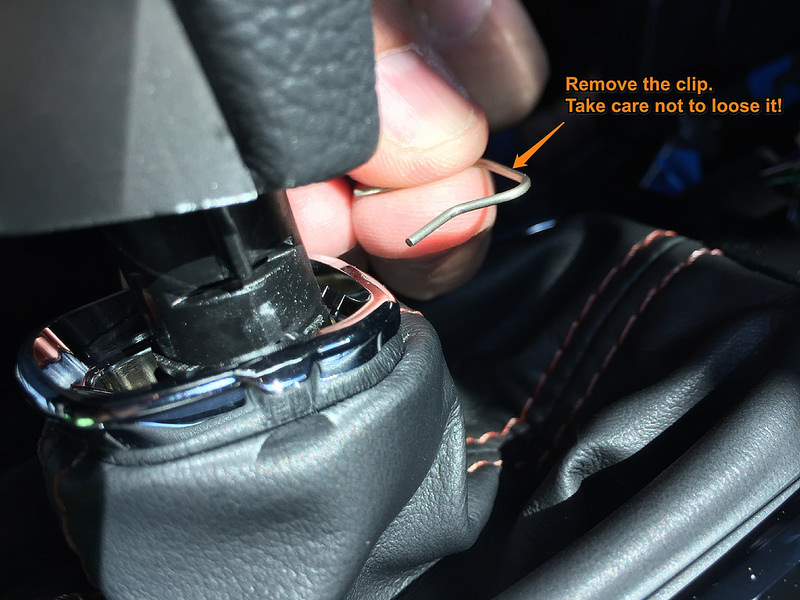
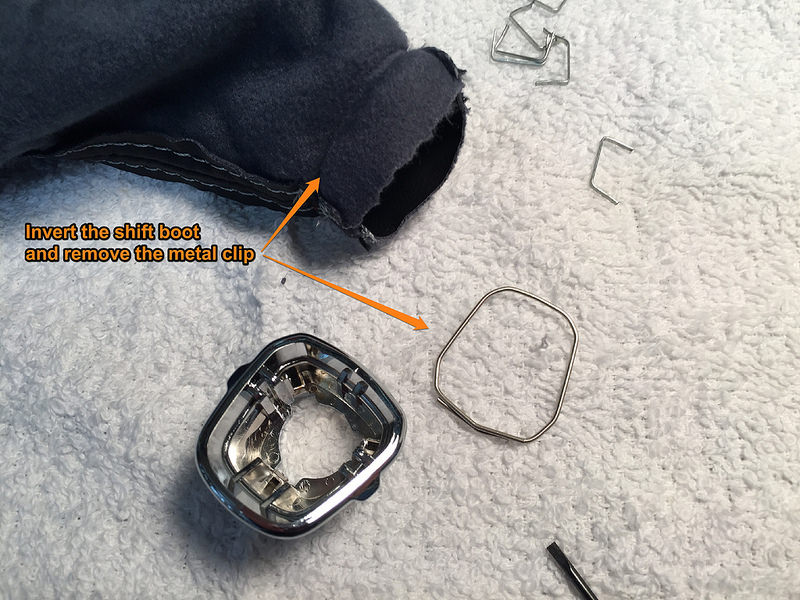
2. Remove the small metal clip which holds the shift knob in place. Do not loose this clip!
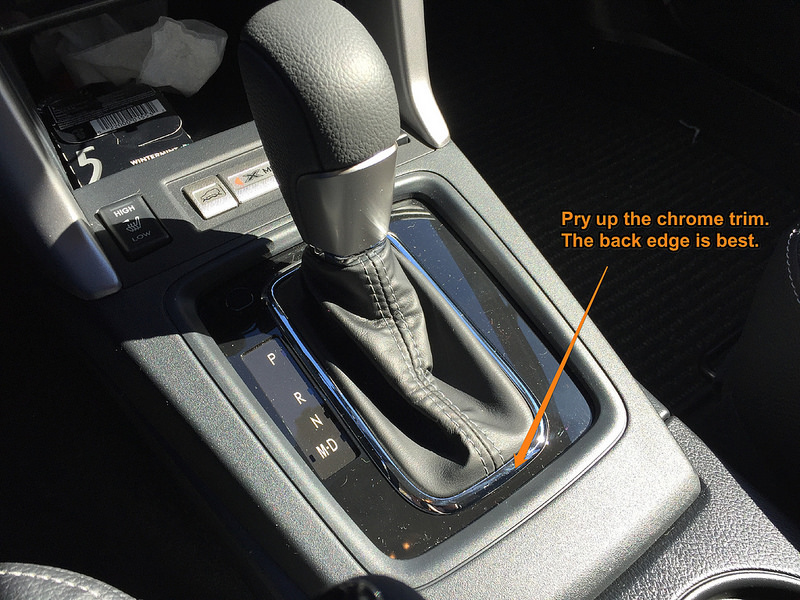
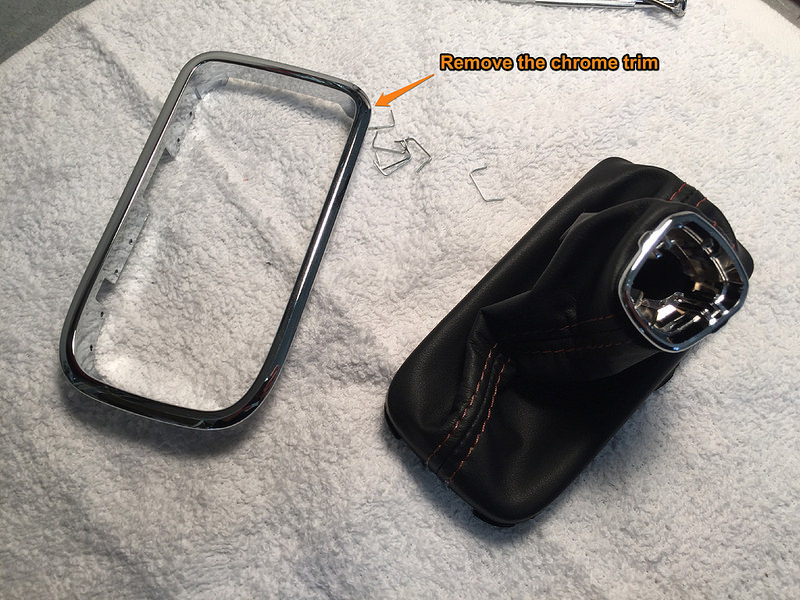
3. Remove the chrome trim, by gently prying it away from the gear indicator.
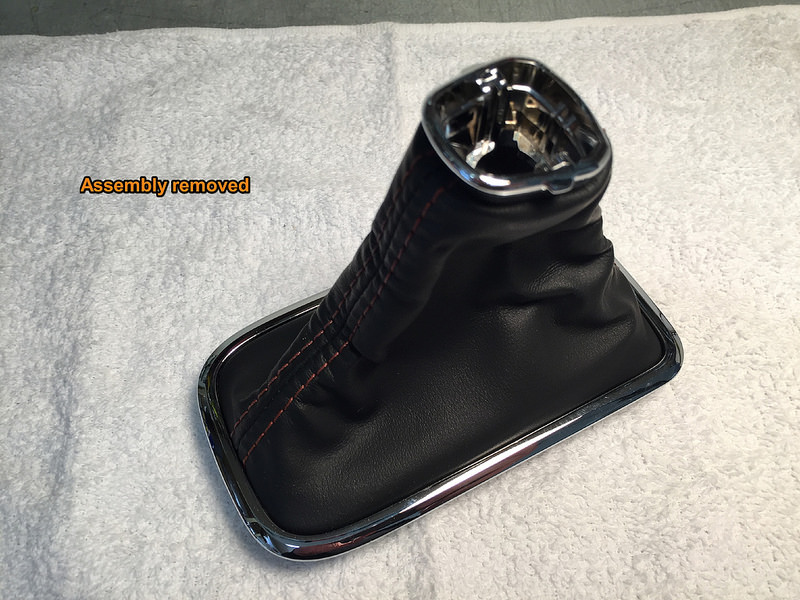
4. With the shift boot removed, you can get to work.
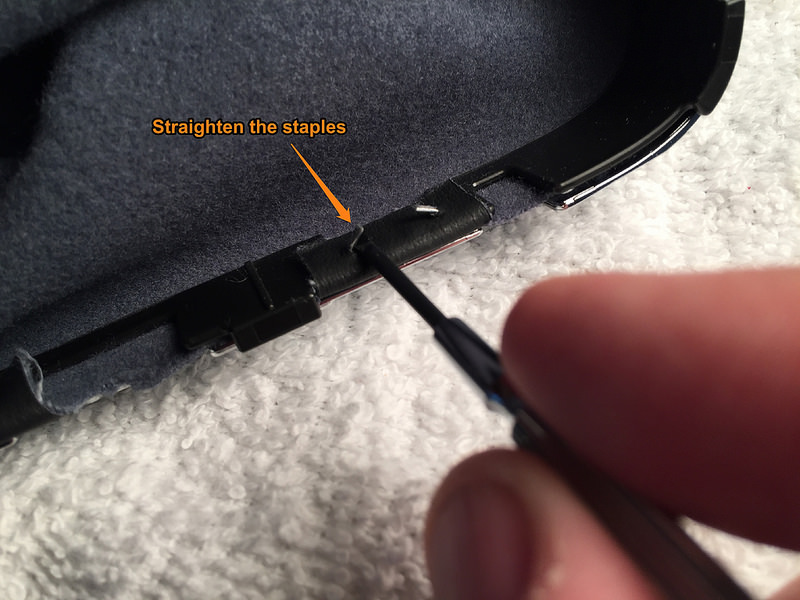
5. Straighten the legs on the staples which secure the vinyl boot in place.
6. Remove the staples, and the chrome trim.
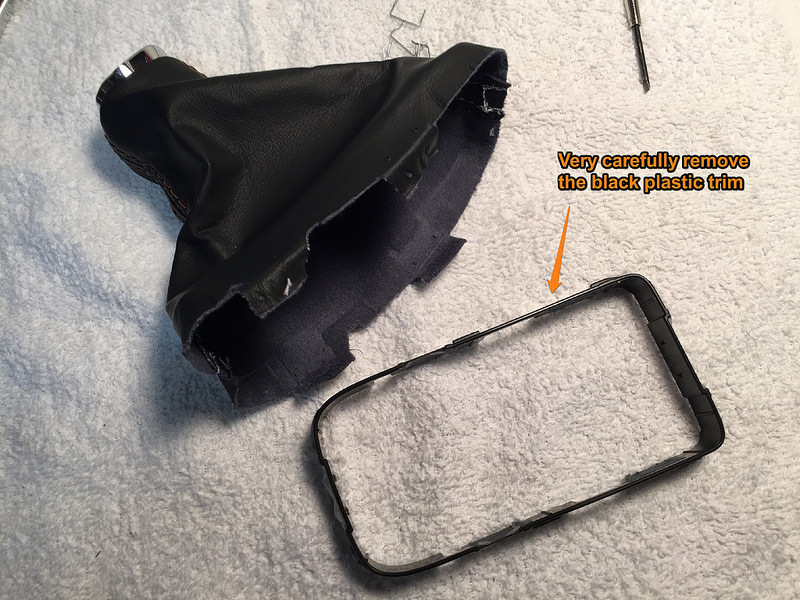
7. Very carefully separate the vinyl boot from the plastic bracket. The black plastic is thin, and you must take care not to snap it in two.
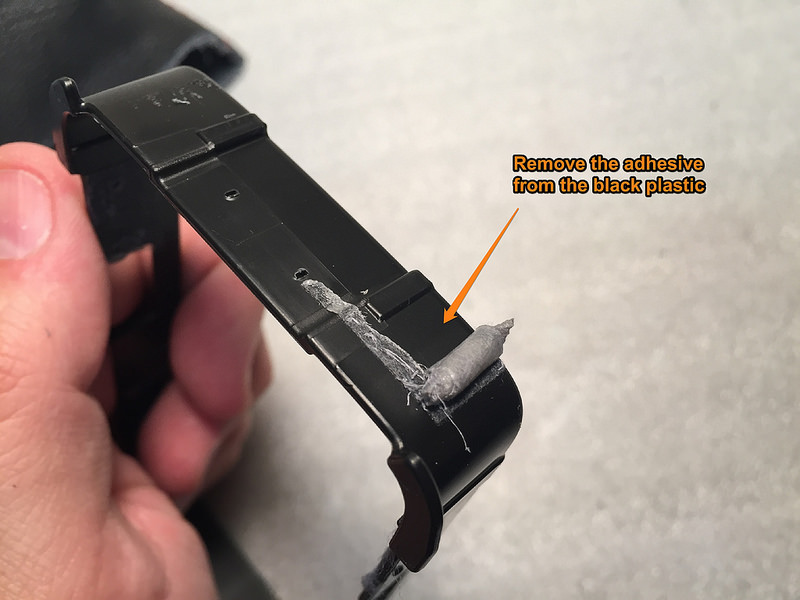
8. Rub the existing adhesive off of the plastic bracket.
9. Turn the vinyl boot inside out. Remove the steel clip which holds the chrome trim in place.
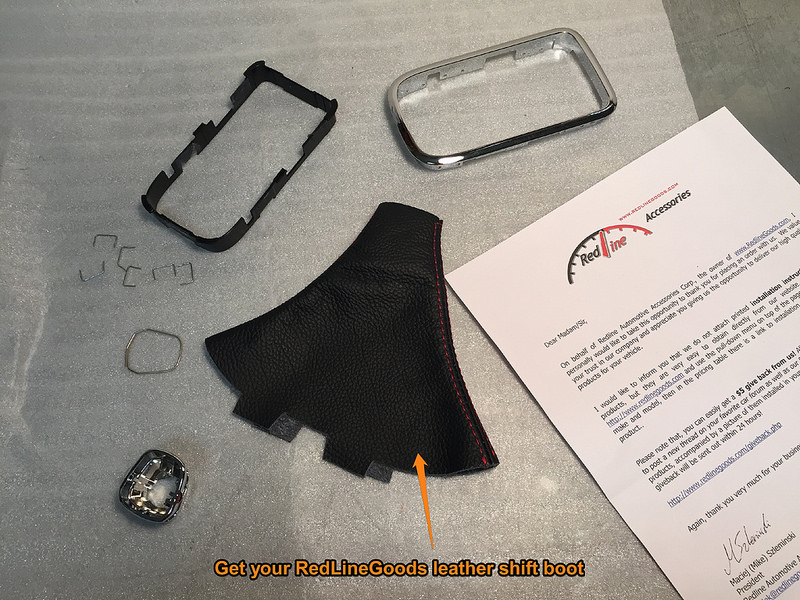
10. Collect your new RedLineGoods leather shift boot.
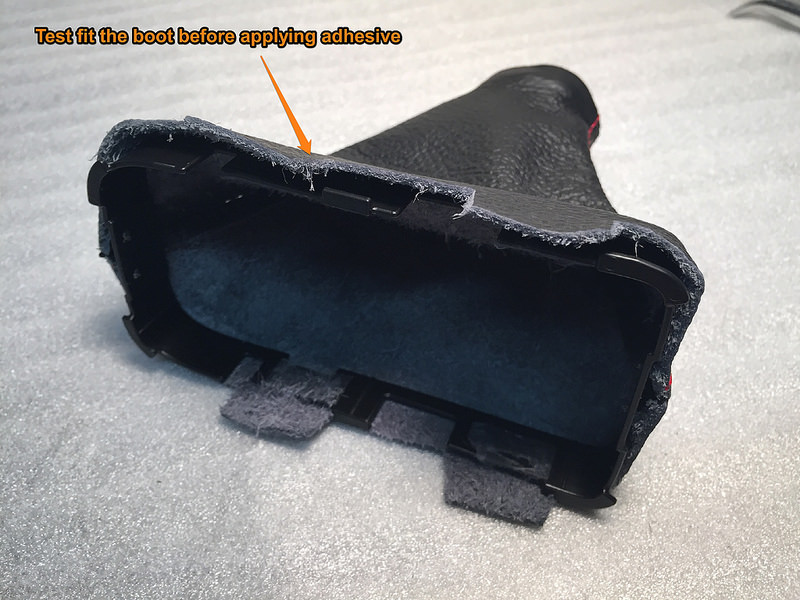
11. Test fit the black bracket into the shift boot. The boot has four tabs, the tabs will align with the little protrusions on the edge of the black bracket. You can also align the longer side of the boot with the more rounded side of the black bracket.
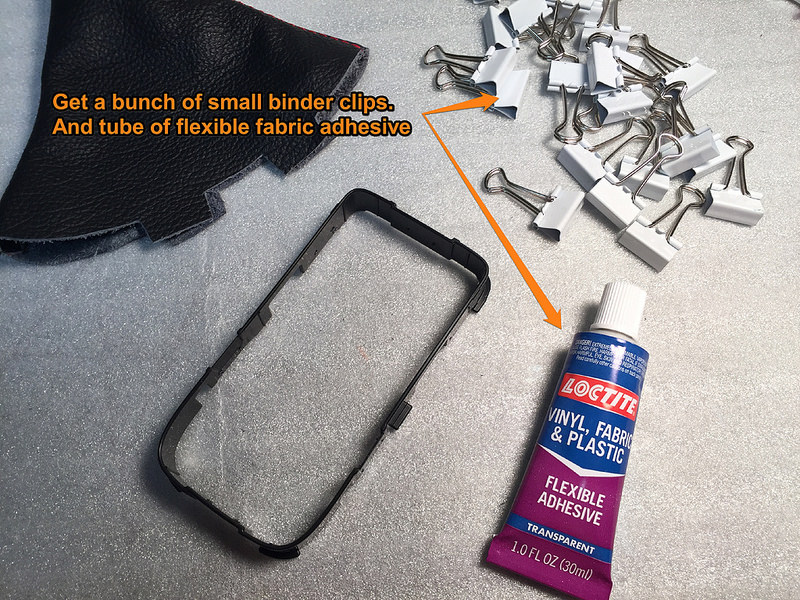
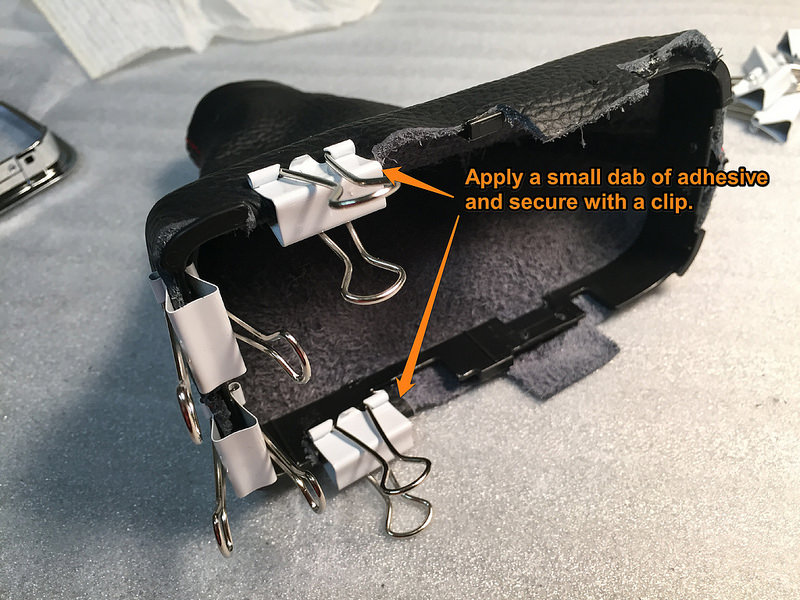
12. To properly secure the shift boot, use a fabric/plastic adhesive. I found the LocTite Flexible Fabric Adhesive to work great. You can purchase it at the hardware store.
13. Working one spot at a time, apply a small dab of glue to the leather, and secure it to the plastic bracket. Take care to keep the stitching centered on the bracket.
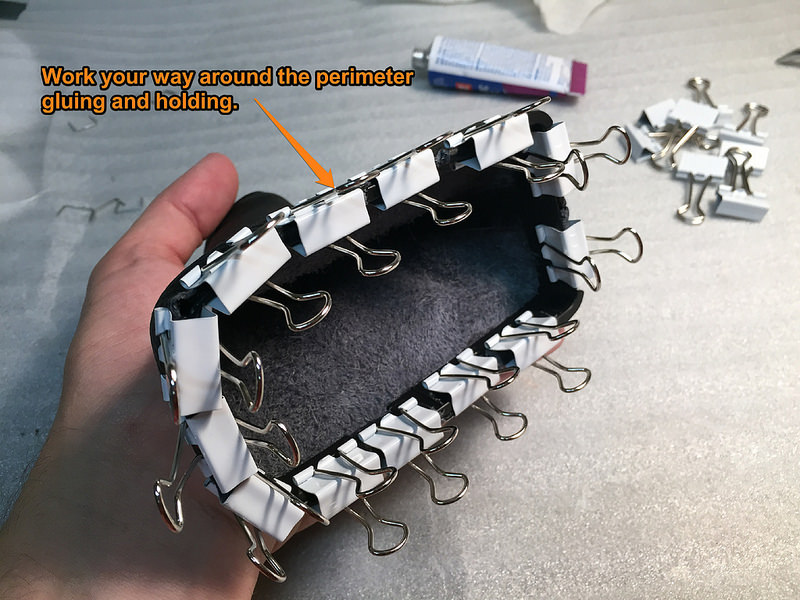
14. Slowly work your way around the perimeter of the bracket until all the the leather is secured. Make sure and fold over the four tabs and glue both sides.
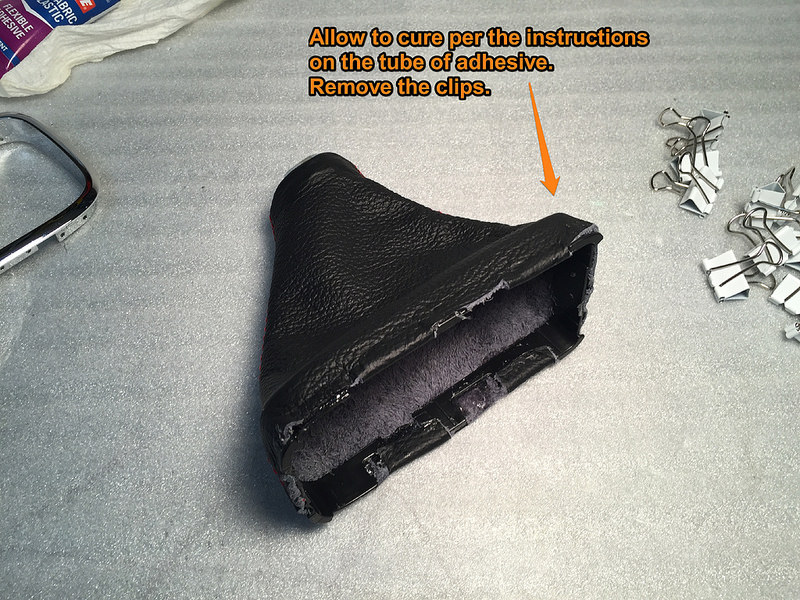
15. Wait until the glue has cured before removing the binder clips. I let it cure overnight.
16. I re-installed the staples, using a pair of pliers. You can probably skip this step since we used more adhesive than Subaru did.
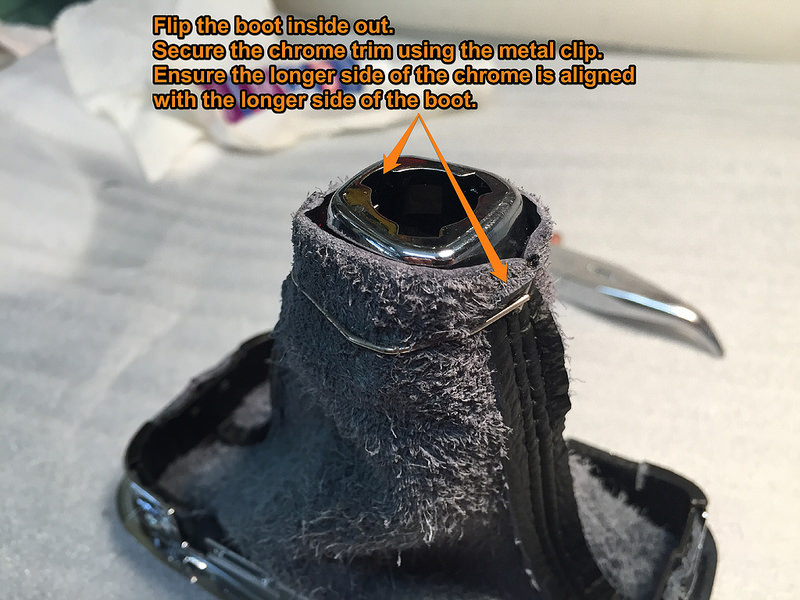
17. Flip the shift boot inside out. Line up the chrome trim such that the long side of the small chrome trim, aligns with the rounded side of the larger chrome surround. Take care not to install it upside down. The more narrow side should be clip with the edge of the leather trim.
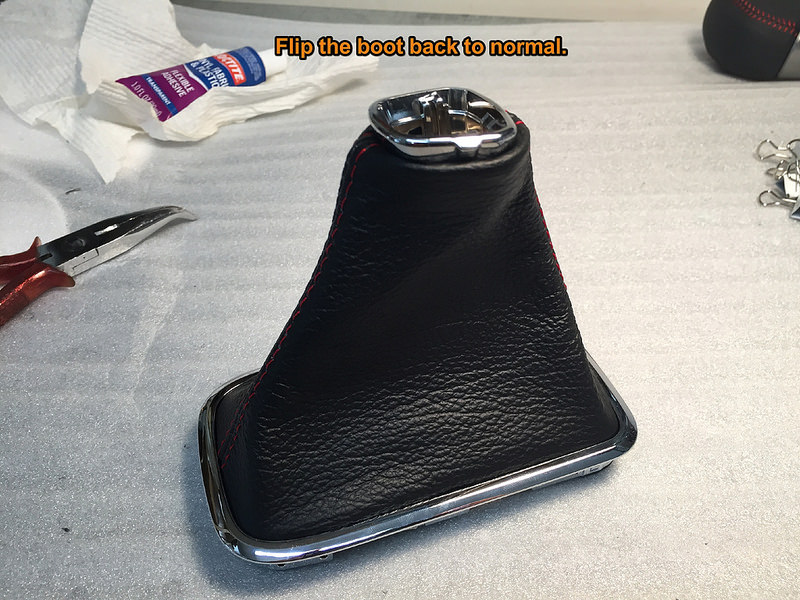
18. Flip the shift boot back to normal. Double check that everything is aligned, and that the chrome is positioned correctly.
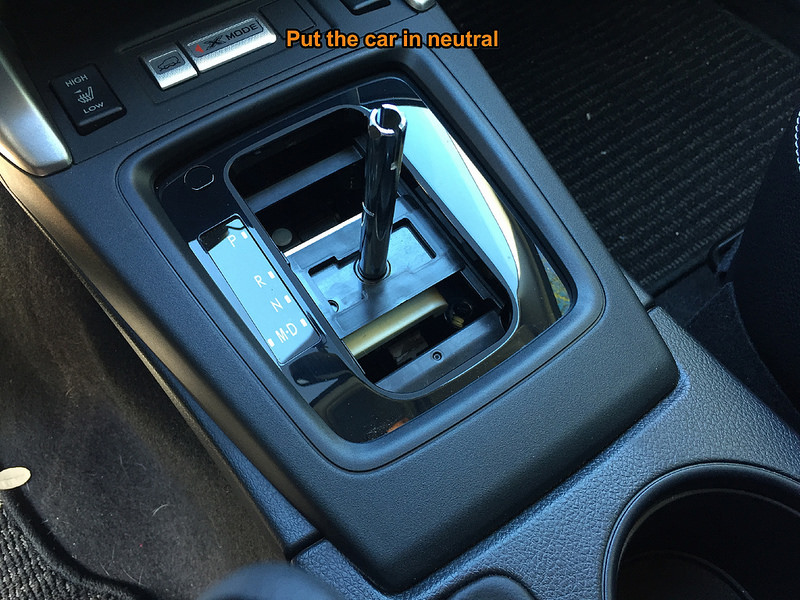
19. Turn the car to "ON" but don't start it. Put the car into neutral. You can insert the shift knob temporarily to do this.
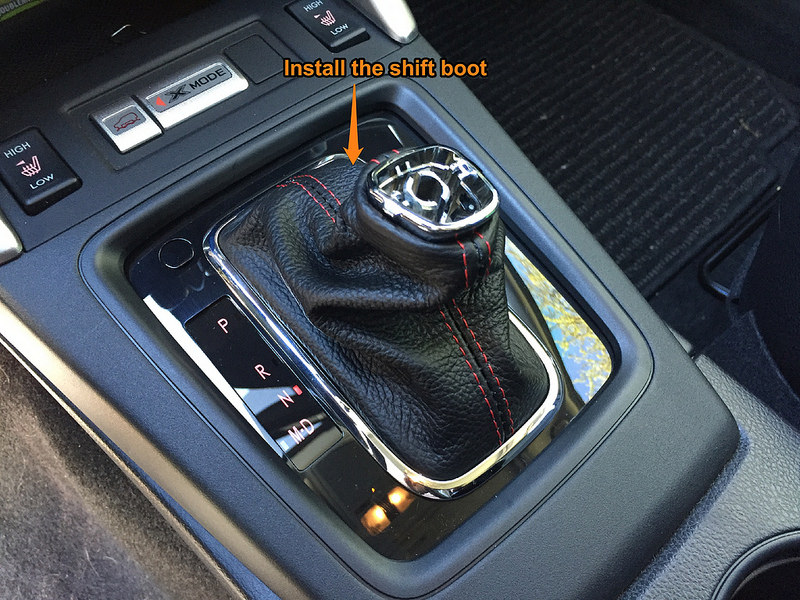
20. Clip the shift boot into place.
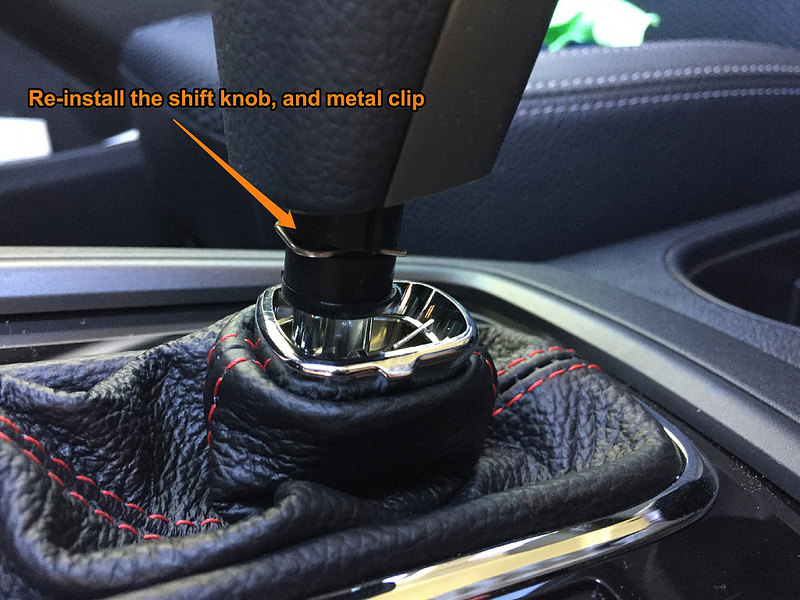
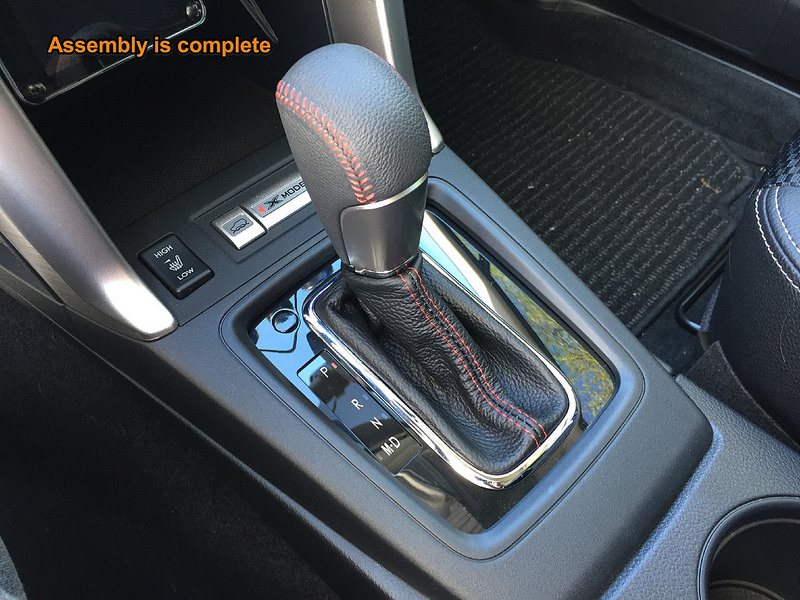
21. Install the CVT shift knob, securing it with the small metal clip.
22. Snap the chrome trim into the shift knob, and installation is complete.
|
|
Useful tip You have installed a product made out of genuine leather. As you know, to maintain a leather product in good condition, you should take care of it. We suggest occasionally (every 4-6 week for example) applying some leather conditioner/UV protector to keep your leather from drying up in the sun and cracking. |
Please subscribe to our newsletter.
Get an instant 20% discount and enter our montly $100 CASH sweepstakes!