2009-13 SUBARU FORESTER |
||||||||||||||||||||||||||||||||
|
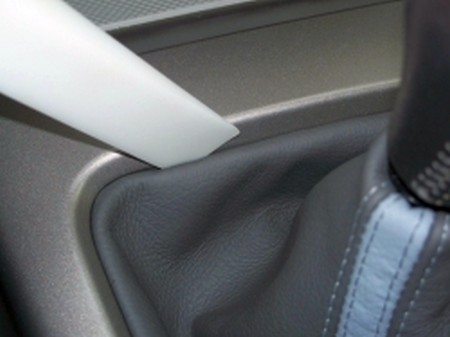
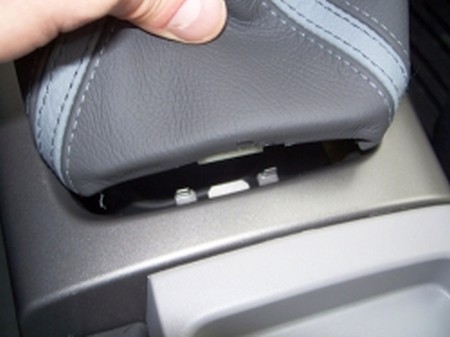
1. Remove the shift knob by unscrewing it counter clockwise. Using a trim removal tool carefully pry up the shift boot starting at the end closest to the dashboard and working down the sides. At the bottom pull the assembly forward to remove it from the tab. |
 |
|
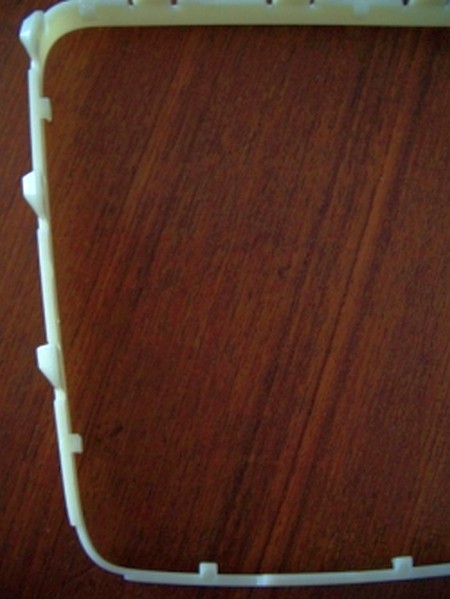
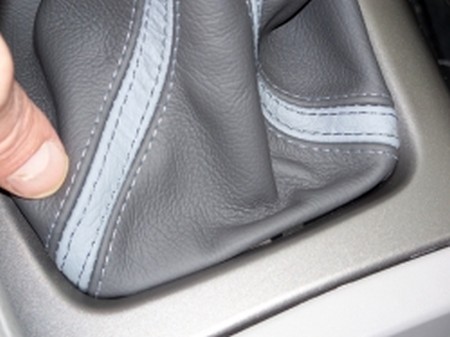
2. Remove factory shift boot from the retainer ring. |
 |
|
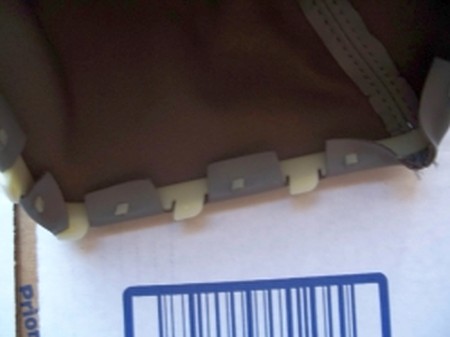
3. I removed the shift boot retaining tabs with a wire cutter and then trimmed off any excess with a razor blade rather than trying to make slots in the Redline boot. |
 |
|
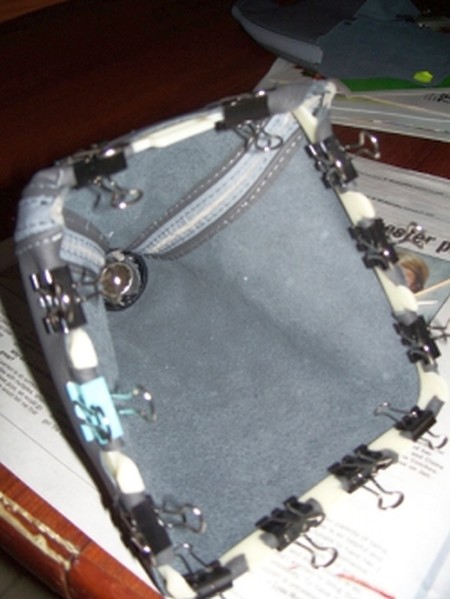
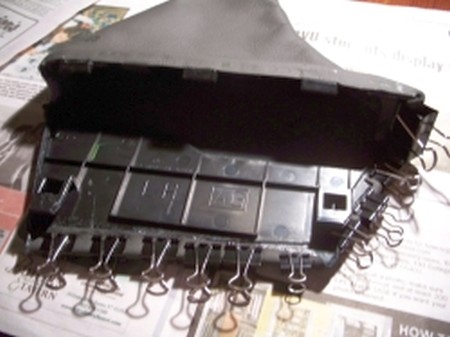
4. Using binder clips and Loctite fabric glue I attached the Redline boot to the retainer ring making sure not to overlap the leather too far onto the retaining clips. For the boot collar I used a suitable size ratchet socket to hold the hole open while the glue dried. |
 |
|
5. At this point it was just a matter inserting the bottom of the retainer ring into the tab in the center console piece and snapped the rest of the boot into place. |
 |
|
6. Shift knob is just screwed on. |
 |
|
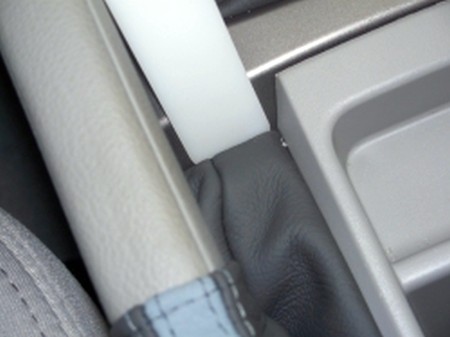
7. Using a trim removal tool pry up the stock shift boot starting at the front and then working down the side. Once these tabs are free pull the boot up and over the e-brake assembly. |
 |
|
8. Remove the stock boot by gently peeling it away from the plastic assembly. Fit the Redline boot to the assembly and glue in place. Once again I used Loctite fabric glue and binder clips. |
 |
|
9. Install new boot by pulling assembly over the e-brake handle. There are 2 tabs in the console which will fit into slots an the assembly. |
 |
|
10. Once these are in place just snap the top sides and front into the center console and you’re done. |
 |
|
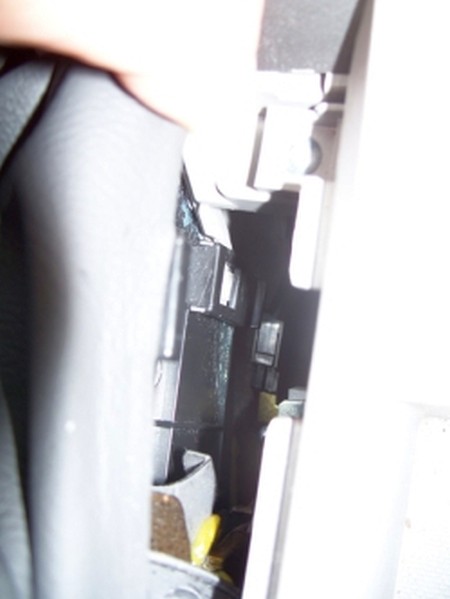
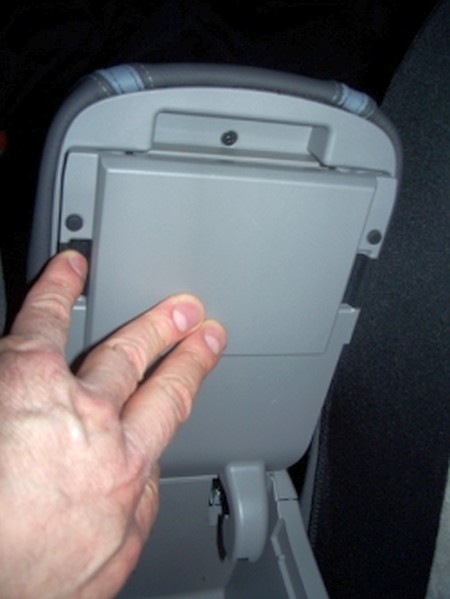
11. Raise arm rest and remove plastic covering by pulling it forward starting at the hinge covers on the bottom. |
 |
|
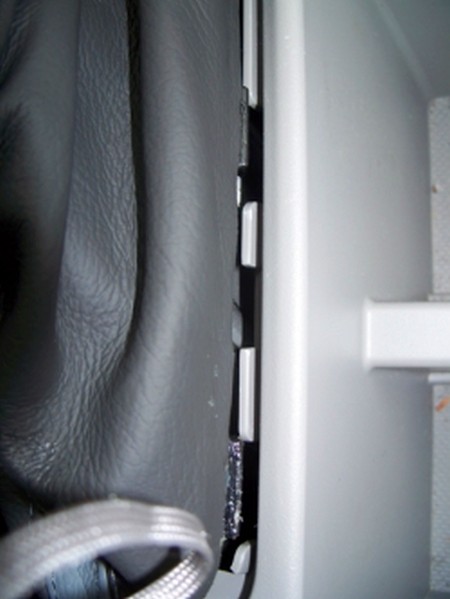
12. Armrest assembly can now be removed by sliding it straight up and off the rails. You might want to loosen the metal bracket screws to make this step easier. |
 |
|
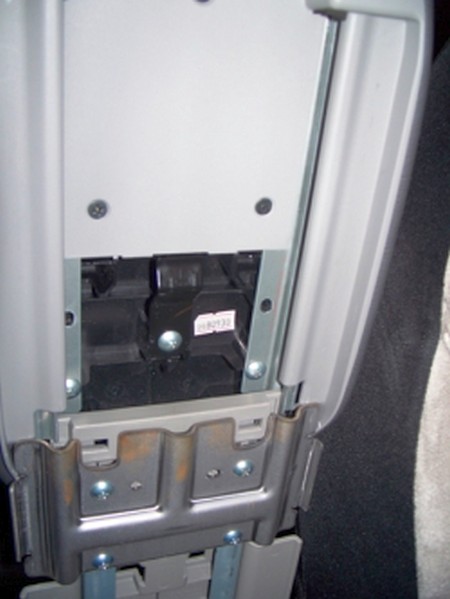
13. Remove the 5 black metal screws that hold the retaining pan in place. |
 |
|
14. Slide the Redline armrest over the stock one and ensure that it is even and tight. Replace the retaining pan. You can now slide the armrest assembly back on the slide. It will be a tighter fit due to the extra thickness of the Redline cover. It may help to loosen the screws holding the bracket to the hinge assembly. Replace the plastic covering. |
 |
|
ENJOY YOUR NEW LEATHER BOOTS! |
|
|
Useful tip You have installed a product made out of genuine leather. As you know, to maintain a leather product in good condition, you should take care of it. We suggest occasionally (every 4-6 week for example) applying some leather conditioner/UV protector to keep your leather from drying up in the sun and cracking. |
|
Please subscribe to our newsletter.
Get an instant 20% discount and enter our montly $100 CASH sweepstakes!