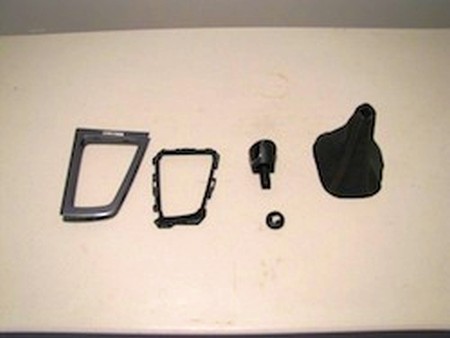
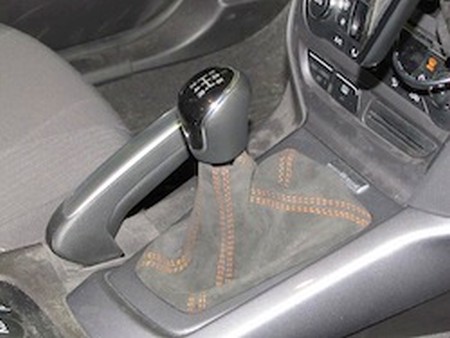
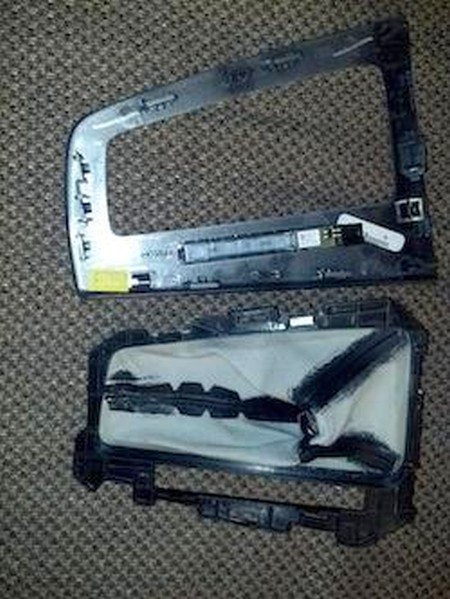
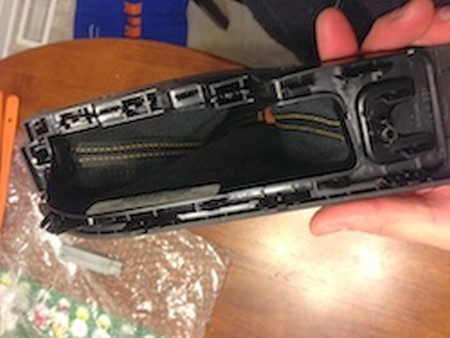
1. Remove shift knob by turning counter clockwise. Pop out the entire trim ring that contains the shift boot. Disassemble the boot base ring from the trim plate
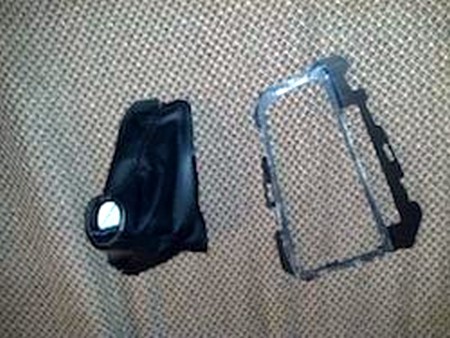
2. Separate the boot from the base ring it is adhered to. The adhesive Ford uses is not overly strong, but patience is required to separate the leather from the plastic w/o ripping the leather. You will end up with a trim ring, a base ring, the shift knob, and the shift knob clip.(this picture shows the new Redline boot).
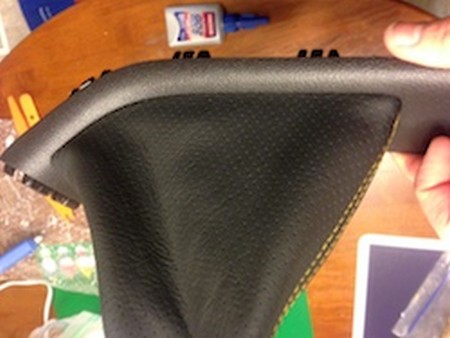
ADDITIONAL REMARKS FOR FOCUS ST CARS.
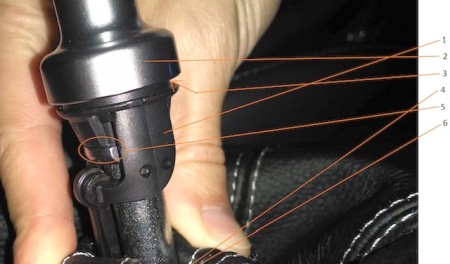
The black piece (1) connects into the silver piece above it (2). The original leather goes up under that silver piece (arrow marked as 3) and is pinched between the silver piece and the black piece. Our leather is too thick to fit between the two therefore the boot needs to be flipped inside-out and ziptied right below the silver piece. Alcantara boots can be installed as the stock boot was since Alcantara is much thinner than leather.
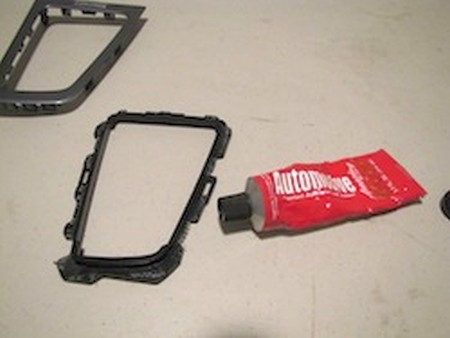
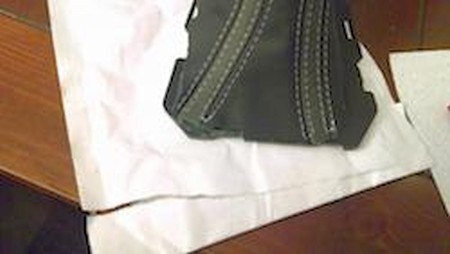
3. Apply adhesive to the shift boot base ring(You can use contact cement or pieces of thin double sided tape). This will keep the boot on the base ring for re-installation into the trim ring.
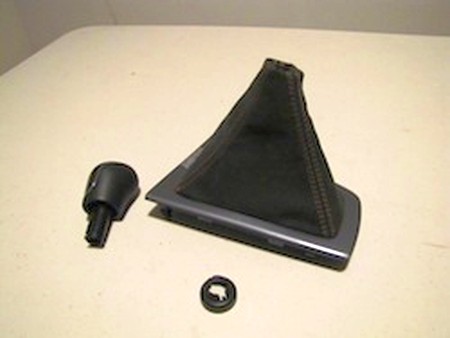
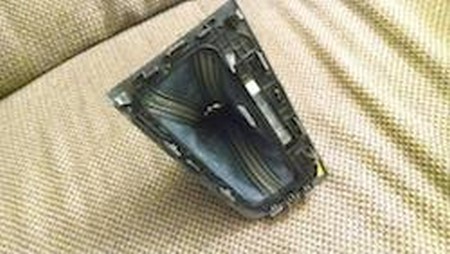
4. Stretch new Redline boot over base ring, and clip back into trim ring. The trim ring will clamp down on the boot, sandwiching it between the two plastic rings.
5. Insert the shift knob clip into the neck of the Redline boot, and push knob into top of boot. Reinstall in car.
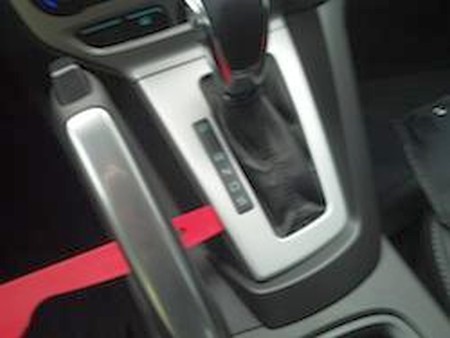
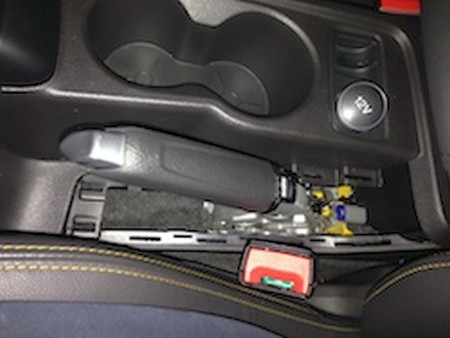
AUTOMATIC SHIFT BOOT
1. You are going to want to pry up on the shifter surround to pop it up. Use a pry tool and start at rear left.
2. One you get that popped up, it's easier for the next steps to put the tranny in D or lower. Go ahead and lift the trim with the shift boot up over the gearshift knob. Be carefull because there is a wire clipped into the gearshift selector for illumination. You are going to have to unclip that before you can raise the piece over the knob. The stock shift boot will be zip tied to the shift knob as well.
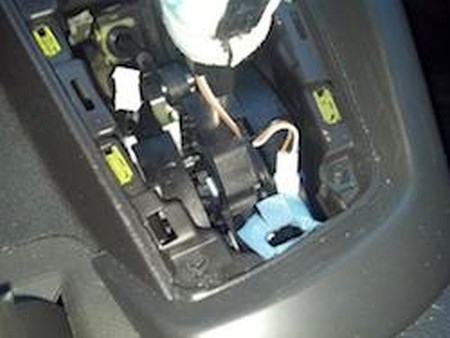
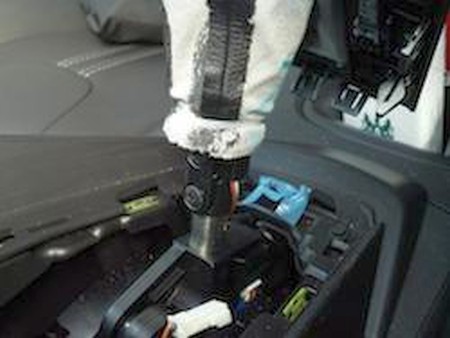
3. One you get the boot and trim piece up, you are going to have to unclip the white clip on the right side of the gear shifter. This is for the select shift buttons to work, so you may not have this connector if you don't have select shift. Now look on the front of the knob, you will see two screws holding it on the shaft.
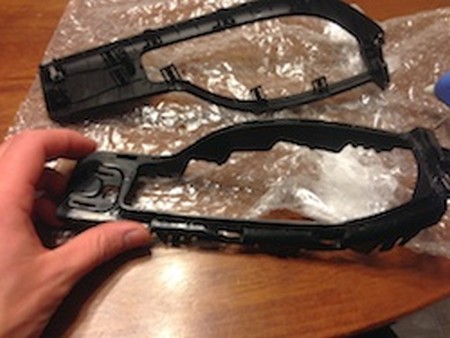
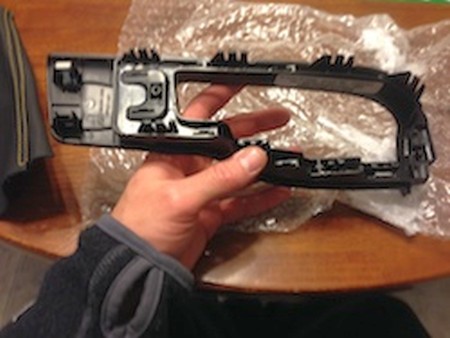
4. BE VERY CAREFUL when unscrewing these, as you do not want to drop them into the center console. You also need to cut the zip tie. Then pull up on the knob and it will come off. Separate the knob from the boot, and flip over the console trim and you will see a black plastic frame that is snapped in. The boot is actually attached to this. Unsnap the frame from the trim piece.
5. The stock boot is just glued to the black plastic frame. You can carefully peel it off. Don't rip the stock boot if you plan on re using it.
6. Install it basically the same in reverse. I used super glue to glue the new boot to the black frame. Obviously be careful with the glue, you do not want it on the new boot or your fingers. I would wear nitrile or latex gloves.
7. There is a little notch on the new boot that matches up with the black frame. Once it's glued, reverse the removal steps to pop it back in!
EMERGENCY BRAKE BOOT
1. Remove the emergency brake cover and boot by pulling up on the front corner. Pivot the cover towards the rear of the vehicle to remove the rear portion of the cover.
2. Pull the boot inside out and slide boot and cover off the emergency brake.
3. Disassemble the boot base ring from the trim plate by popping apart the 10 clips that hold them together.
4. Separate the boot from the base ring it is adhered to. You will end up with a trim plate and a base ring.
5. Apply adhesive to the emergency brake boot base ring. Fit the boot over the base ring and allow the adhesive time to set.
6. Reattach the trim plate to the base ring sandwiching the boot between the two plastic rings.
7. Reinstall the emergency brake boot assembly in the car.
ARMREST COVER
1. Installing the armrest cover requires removing the armrest lid from the car (there are screws visible by the hinges after you open the lid).
2. You then need to separate the top and bottom part of the armrest by removing the screws hidden under the little rubber caps. Once the two halves are separate, wrap the armrest cover around the top section of the armrest lid.
3. Then re-assemble the lid, making sure the leather stays nice and tight in the process. It does help to use drops of glue in sensitive spots, to make sure the leather cover remains tight, flush and straight during the re-assembly. If you don't care about the leather cover being removable later, you might even consider glueing it (with Contact Cement or similar glue) on the entire perimeter of the sides of the armrest lid.
4. Once this has been completed, reinstall the armrest back into the car.
SUN VISOR COVERS
1. Remove screw caps by inserting a small flathead screwdriver into the provided gap.
2. Remove the two exposed screws holding the visor in place and extract visor from car.
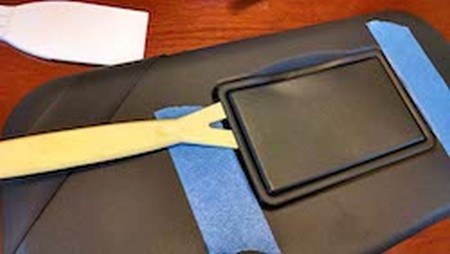
3. Slip the trim removal tool/putty knife under the lip of the vanity mirror and slowly pry it out while working along the edge. You should hear 4 distinct pops as the hidden brackets release.
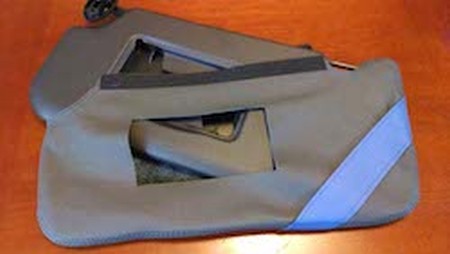
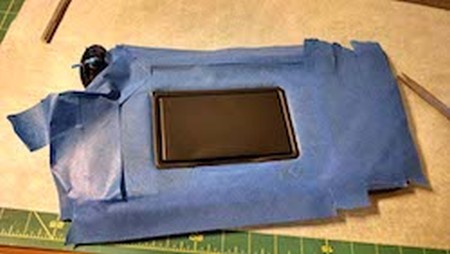
4. Now slide the visor into the leather cover as seen in the photo. It is going to be very tight so slowly work the leather over the edge of the visor until it goes on. Please note that this picture shows a visor with a pre-cut hole, but they do not come this way, the trimming needs to be performed during installation.
5. Once you have the cover on, trim out (with an x-acto knife) the hole for the mirror. Make sure it's approx 1/8 inch smaller than the mirror trim so that the mirror, when reinstalled, covers the edges of trimmed leather.
Because of the additional thickness from the leather we will need to glue the vanity mirror back into position. First apply glue *ONLY* along the plastic edge of the cavity opening.
Press the leather down onto the glue and make sure it is relatively taught. Next, place a bead of glue along the back side of the mirror where it will make contact on the visor. Press into place.
(I used painters tape to protect the leather slip cover as a precaution. If using epoxy, super glue or any other harsh glues that will be difficult to remove from the leather this precaution should be taken.)
6. Velcro close the top edge while working out any remaining wrinkles.
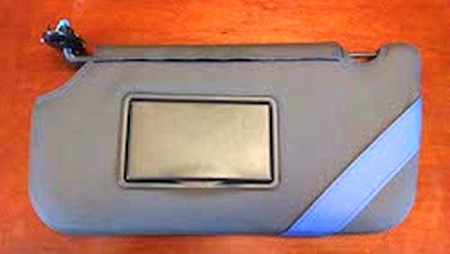
7. Remount the visor in the car in the reverse order of steps 1 and 2.
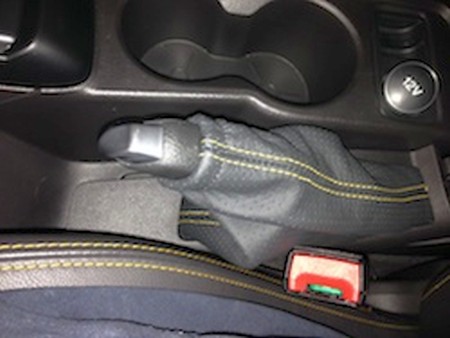
CONGRATULATIONS - YOU HAVE SUCCESSFULLY INSTALLED YOUR NEW LEATHER BOOTS!
Useful tip
You have installed a product made out of genuine leather. As you know, to maintain a leather product in good condition, you should take care of it. We suggest occasionally (every 4-6 week for example) applying some leather conditioner/UV protector to keep your leather from drying up in the sun and cracking.
Redline Automotive Accessories Corp. will not be held liable for any labor, incidental or consequential damages of any kind. Proceed at your own risk.