2007-13 HONDA FIT |
||||||||||||||||||||||||||||||||||||||||||||||||||||||||||||||
|
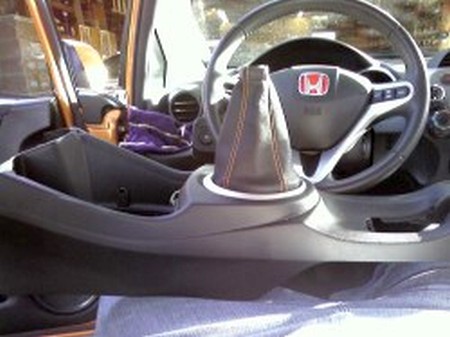
1. First things first start by unscrewing the shift knob to the left or counter clockwise. |
 |
|
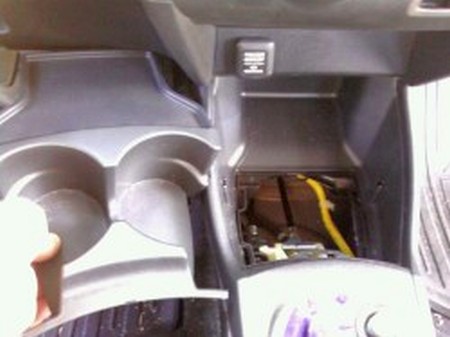
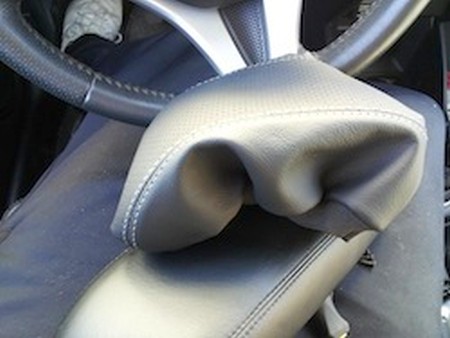
2. Remove the cup holders by placing your thumb by the shifter boot front and your fingers in the cup holders toward the back, just apply upward pressure and they will simply pop out. |
 |
|
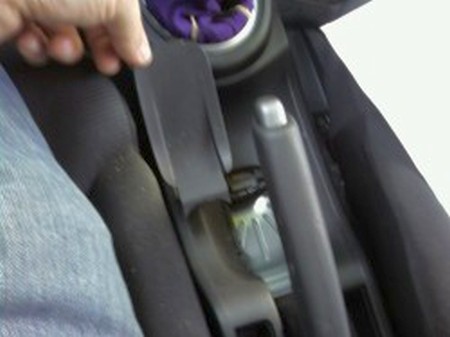
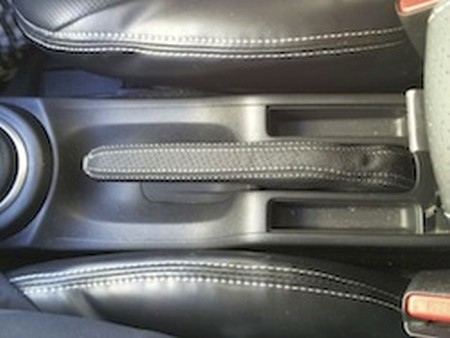
3. Remove the little cover under the E-Brake handle I used a small flat head screw driver to apply force between the front of the E-brake handle and the back of the cover it too will simply pop out. |
 |
|
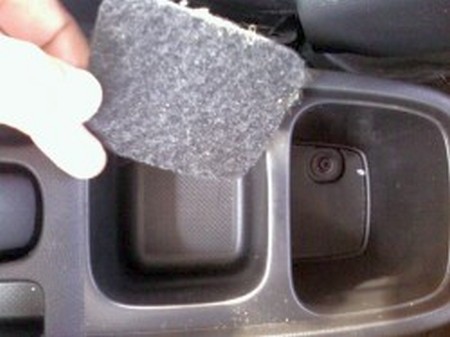
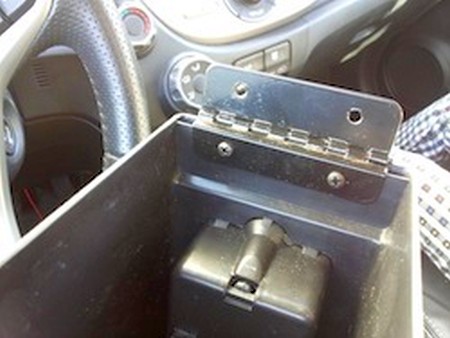
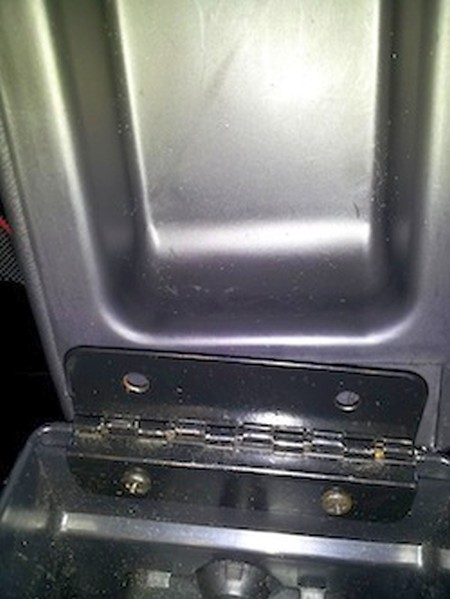
4. If you have the center console you will need to remove the screw located in the bottom of the back I have the sport so it wasn’t a factory option. In the sport models the rear most cup holder has a small piece of carpet in it, pull that out and remove the small Phillips screw located under the carpet section. |
|
|
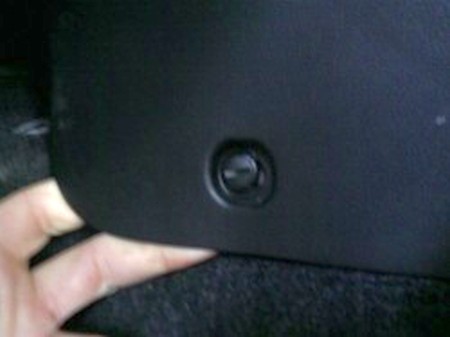
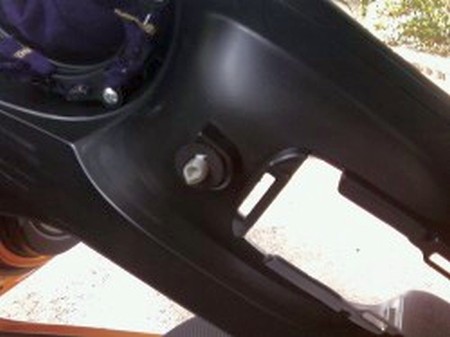
5. In the front of the console next to the pedals on the driver side there is a small flat head screw and an expanding body clip. Insert your fingers behind the section like so to apply pressure and then remove the screw, it will pop out so don’t lose it. Repeat the same process on the passenger side.
|
 |
|
6. 2007-09 cars: In front of the E-brake cover you removed there is a small pop clip
that holds the console down. Insert your fingers under the console and pop it up. |
 |
|
7. you’re ready to remove the console, recline your seat back and place the car in 4th or reverse and pull the e-brake up all the way, lift the back of the console up and start to pull it towards the rear of the car make sure the shifter clears the boot and your done the console is out. |
 |
|
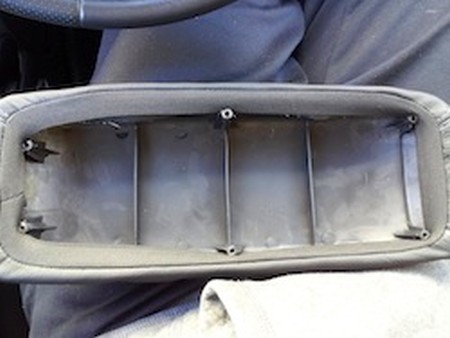
8. There are 4 small Phillips screws that hold the shift boot assembly in, remove them and it will drop down. |
 |
|
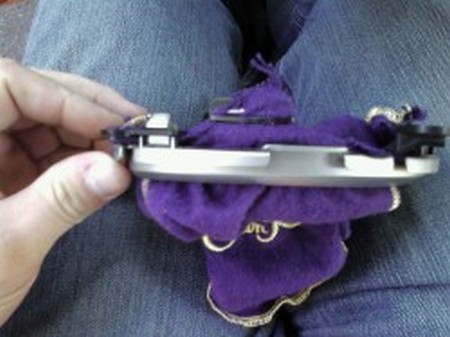
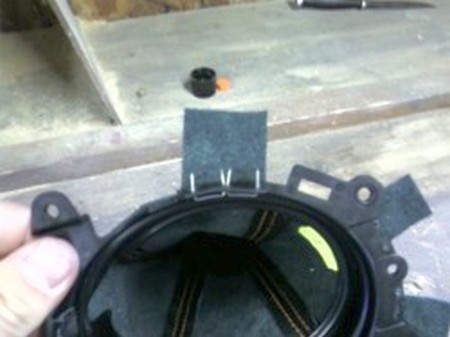
9. The silver trim ring has 4 press tabs, just gently apply pressure to them and lift the ring off. |
 |
|
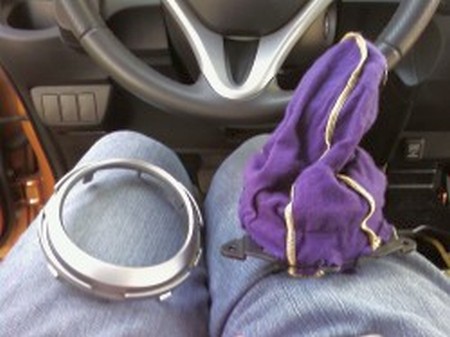
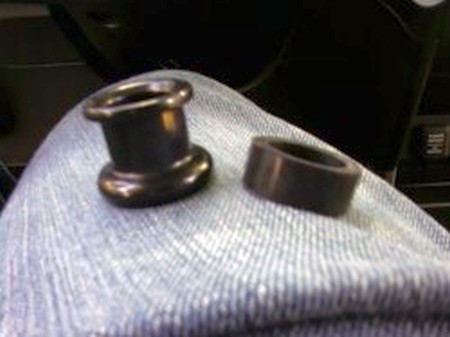
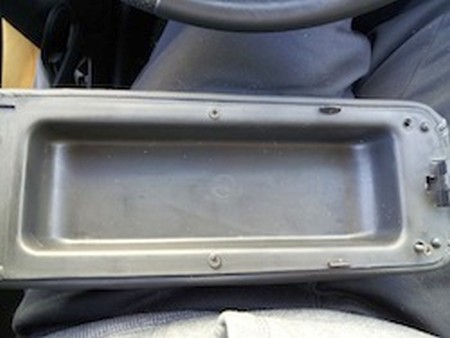
10. Here's a shot of the ring removed. |
 |
|
11. Flip your boot inside out to remove the round black trim ring; it has a thick black rubber band of sorts that is very tight use a small screwdriver to help pry it off try not to break it as it does get reused. |
 |
|
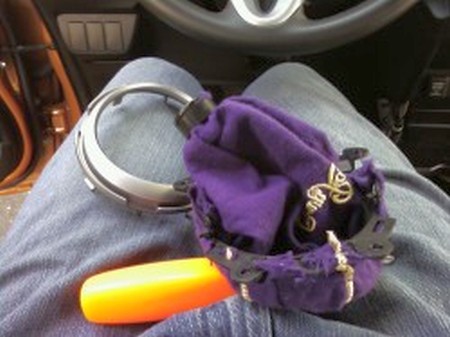
12. Do not lose these pieces! |
 |
|
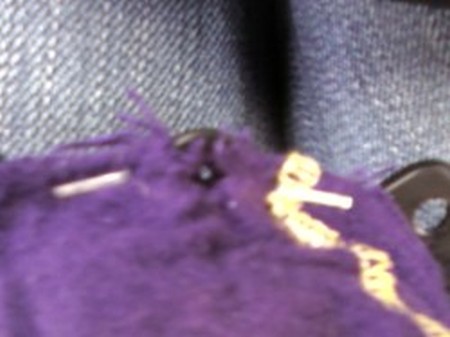
13. Now you're ready to remove the staples that hold the old boot in, just use a small screwdriver to pry the ends up and a pair of pliers to grab the staples, once those are all out the old boot will slide off. |
 |
|
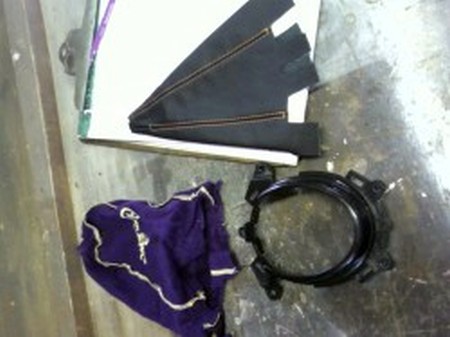
14. Now you’re ready to stretch the new boot in place, it is made to go on only one way so make sure to match up all the tabs before you attach it. |
 |
|
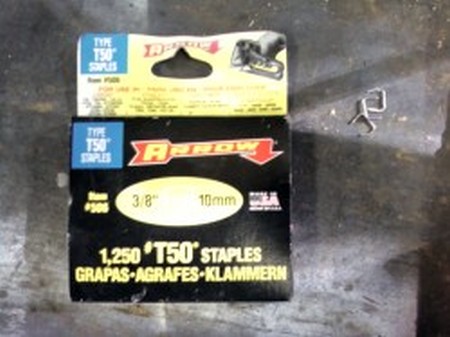
15. To reattach the new boot I used Arrow T50 3/8" 10mm staples. You can find these at your local hardware store they work great because the ends are sharp and are about equal to stock. |
 |
|
16. I put the staples in backwards first to mark the first set of holes then flip them around to install properly. |
 |
|
17. Then press the top together tightly and partly screw in the top 2 screws. Enough so that the tab is held into the correct place. |
 |
|
18. all the staples are in, reinstall the trim ring, once again its keyed to only go on one way flip over the boot assembly to confirm which way is which. |
 |
|
19. .After the ring is on turn your boot inside out and from the bottom reinsert your shift knob trim ring that had the rubber band on it you will have some trouble getting it on because the leather is much tougher than the vinyl it will go with some work.
Reapply the rubber band to secure the boot to the ring and turn it right side out again.
This will also be difficult due to the stiffer new leather boot just take your time and work all the stitching so it sits evenly and not all lumpy. Remember that the larger part of the ring sits above the boot; it fits perfectly to the base of the shift knob. |
 |
|
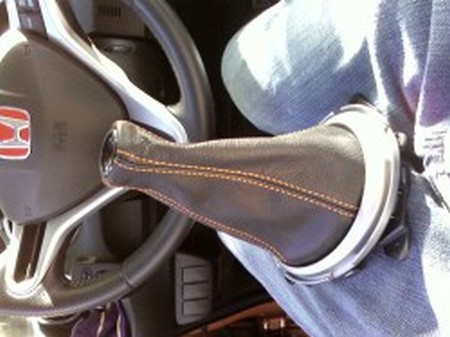
20. Now you can screw the boot assembly back in and reinstall the center console, just reverse the steps for removal. You are done :) |
 |
|
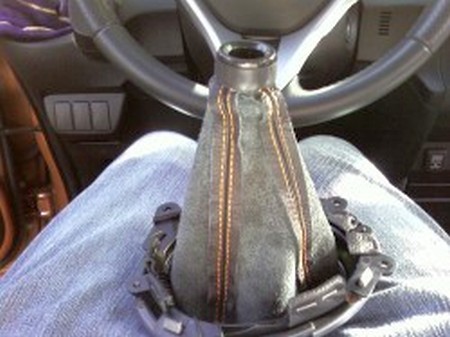
21. Now that the center console is cleared all you have to do now is slide your new leather boot in and position. |
 |
|
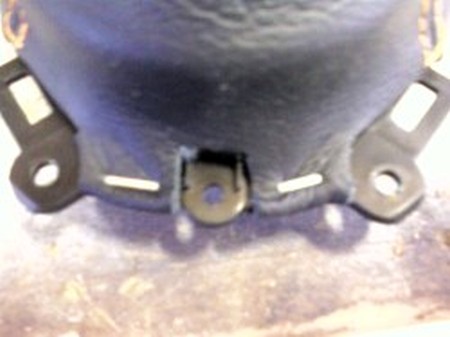
22. Once the leather boot is in place put the center console back the way you took it out in reverse order. Be sure to see if the center console has the tab that was under the middle of the console is still in place. It's between the e-brake tab and the shifter. |
 |
|
ARMREST COVER INSTALL - ZETA ARMREST |
 |
|
24. Now with the top portion off, unscrew the four screws under the armrest and remove that plastic bottom cover. |
 |
|
25. Wrap the leather on the armrest making sure that the wider stitch on the leather goes on the back and the narrower side goes in front. |
 |
|
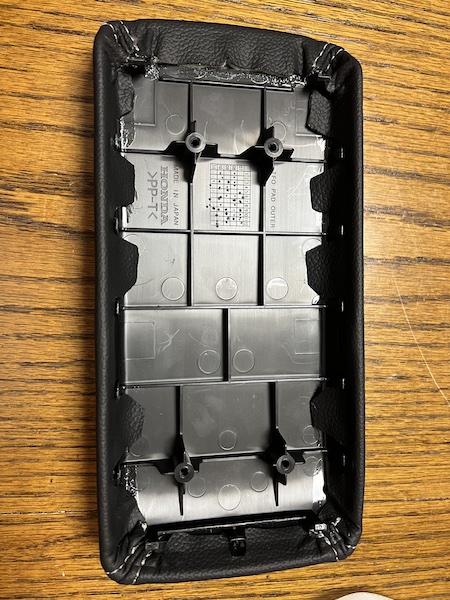
26. Once the leather in on the armrest, place the bottom plastic cover but making sure to tuck the stretch band as shown in the picture so you don't screw in the band and have the lid lopsided when closed. |
 |
|
27. Screw on the top arm rest and test for fitment and adjust as needed. |
 |
|
ARMREST COVER INSTALL - FACTORY ARMREST |
 |
|
29. There are 4 metal tabs that click into the slider assembly, as well as a few notches that run along the entirety of the rails. It seems to come off best while prying upward from one side. Test-fit the new leather. |
 |
|
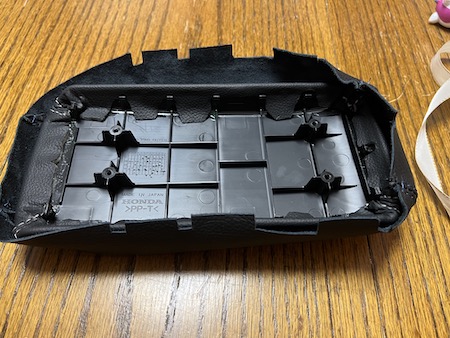
30. The oem vinyl "leather" has to come off unfortunately because the leather cover on top of the vinyl is too thick around the stitching to get the tabs to click back into place on the slider. It can be removed by just peeling it off.
The armrest padding is actually built into the plastic piece of the armrest, which is nice - the vinyl should come cleanly off. |
 |
|
Useful tip You have installed a product made out of genuine leather. As you know, to maintain a leather product in good condition, you should take care of it. We suggest occasionally (every 4-6 week for example) applying some leather conditioner/UV protector to keep your leather from drying up in the sun and cracking. |
|
Please subscribe to our newsletter.
Get an instant 20% discount and enter our montly $100 CASH sweepstakes!