2011-19 FORD FIESTA |
||||||||||||||||||||||||||||||||||||||||||||||||||||||||||||||||||||||||
|
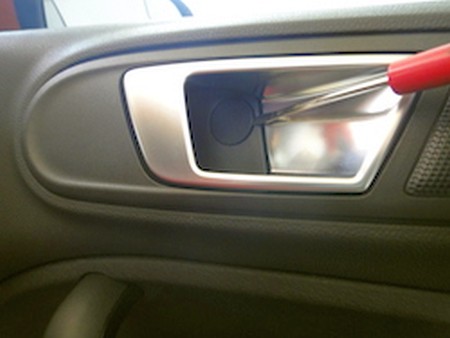
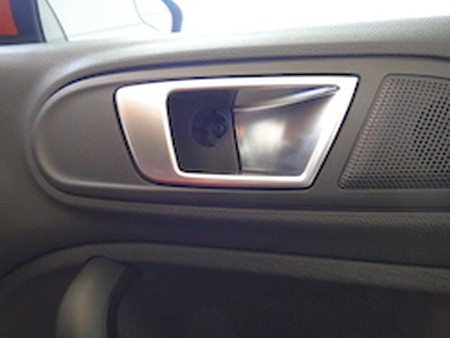
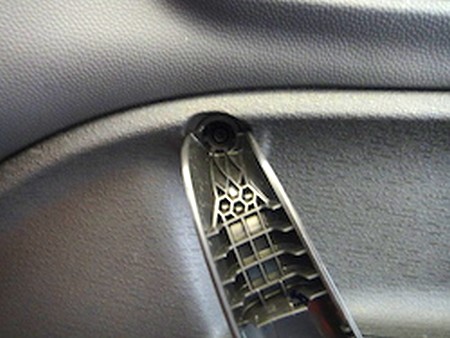
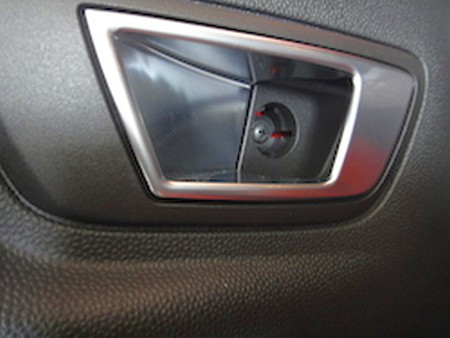
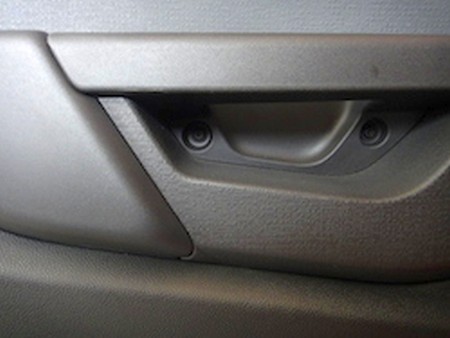
1. Remove trim cap inside door release. |
 |
||
|
2. Remove the screw located under the cap. |
 |
||
|
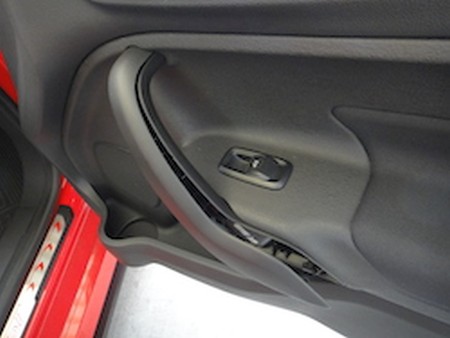
3. Remove door pull/handle cover. |
 |
||
|
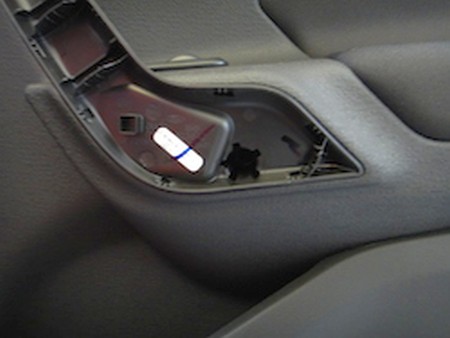
4. Remove screw in lower hole. |
 |
||
|
5. Remove screw in upper hole. |
 |
||
|
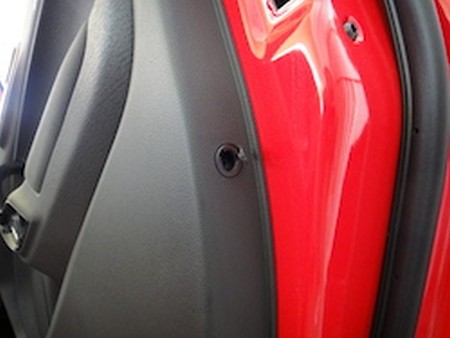
6. Open the upper trim cap on the door edge and remove the screw inside. |
 |
||
|
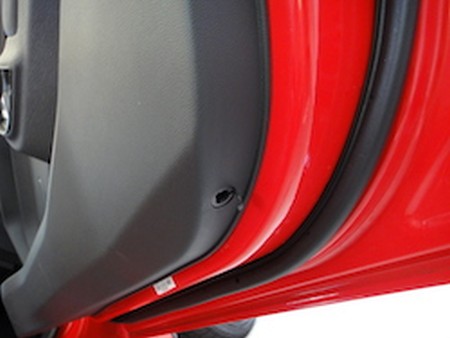
7. Open the lower trim cap on the door edge and remove the screw inside. |
 |
||
|
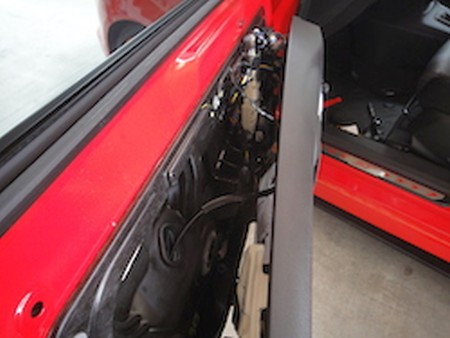
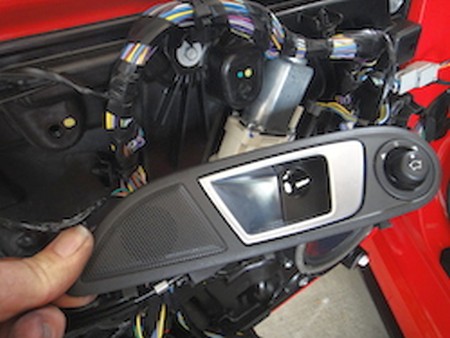
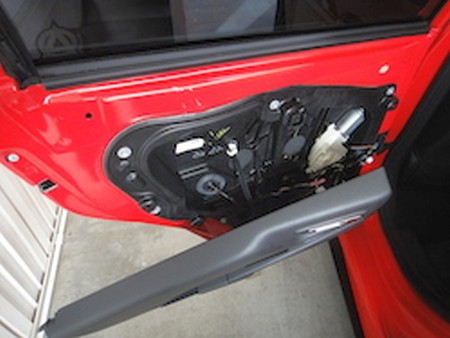
8. Pop off the door panel and disconnect the wire connectors. On the driverÕs side there is the mirror switch, tweeter speaker, and window switches. On the passenger side there is no mirror switch. |
 |
||
|
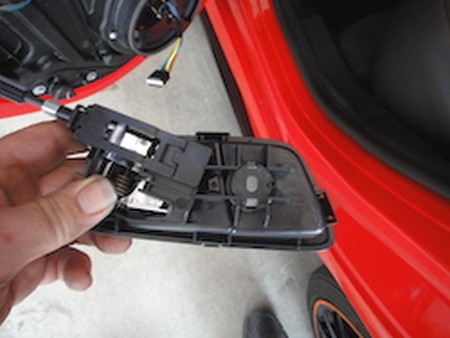
9. The door release assembly pushes from inside the door panel then turn and push back through the door panel. There is no need to remove the release cable. |
 |
||
|
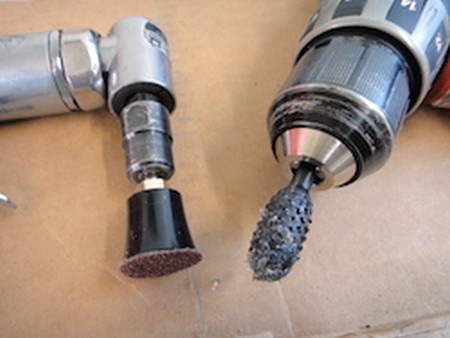
10. The next will require tools to remove the melted tops of the plastic post retainers holding the arm rest in place. I used a rasp and a sanding disk both can be used with an electric drill. In addition you will need a utility knife. |
 |
||
|
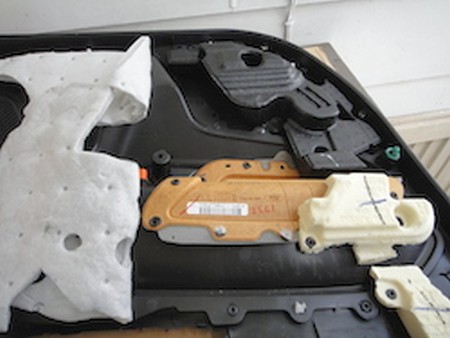
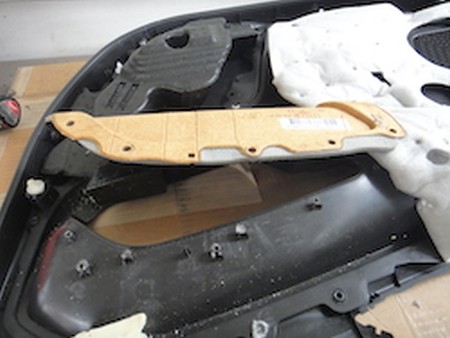
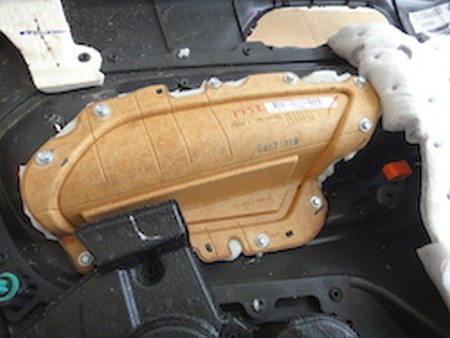
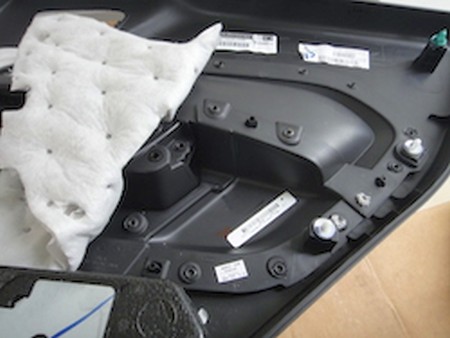
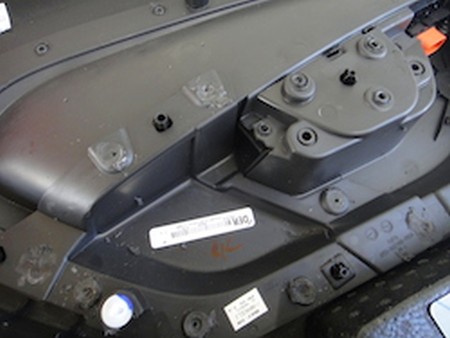
11. Place door panel on work bench and fold back the white insulation. |
 |
||
|
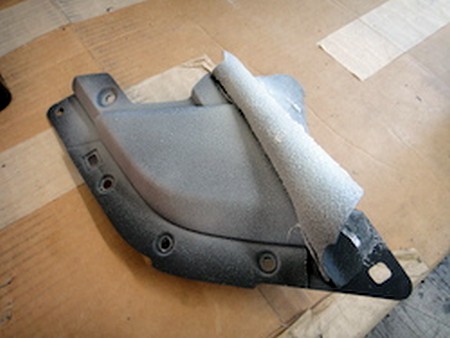
12. Remove the foam block in on the corner of the arm rest. |
 |
||
|
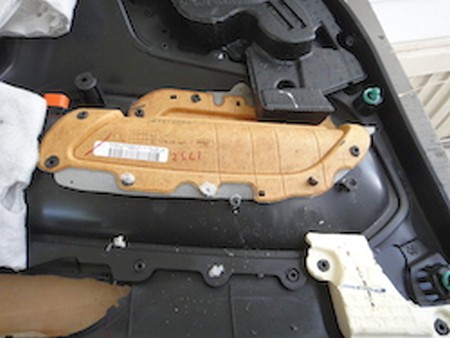
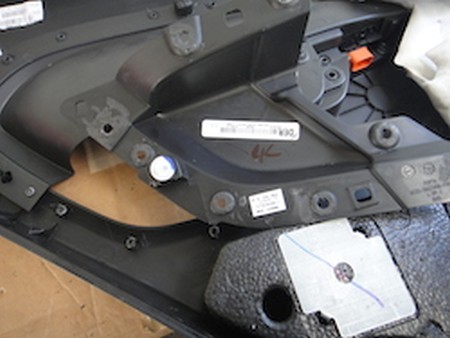
13. Remove the melted tops of the plastic posts. Be VERY CARFUL not to remove any of the plastic post below the level of the arm rest. There is one post inside the hole in the black foam. There is another post under the black foam this one you can cut with the utility knife. There is no need to remove the black foam, just carefully lift a little. |
 |
||
|
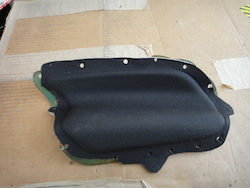
14. Pop the arm rest up and remove from under the black foam. |
 |
||
|
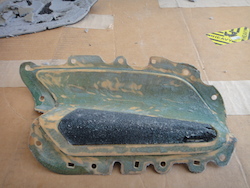
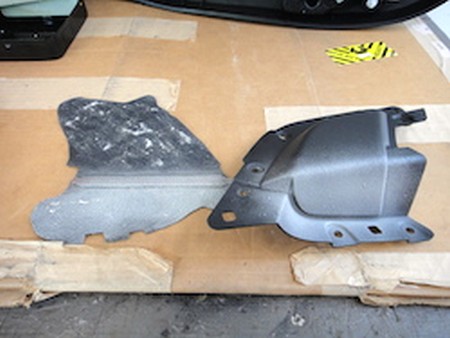
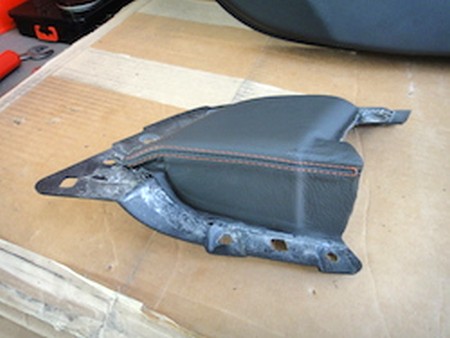
15. This is the arm rest removed. Now you will need to remove the existing covering and soft foam. |
 |
||
|
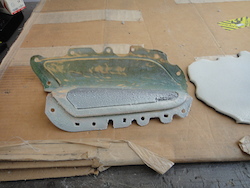
16. You should not remove the black dense foam. You need to remove all of the soft foam, you can use sandpaper to do this. |
 |
||
|
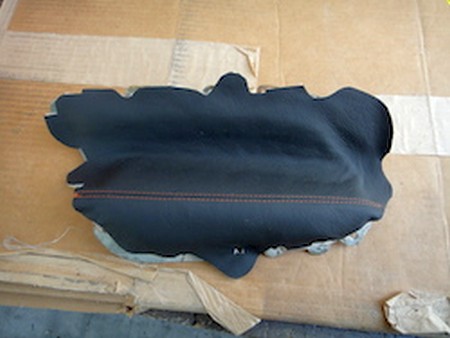
17. After test fitting the new leather cover. Use spray adhesive to attach it to the arm rest. I suggest you first work with only half of the cover. It is easier to get the correct placement this way and minor adjustments can be made. |
 |
||
|
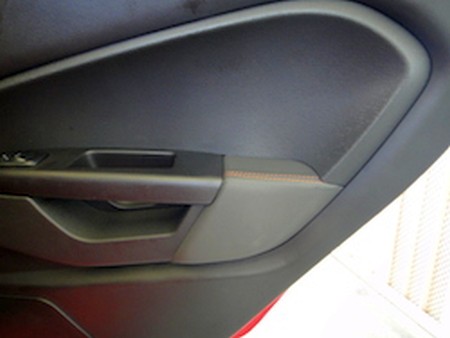
18. Working from the seam line you can smooth the leather down. |
 |
||
|
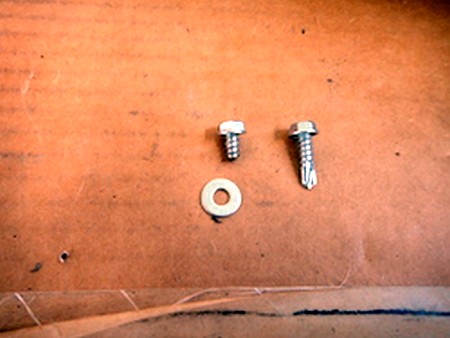
19. Here is the tricky part. There are no screws available that are the correct size. You will need to cut them. A bench grinder works great for this as you can also deburr the tip, do not sharpen to a point. |
 |
||
|
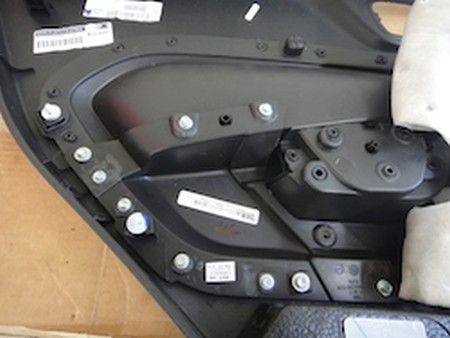
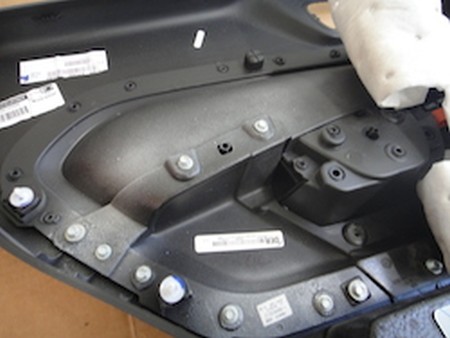
20. Install the arm rest back into the door panel using the cut screws. The screws go into the same posts you cut the tops off earlier. Use a little spray adhesive to hold down the white insulation. |
 |
||
|
REAR DOOR ARMRESTS
|
 |
||
|
2. Remove the screw located under the cap. |
 |
||
|
3. Remove the two screws below the door pull. |
 |
||
|
4. Pop off the door panel. |
 |
||
|
5. Disconnect the electrical connector for the window swtich. |
 |
||
|
6. The door release assembly pushes from inside the door panel then turn and push back through the door panel. There is no need to remove the release cable. |
 |
||
|
7. Place door panel on work bench and fold back the white insolation. |
 |
||
|
8. Remove the melted tops of the plastic posts. Be VERY CARFUL not to remove any of the plastic post below the level of the arm rest. |
 |
||
|
9. Pop the arm rest up and remove. |
 |
||
|
10. After test fitting the new leather cover. Use spray adhesive to attach it to the arm rest. I suggest you first work with only half of the cover. It is easier to get the correct placement this way and minor adjustments can be made. Working from the seam line you can smooth the leather down. |
 |
||
|
11. Next add spray achieve for the rest of the cover. |
 |
||
|
12. Working from the seam line you can smooth the leather down. Because of the very tight fit you will want to trim the leather from around the mounting area. Do cut directly in the corners so that edges are not exposed when assembly is finished. |
 |
||
|
13. Here is the tricky part. There are no screws available that are the correct size. You will need to cut them. A bench grinder works great for this as you can also deburr the tip, do not sharpen to a point. |
 |
||
|
14. A little spray adhesive to reattach the insulation. |
 |
||
|
|||
Please subscribe to our newsletter.
Get an instant 20% discount and enter our montly $100 CASH sweepstakes!