2013-18 BMW 3-SERIES |
||||||||||||||||||||||||||||||||||||||||||||||||||||||
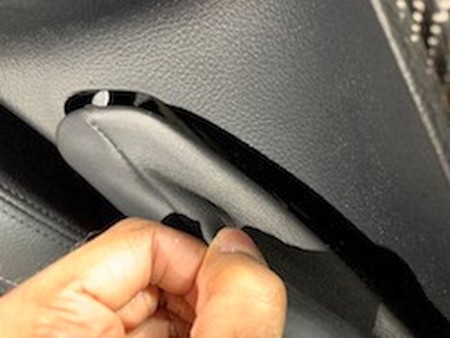
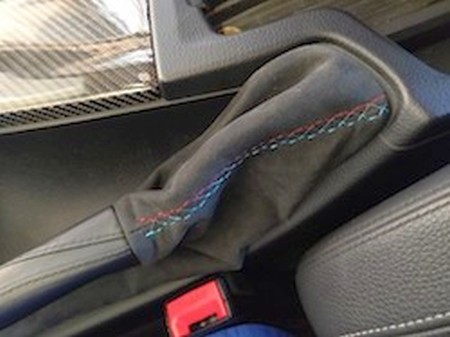
SHIFT BOOT1. Gently pry on corners of shift boot there are multiple clips which pop loose. |
|
|
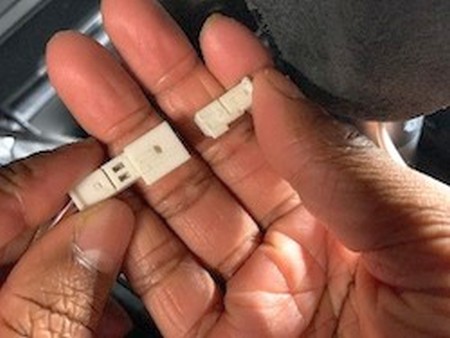
2. After pulling up the boot you should be able to see the cable pictured. |
 |
|
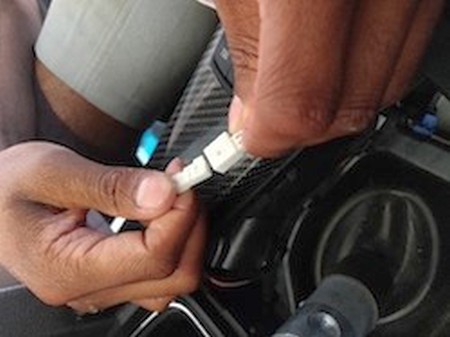
3. Disconnect this it is the cable to supply power for the lights on the shift knob. |
 |
|
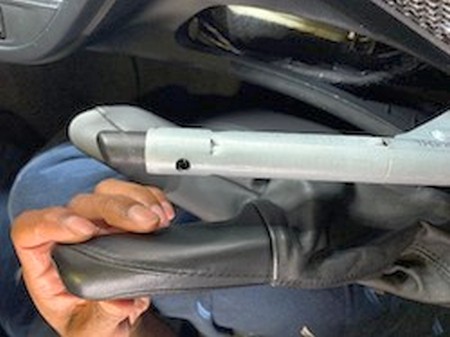
4. Now grab the shift knob and pull up. Be careful it is very tight and will come off suddenly. Don’t be afraid to pull hard this takes a lot of force. |
 |
|
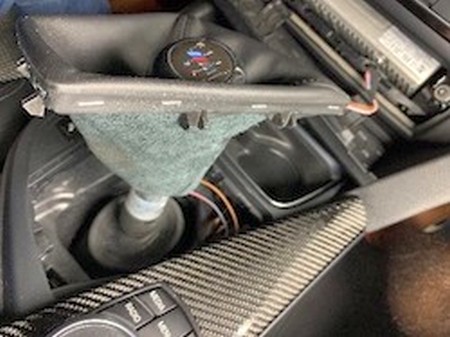
5. Cut off the old boot right under the shift knob (make sure you don't get the cables cut!) using a rectractable blade or an x-acto knife. |
 |
|
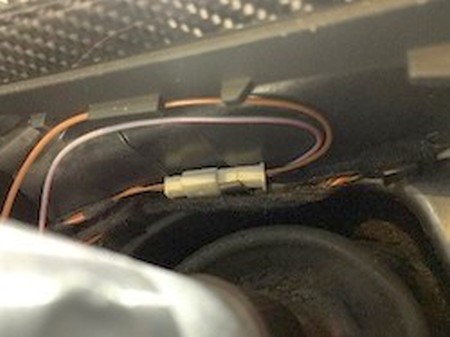
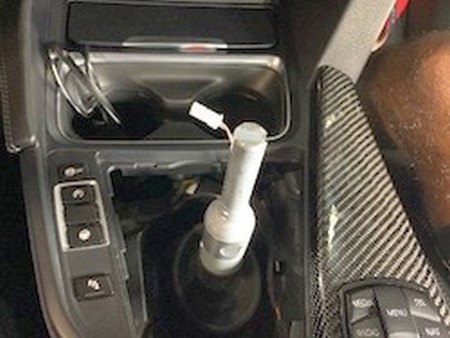
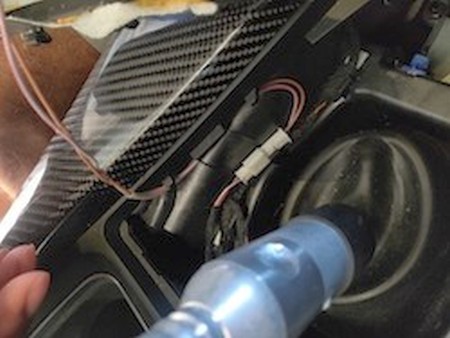
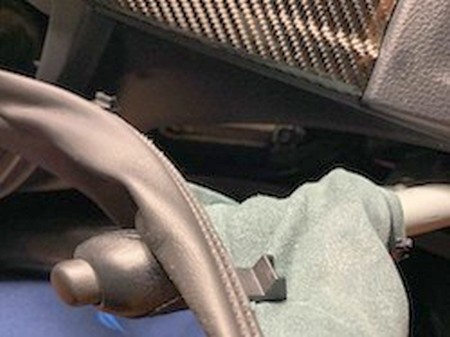
6. Plug in cable from shift knob. |
|
7. Tuck cable into appropriate area as shown in picture. |
 |
|
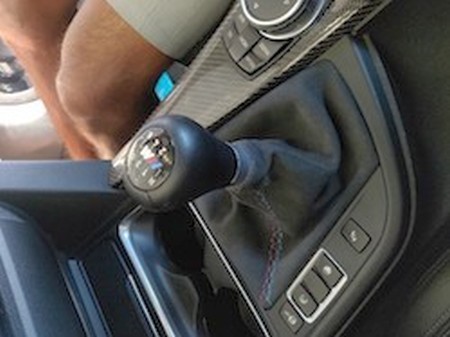
8. Now put shift knob on notched area and push down |
 |
|
9. Push clips on shift boot into the area for the shift boot. |
 |
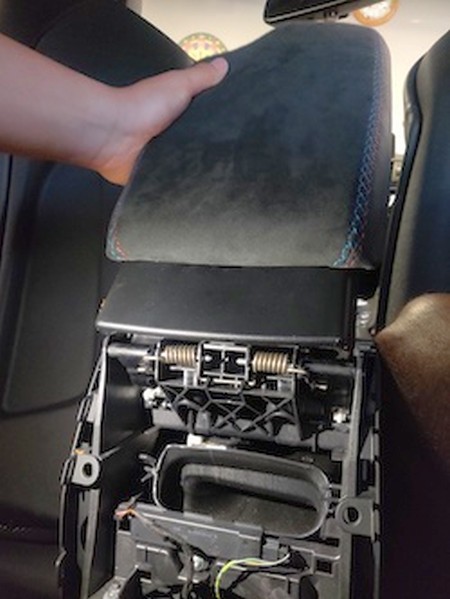
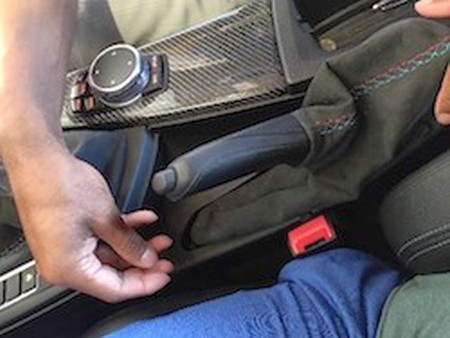
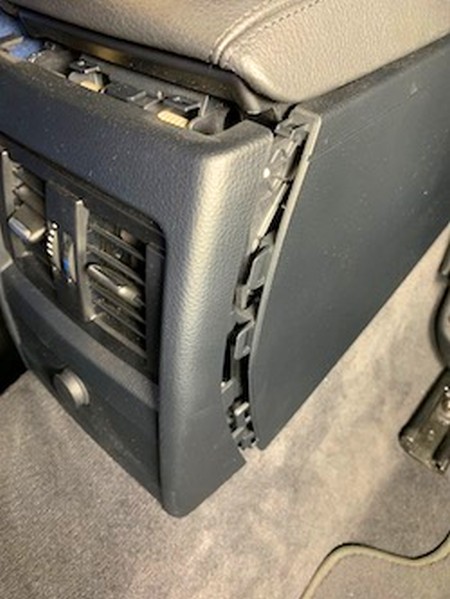
EBRAKE BOOT10. Pull up on bottom of handbrake boot clips should pop off . |
 |
11. Pull boot up around handle as shown in picture. |
 |
12. Pull firmly on handbrake handle until it comes off handbrake lever OR cut the zip-tie mounting the boot to the handle. |
 |
13. Flip the boot inside-out, slide it on the ebrake handle. Secure with tip-zie. |
 |
14. Work the boot down until the frame is again at the bottom, by the center console. |
 |
15. Push clips into place around the ebrake boot. |
 |
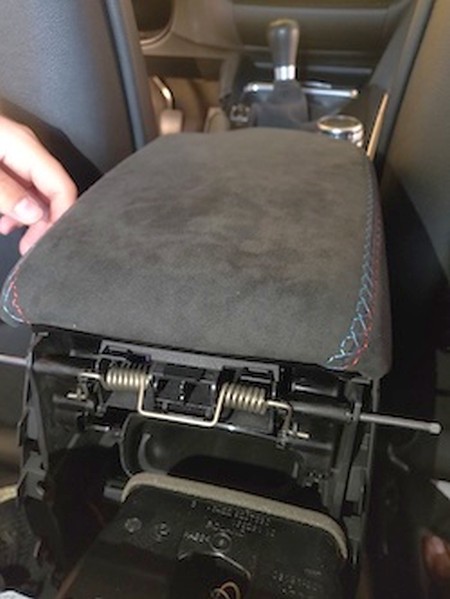
ARMREST COVERThis video https://www.youtube.com/watch?v=Y3KHP6HUz_M does an excellent job explaining the process check it out if you prefer video instructions to write-ups. |
 |
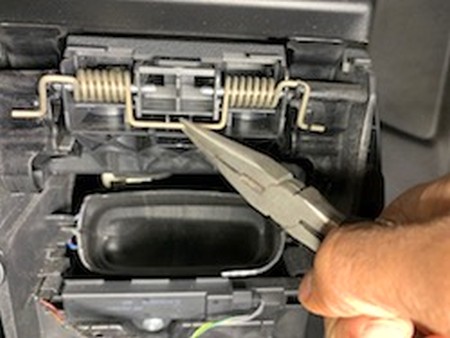
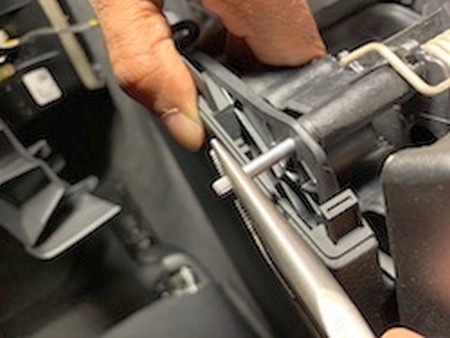
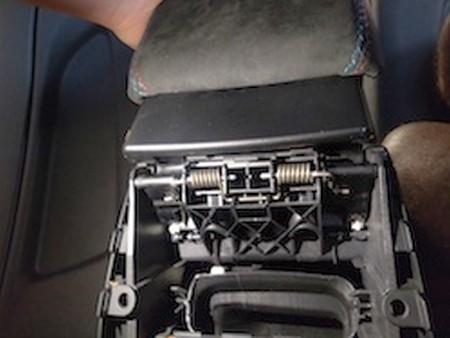
17. Grab the spring with pliers as shown and pull up to get the spring in the position shown here. |
 |
18. With the spring out of the way push on the silver pins as seen in the picture. |
 |
|
19. With the spring out of the way push on the silver pins as seen in the picture. |
|
|
20. Now pull the silver pins out with pliers. |
 |
|
21. Take the assembly to a working table. Glue the cover over the factory one (do not remove it!) Since the sliding assembly is not dis-assemblable, the cover will reach all the way to the plastic, but not be pushed underneath it. Since you rarely inspect the armrest from below, this shouldn't be much of an issue. :)
For detailed instructions on how to glue the armrest cover on top, refer to this write-up. |
 |
|
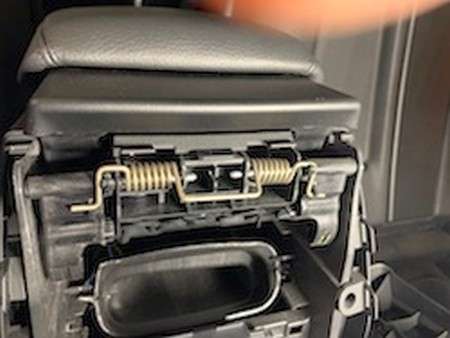
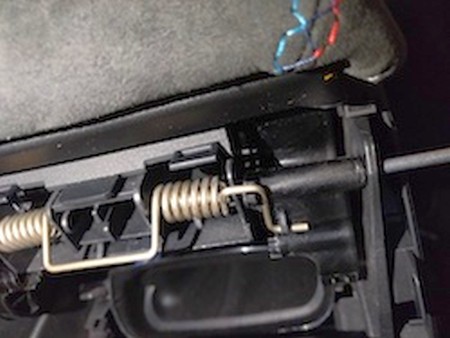
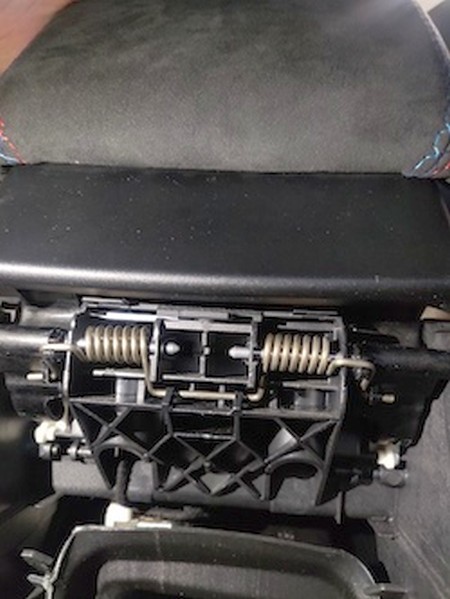
22. Now place the gold spring in position as shown on both sides. |
 |
|
23. This additional picture will help you ensured it's located correctly. |
 |
|
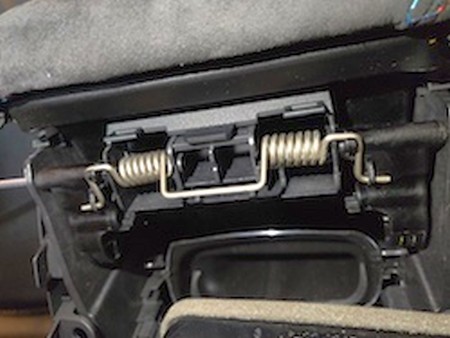
24. Now push silver pins into their slots and open the armrest as shown to make setting the spring easier. |
|
25. For this part use two hands to tuck the spring into the slot shown (this takes some force and a couple tries). |
 |
|
26. Reinstall the rear center console piece. Make sure to remember to connect the power to the lighter socket. :) |
 |
|
CONGRATULATIONS - YOU HAVE SUCCESSFULLY INSTALLED YOUR NEW LEATHER BOOTS!
Useful tip You have installed a product made out of genuine leather. As you know, to maintain a leather product in good condition, you should take care of it. We suggest occasionally (every 4-6 week for example) applying some leather conditioner/UV protector to keep your leather from drying up in the sun and cracking. |
|
Please subscribe to our newsletter.
Get an instant 20% discount and enter our montly $100 CASH sweepstakes!