1995-01 FORD EXPLORER |
||||||||||||||||||||||||||||||||||||||||||||||
|
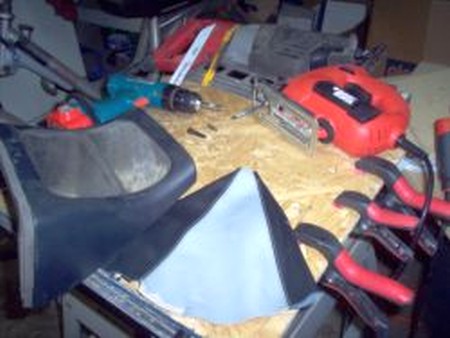
1. Remove shift knob. It simply screws off. Make sure you got the following items ready: - Cordless Drill with 5.5mm nut driver - Reciprocating Saw with various bi-metal blades(1 long,1 short) - Jig saw with high TPI(Teeth per Inch)blade - Hand Grip Clamps |
|
|
2. The first step is to remove the tray from the console piece. To do this you will want to take the four bolts out from the underside. These bolts are 5.5mm in size. You can use a ratchet or hand powered nut driver if you don't have a cordless drill. |
 |
|
3. The reason we are using the compartment tray is to secure the shift boot to the console bezel. The tray has to be modified in order for the gear shifter to fit up through the console and be able to shift into all gears comfortably. |
 |
|
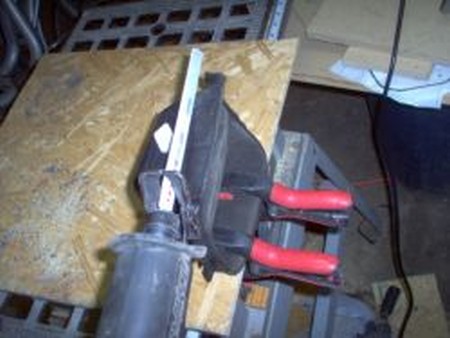
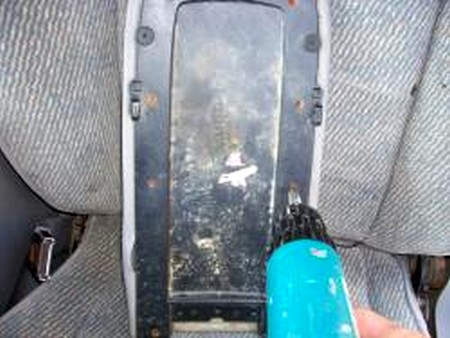
4. For this step, I secured the compartment tray to a secure workbench with the hand grip clamps. You will want the tray to be as sturdy as possible as it will wobble a lot during cutting. Especially towards the end. The plastic will brake if you flex it too much. This is the reason for using fine tooth blades. They will not rattle the plastic as bad as a wood blade will. I used an 8 " blade because it was long enough to cut the entire length of the compartment. You may want to use the shorter blade when you don't need to reach so far. Also the jig saw works well to cut around corners. |
|
|
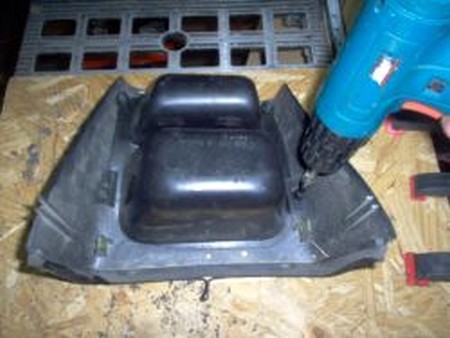
6. We will be keeping the side with the bolt holes. Try to discard as much of the tray as possible. You don't need to worry about making a clean cut as you won't be able to see any of this when you are done. |
 |
|
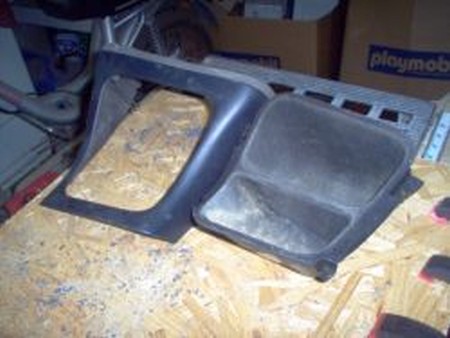
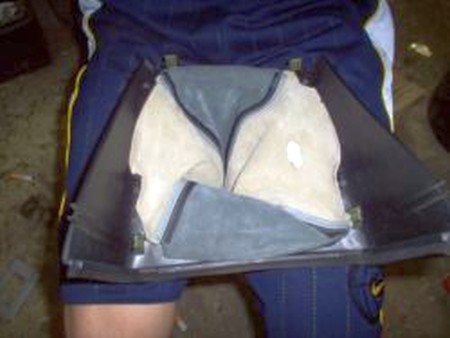
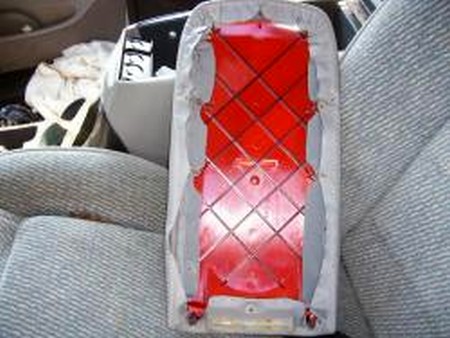
6. Now comes the challenging part. For this phase of the project I learned that it was easier to hold the console bezel upside down in my lap with the shift boot hanging down through my legs.
This picture shows the bottom of the boot stuck between my legs inside the bezel that is flipped upside down in my lap. The boot will fall through the bezel opening if you don't have something holding it in place. |
 |
|
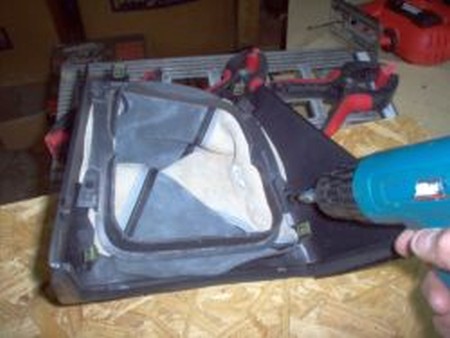
7. After lining up the cutout spots on the leather boot with the retainer clips and bolt holes you will want to place the modified compartment tray over the boot and match up the bolt holes with those on the bezel. Finger tighten the bolts so the boot will stay in place but loose enough to work it around in the bezel until it fits properly. This will take some work but it is worth the effort.
Once you have the boot secured between the bezel and the modified compartment tray, you will want to tighten the bolts. Don't over tighten the bolts, as long as they are relatively tight it's fine, stop turning the moment you see the head of the bolt compressing the leather underneath the modified compartment tray. The first ratchet setting on my cordless drill was just right for this. |
 |
|
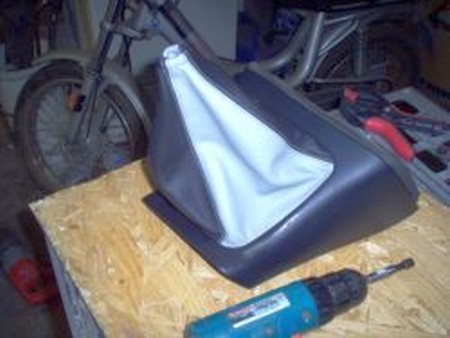
8. Once you have the boot secured in the bezel it is time to reinstall the bezel back into the console. Slip the gear shifter through the top of the boot and snap the 4 retainer clips back into the slots on the console.
9. Re-install shift knob. |
 |
|
ARMREST COVER INSTALLATION
1. Remove the armrest by taking out the three philips head screws. |
 |
|
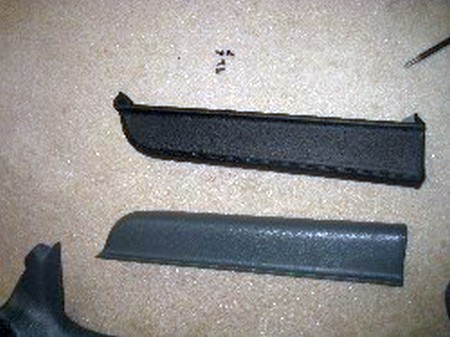
2. Remove the 9 small phillips head screws that are holding the black plastic cover on the armrest. |
 |
|
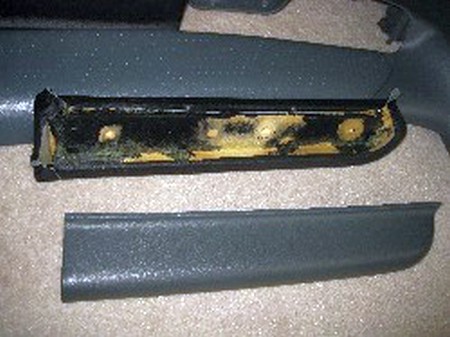
3. Pull the staples out of the vinyl that are holding the cover to the foam arm rest and remove the vinyl cover but leave the moisture barrier cloth on the armrest.
4. Place the leather cover over the foam pad and put the black plastic cover back on the armrest. If the plastic cover is cracked you may to use some self tapping screws with a larger head to secure the cracked plastic to the armrest. |
 |
|
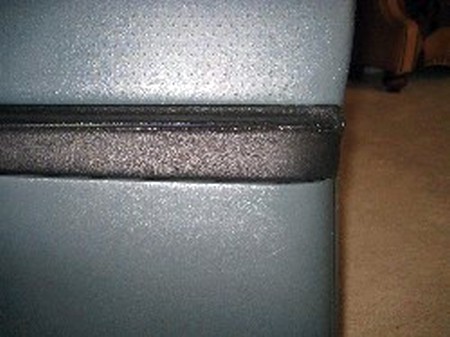
5. Tighten the 9 screws back on the plastic cover.
6. Put the armrest back on the console and secure it down with the three screws that hold it into place. |
 |
|
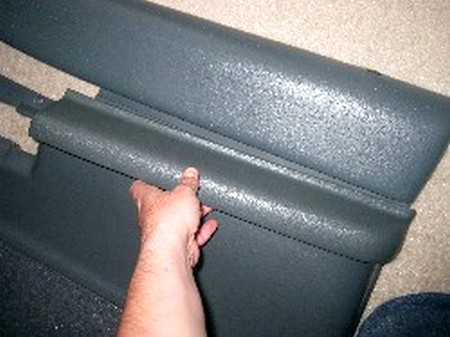
DOOR ARMRESTS
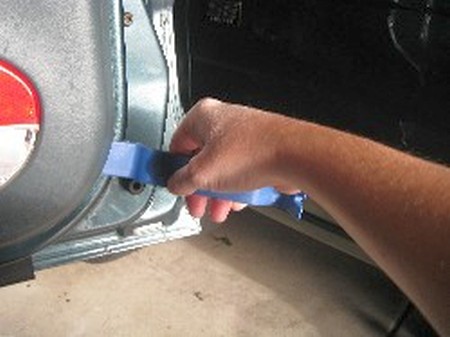
1. Remove 2 phiilips screws under armrest |
|
|
2. Here's a front shot of these: |
 |
|
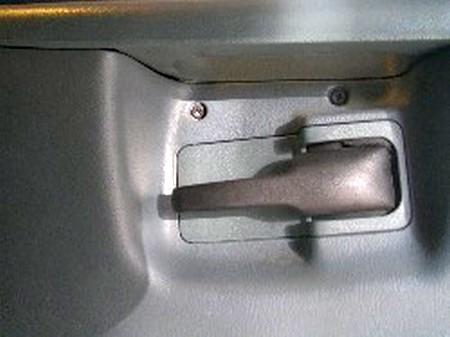
3. Pry off trim ring around interior door handle |
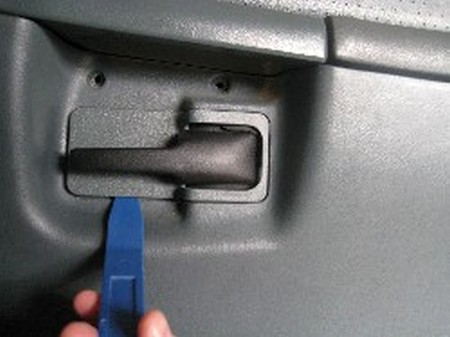 |
|
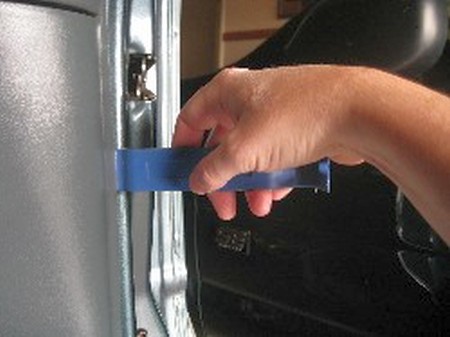
4. Remove interior door skin: Using a pry off tool, carefully start to remove door panel by prying off door retainer clips at all edges of door (except top-there are no retainer clips at the top). |
 |
|
5. Take your time. :) |
 |
|
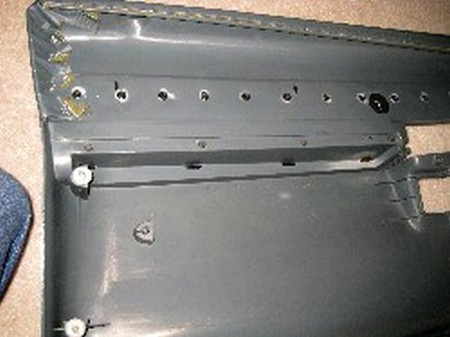
6. With door skin panel removed, remove 4 phillips screws which secure arm rest to door panel. |
 |
|
6. Remove armrest. |
 |
|
7. Install the RedlineGoods armrest cover - use contact cement to glue it over the stock armrest. Apply glue according to instructions on the glue can/bottle. |
 |
|
8. Align the leather cover nice and flat on the plastic part. |
 |
|
9. Reinstall the armrest reversing steps 1-7. |
 |
|
CONGRATULATIONS - YOU HAVE SUCCESSFULLY INSTALLED YOUR NEW LEATHER BOOTS!
Useful tip You have installed a product made out of genuine leather. As you know, to maintain a leather product in good condition, you should take care of it. We suggest occasionally (every 4-6 week for example) applying some leather conditioner/UV protector to keep your leather from drying up in the sun and cracking. |
|
Please subscribe to our newsletter.
Get an instant 20% discount and enter our montly $100 CASH sweepstakes!