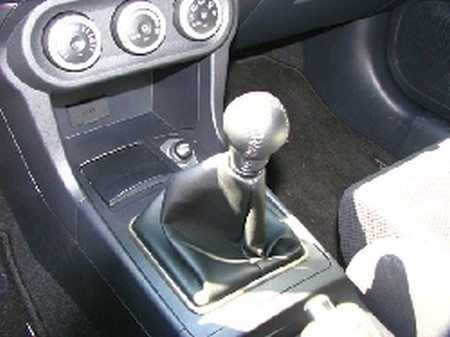
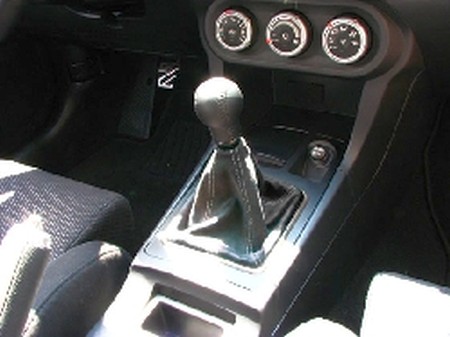
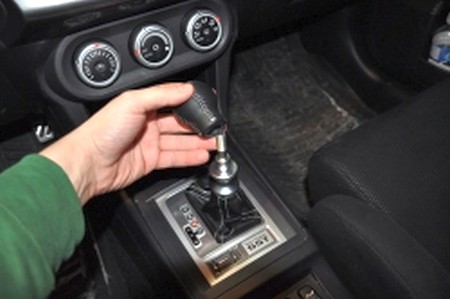
1. Take off shift knob by unscrewing it counterclockwise.
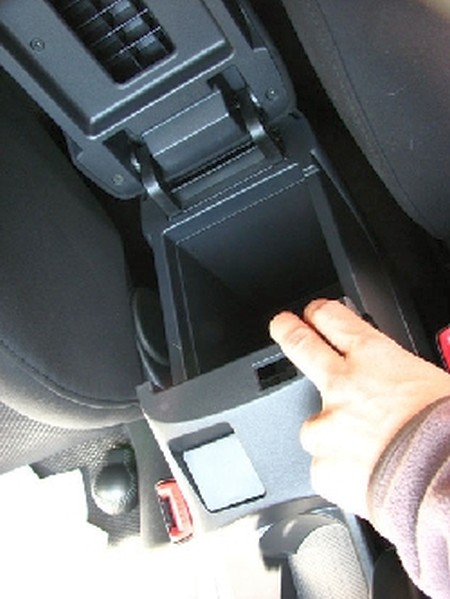
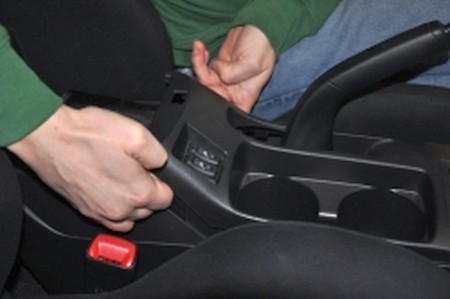
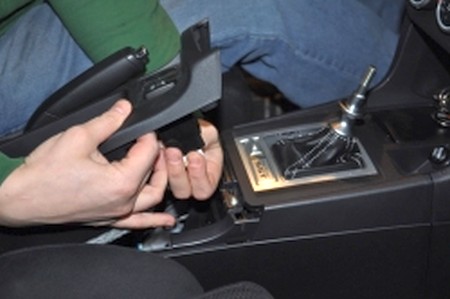
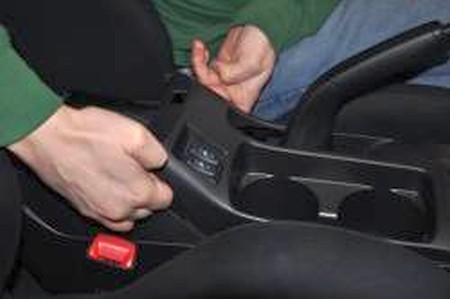
2. Open center arm rest console. Under it will be an area that you can pull on to take apart the first part of the center console. This will take a little of elbow grease to get it to pop off the first time. Be careful not to break any tabs along the way.
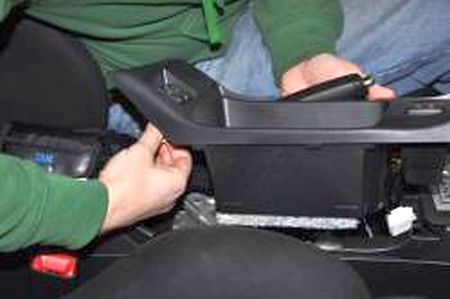
3. After you remove the first part of the center console you’ll notice that it will still be attached by a wire clip. Unclip the wire and set aside the first part of the center console.
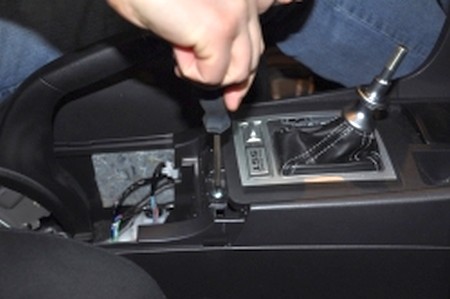
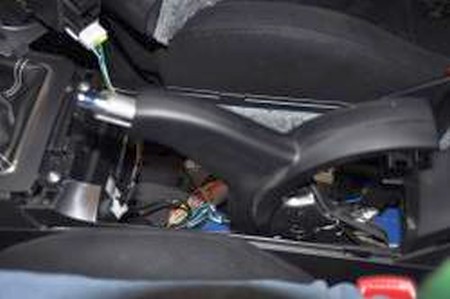
4. Next you will now see two screws holding the shift knob / ash tray / lighter assembly in place. Go ahead and remove these two screws with a Phillips screwdriver.
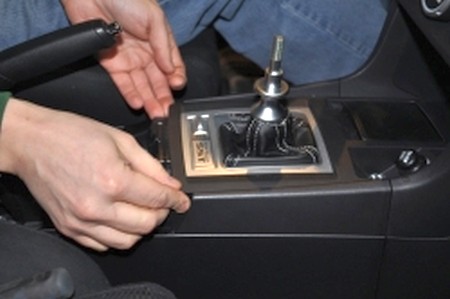
5. After you have removed the screws, gently lift up on the shift assembly. This should be a lot easier than the first piece you pulled out.
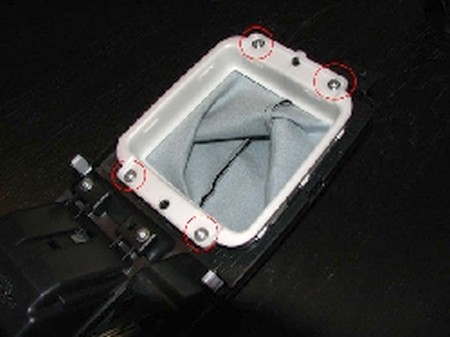
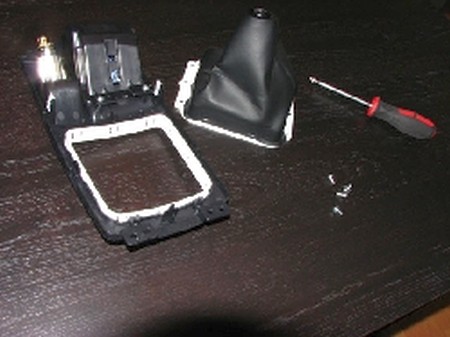
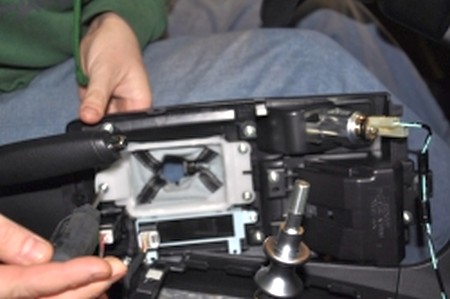
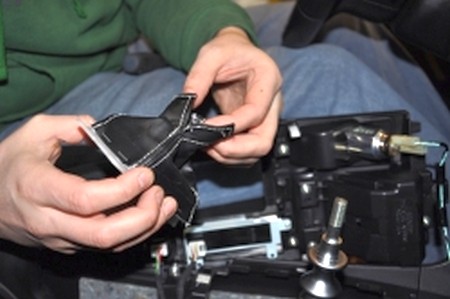
8. Next flip the shift knob / ash tray / lighter assembly over and unscrew the four screws and remove the shift boot assembly.
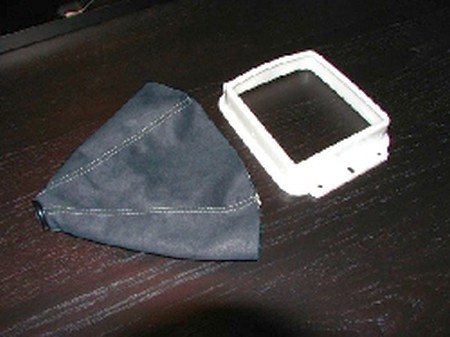
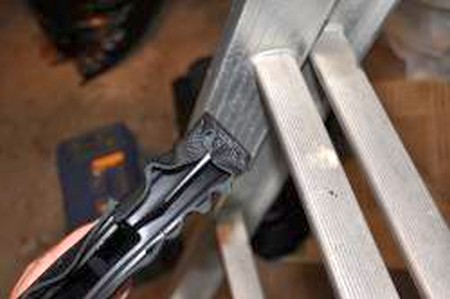
9. Next using your small flat head screw driver, remove the staples from the stock shift boot assembly then remove the stock shift boot.
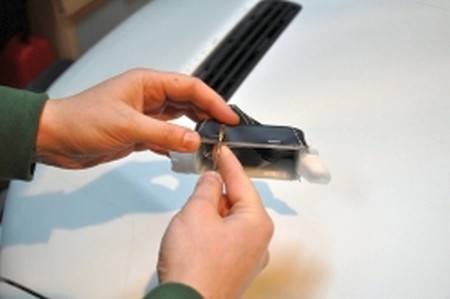
10. Next turn the boot inside out, and use a pair of cutters to remove the zip tie holding the shift knob retainer piece on.
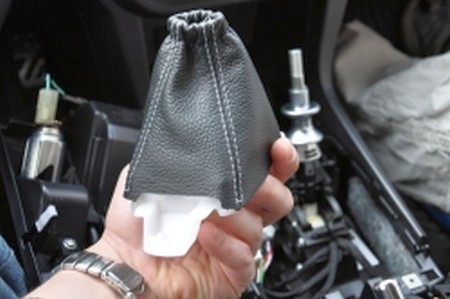
11. Then take your new boot, turn it inside out and re-attach the shift knob retainer piece with a zip tie and trim off the excess zip tie accordingly.
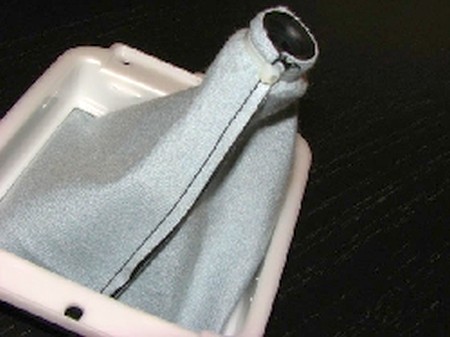
12. Next fit the new shift boot over the plastic shift boot frame assembly.
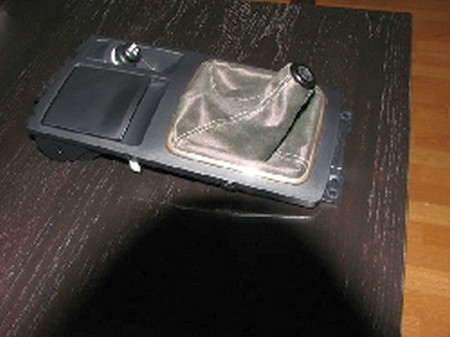
13. Then carefully put back the shift boot assembly back in the shift knob / ash tray / lighter assembly and reverse steps 1-8 (you will not need to use staples on the new shift boot).
14. Once you put everything back together, enjoy your new custom RedlineGoods shift boot!
INSTALLATION OF THE ARMREST COVER, (with optional padding)
Tools Required:
- Phillips screw driver to remove armrest screws.
- soft
- pressure clamps
- thin flat head screw driver
- very sharp knife
- scissors
- pliers
- 6mm | 1/4" light duty staples or a glue (any epoxy-based glue will do,
contact cement as well)
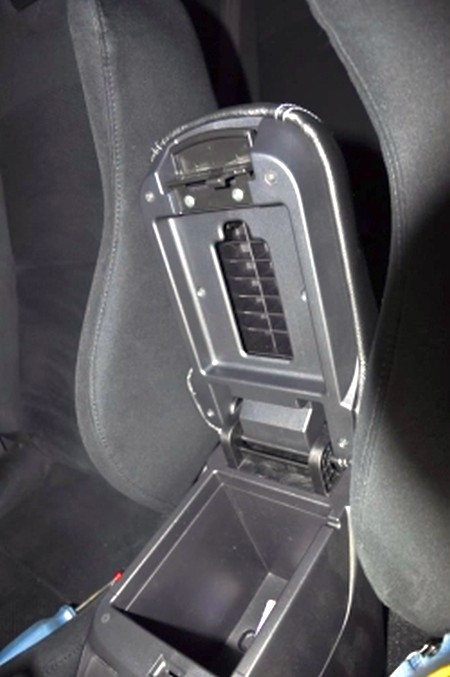
15. Open up the arm rest and remove the 6 visible Phillips screws.
16. Remove two more screws under the plastic armrest lock clip and slowly remove the arm rest frame.
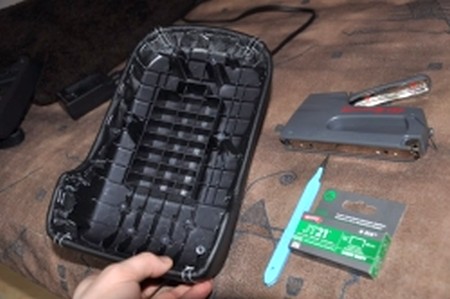
17. You can now see the 4 silver screws holding the armrest to the hinge. Remove them and take off the upper shell of the arm rest.
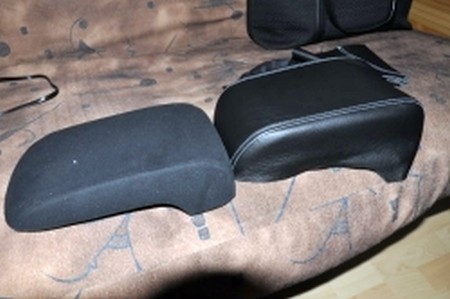
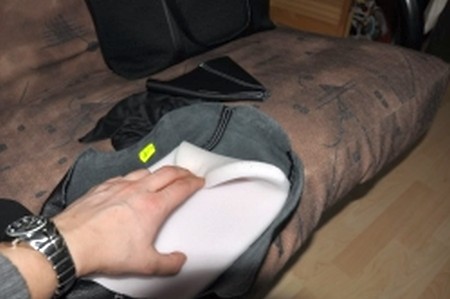
18. Unpack your brand new armrest cover and fit it to the arm rest shell. You have the option of removing the original suede. I left the OEM suede on in case I want to revert back to stock in the future.
19. If you are removing the stock vinyl, you can glue the padding to
the armrest, which will make your job easier - but it's not necessary. Some
trimming of the padding may be required.
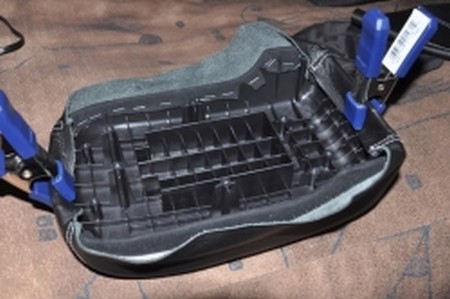
20. Once you have the Leather on the arm rest, stretch it out to your
liking over the shell and clip in place with soft - pressure clamps.
21. Staple the leather to the arm rest using 6mm - 1/4" or smaller
staples. You may need to trim the leather around the corners like the OEM suede.
Trimming will depend on how tight you want the leather.
Alternatively, you can use glue instead of the staples, but this will make
the process take longer, as you have to glue a section, clamp it down and let
the glue settle (refer to the manufacturer's instructions on how long that will
take) and only then proceed with the next section.
22. Re-install the newly re-upholstered RedlineGoods leather arm rest
into your EvoX. Replace the 4 silver Philips screws that attach the arm rest to
the hinge.
23. ***CAREFULLY AND SLOWLY so you don't break
the hinge***, insert the armrest frame into the arm rest shell.
Replace the remainder of the flat Philips screws and re-attach arm rest lock
clip with round Philips screws.
SST/RalliArt Shift Boot installation
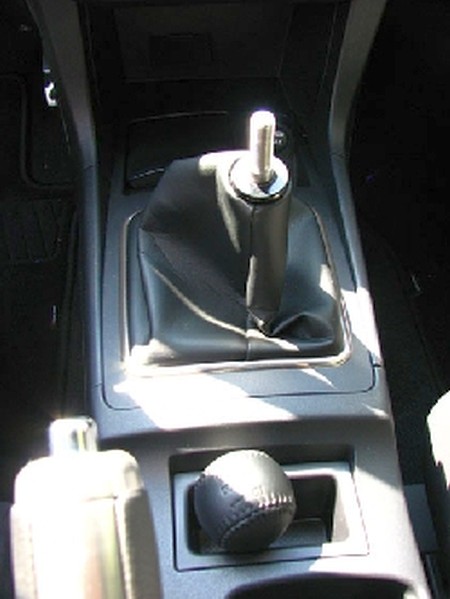
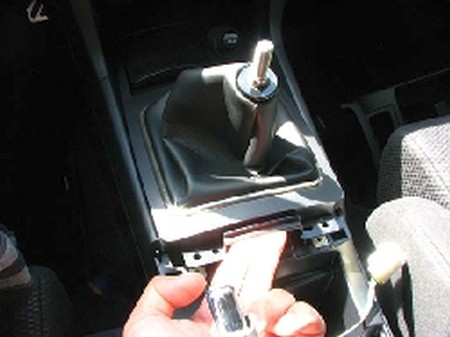
1. Unscrew the shift knob.
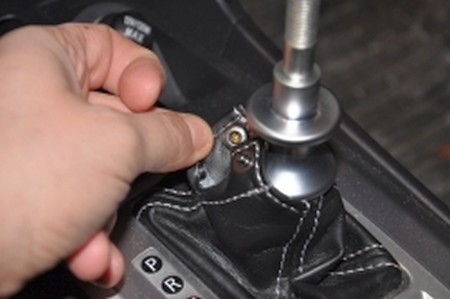
2. Unbutton the metal clasp on the upper part of the shiftboot.
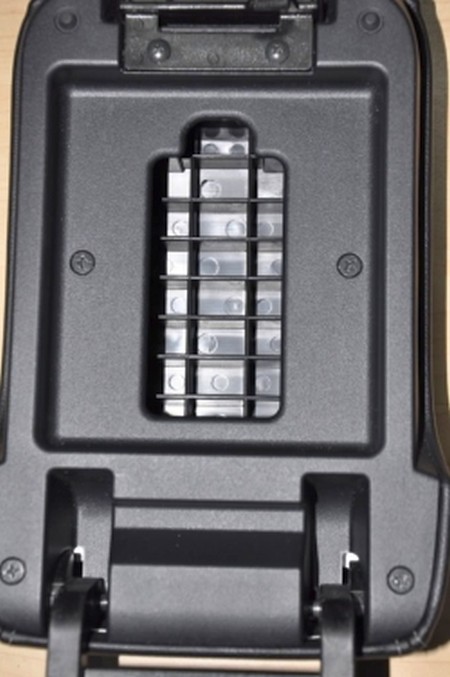
3. Open the arm rest and lift up the centre cup holder console from the rear, then slowly moving forward, pull upwards on the console near the shifter base. There are 4 clips here, ensure you don't loose the two white plastic ones near the shifter base.
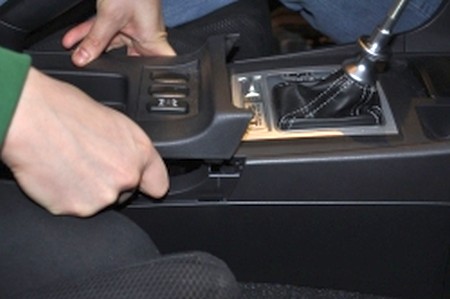
4. Pull gently and evenly...
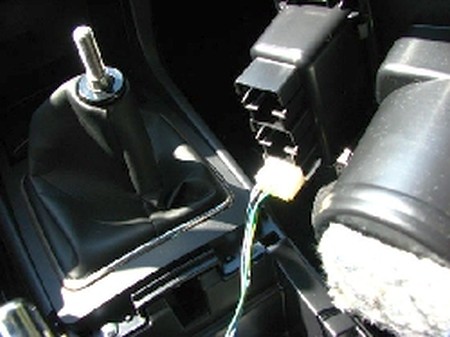
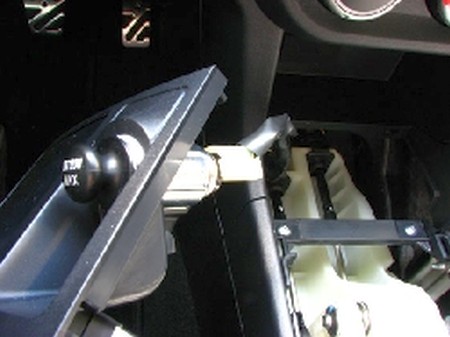
5. Unclip the AWC module wires by depressing the white tab.
6. Unclip the heated seat module wires by depressing the white tab, and set the console aside.
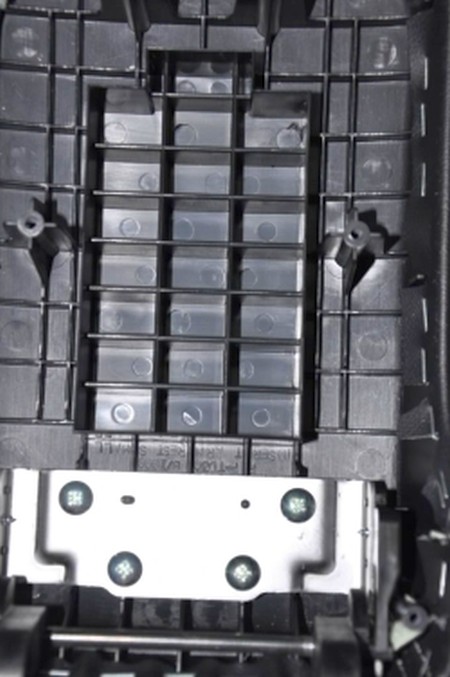
7. Unscrew the two screws holding the shifter base in place and set them aside.
8. Lift up the shifter base and pull it towards you. There are two clips at the front of the base and two sets of wires, so be careful and do not pull too hard.
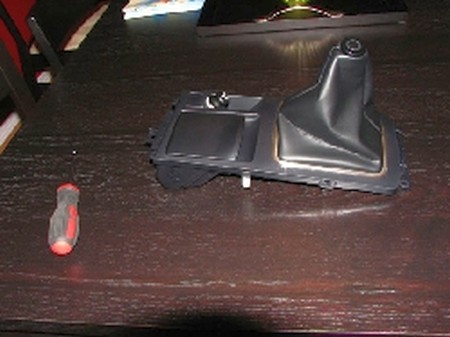
9. If you have enough slack in the wires unscrew the three screws holding the shifter boot base in place. If your wires are very short, simply unplug the SST control switch and the SST LED indicator module wires and set the console aside.
10. Remove the shift boot base from the console.
11. Remove the OEM shiftboot from the shift boot frame by pulling out the staples.
12. Place your new RedlineGoods shiftboot over the shifter boot frame
ensuring the cutout goes to the bottom. Insert the shiftboot into the shift base
console and re-tighten the three screws, then pull the shiftboot over the
shifter stretching the elastic over the reverse lockout mechanism. Our shiftboot
uses a durable elastic to strech over the reverse lockout instead of a button
type clasp. This approach ensures a better fit and a cleaner looking end result.
EMERGENCY BRAKE BOOT INSTALLATION
1. Slide off the e-brake handle, it takes time so be patient and keep
pulling forward. Eventually it will come off. A dab of grease or pressurized
silicone spray under the handle will help.
2. Open the arm rest and lift up the centre cup holder console from the
rear, then slowly moving forward, pull upwards on the console near the shifter
base. There are 4 clips here, ensure you don't loose the two white plastic ones
near the shifter base.
3. If you have a RalliArt or an EvoX MR, Unclip the AWC module wires by
depressing the white tab. If you have a EvoX GSR simply set the cup holder trim
aside as there is enough slack in the wire.
4. If you have a RalliArt or an EvoX MR, Unclip the heated seat module
wires by depressing the white tab, and set the console aside. If you have an
EvoX GSR skip this step.
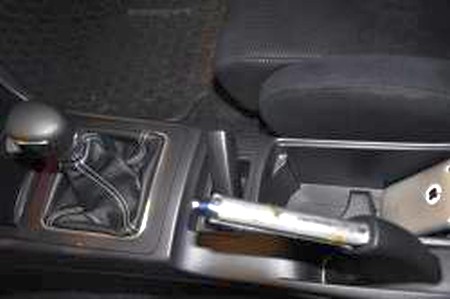
5. With the e-brake handle and the cup holder trim off remove the lower
plastic e-brake boot. A little bit of force should be used to pull the lower
plastic boot off.
6. Staple the back end of the leather nice and tight around the back end
of the plastic e-brake cover.
7. Unscrew the two screws holding the shifter base in place and set them aside.
8. Re-insert the covered e-brake boot back onto the e-brake mechanism. A
touch of white lithium grease should help but not necessary. Re-install your
plastic cup holder trim and enjoy!
CONGRATULATIONS - YOU HAVE SUCCESSFULLY INSTALLED YOUR NEW LEATHER BOOTS!
Useful tip
You have installed a product made out of genuine leather. As you know, to maintain a leather product in good condition, you should take care of it. We suggest occasionally (every 4-6 week for example) applying some leather conditioner/UV protector to keep your leather from drying up in the sun and cracking.
Redline Automotive Accessories Corp. will not be held liable for any labor, incidental or consequential damages of any kind. Proceed at your own risk.