2008-15 MITSUBISHI LANCER / EVO X |
||||||||||||||||||||||||||||||
|
Things you will need: |
|
|
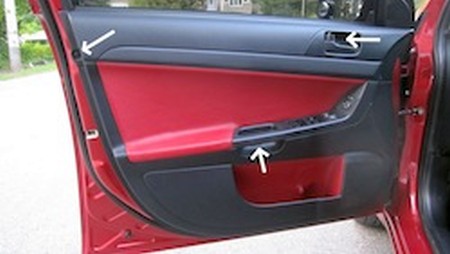
2. For front doors, pull tweeter cover off, disconnect tweeters (if applicable). |
|
|
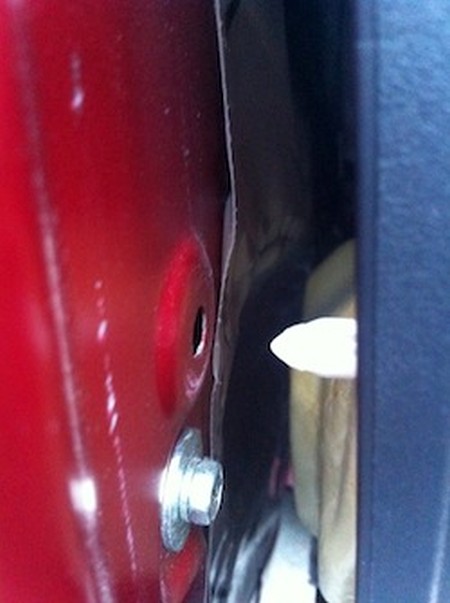
3. The rest of the door panel is held by about 10 clips. Starting at bottom, pull straight and away from door (may be difficult to remove for first time removal). |
|
|
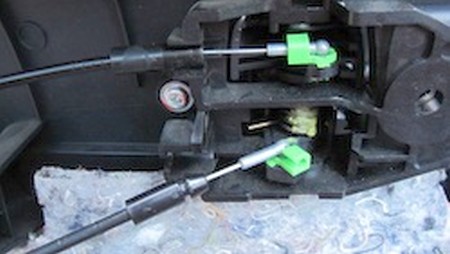
4. Disconnect handle and lock pins, remove wire harness. |
|
|
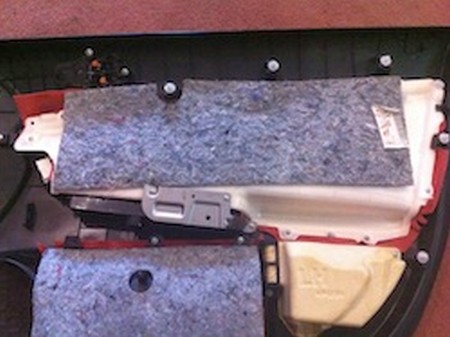
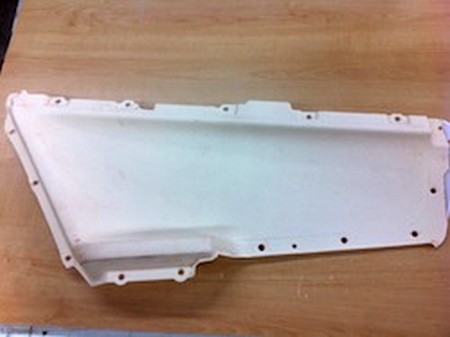
5. Now the door panel is free, set the face on something that wont scratch it and remove all the screws from the insert you are recovering. |
|
|
6. Now the insert is free, remove the original fabric. |
|
|
7. Remove the old glue from the insert by brushing thinner over glue then rubbing with rags (disposable gloves recommended, you may get sticky), repeat till glue is gone. |
|
|
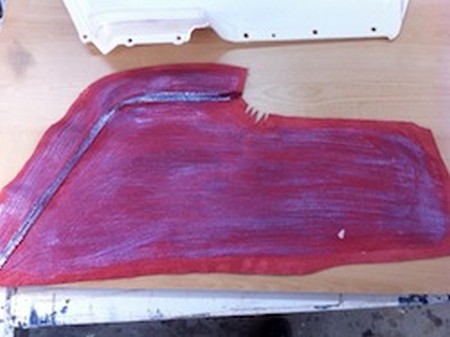
8. Now pre-fit your new leather covers and create a plan on how you will place it on when the glue is applied. this is key because with contact cement you do not want to peel back once applied. Start at the inside curve by the arm rest because its hard to not get air behind it, and for back doors line the seam up with the edge first. Have your helper hold the leather up where you are not working to keep it from bonding in the wrong places. |
|
|
9. With another brush apply a thin, even coat of contact cement to both surfaces being joined. Both surfaces need to be dry before bonding. Read label for dry time (Approx. 30-40 mins), should be clear when dry. |
|
|
10. When both surfaces are dry execute step 8. Apply small amount of pressure at first in case you need peel back a bit to readjust. When sure of placement apply lots of even pressure. If you are not satisfied, remove it and repeat step 9. |
|
|
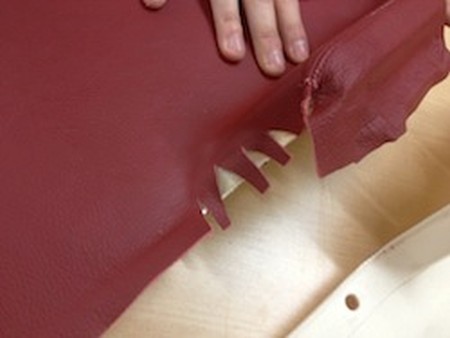
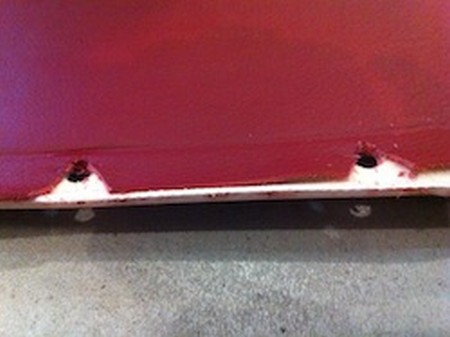
11. Now the insert is recovered. Remove the material covering all the screw holes. Peel back just enough material to cut a V from the edge with scissors, revealing the hole. |
|
|
12. Screw the insert back onto the door panel. |
|
|
13. Let door panel sit flat on its back for 24 hours, or at least overnight, to fully cure before installing back onto car door. Gravity may have a negative effect if standing vertically while curing (bond may fail and leather will droop). |
|
|
14. You can now install it back on door, reversing the removal steps 1-4. |
|
|
CONGRATULATIONS - YOU HAVE SUCCESSFULLY INSTALLED YOUR NEW LEATHER BOOTS!
Useful tip You have installed a product made out of genuine leather. As you know, to maintain a leather product in good condition, you should take care of it. We suggest occasionally (every 4-6 week for example) applying some leather conditioner/UV protector to keep your leather from drying up in the sun and cracking. |
|
Please subscribe to our newsletter.
Get an instant 20% discount and enter our montly $100 CASH sweepstakes!