Installation of the steering wheel wraps is quite simple, in fact, although definitely doesn't appear so. But if you follow this write-up you will see that indeed, technically, it is quite simple.
Please watch the instructional videos from RedlineGoods if you haven't done so already, which will explain how to lace the new wrap on the steering wheel. Find them here.
SO, LET'S GET TO IT :) Please completely read directions starting to remove wheel.
Disclaimer: Do this at your own risk, neither the author of this guide, nor Redline Goods can be held responsible if your airbags deploy or malfunction while/after installing this leather cover.
Tools needed:
-Ratchet
-Ratchet extension
-10mm socket
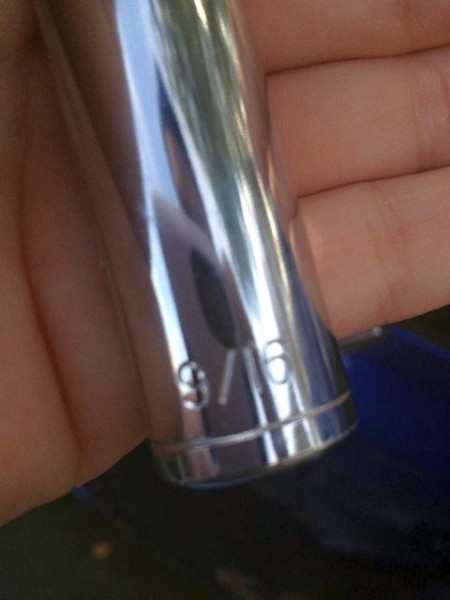
-9/16 socket
-Torx screwdriver set
-Phillips screwdriver
-Steering wheel puller
-Xacto knife
-Multi-purpose glue (make sure it can be used with leather)
Caution:
Comply with safety precautions! Disconnect both negative and positive wires from the battery and allow enough time for the computer in the car to shut down, last thing you want is an airbag blowing off in the middle of your install.
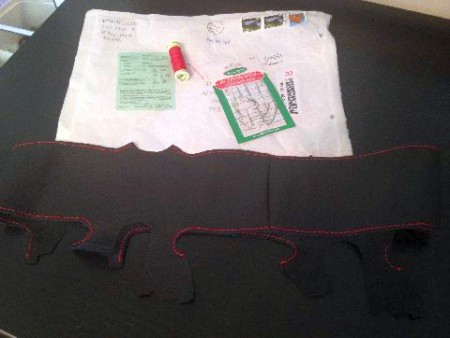
Here's what your package should come with: Leather wrap, sewing kit and string.
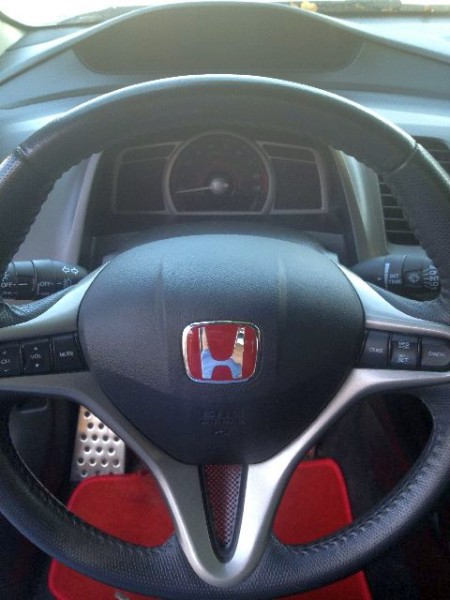
This is what we're starting with.
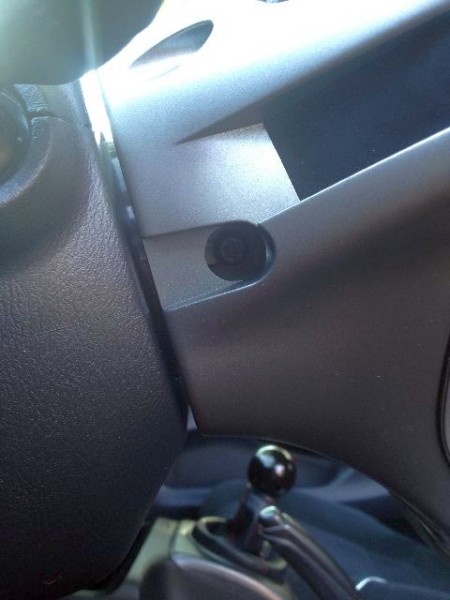
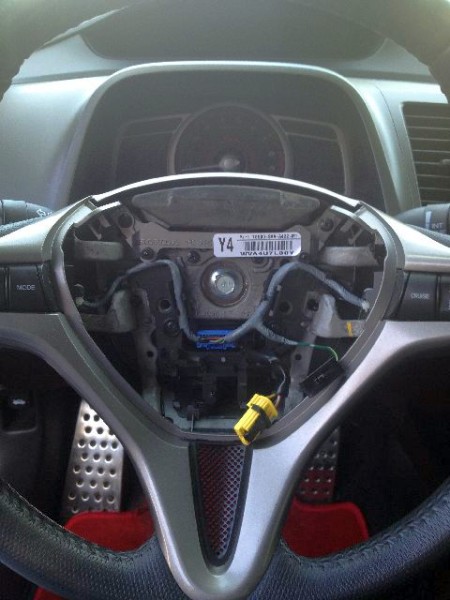
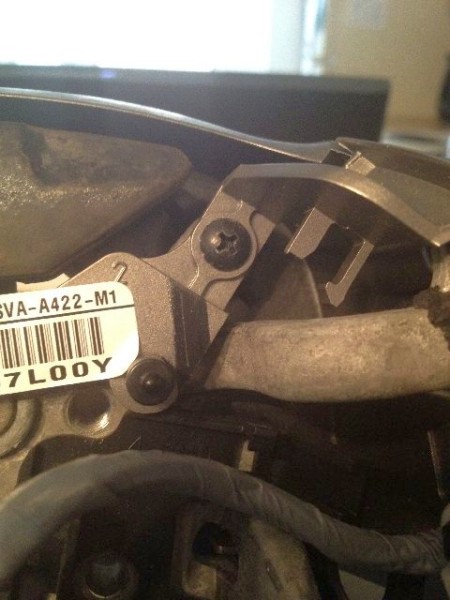
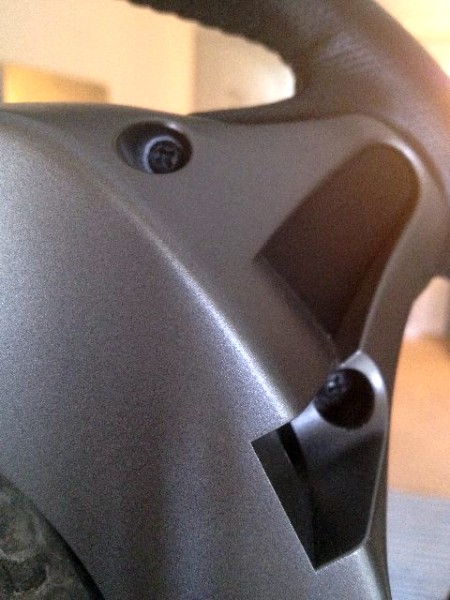
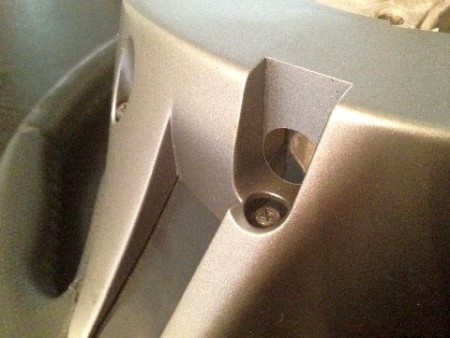
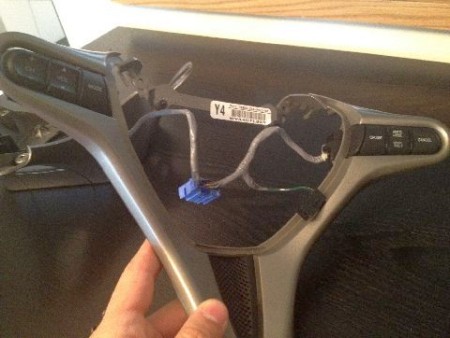
On each side of the steering wheel you will find a screw, use the appropriate Torx screwdriver to take them out, this releases the airbag.
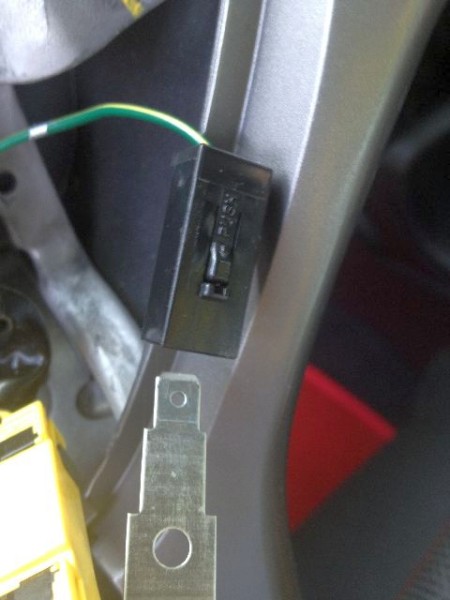
There's a little compartment door on the bottom of the steering wheel which will allow you to unplug the yellow airbag connector, I didn't realize it was there until I pulled the airbag out. It is ok if this happens, just get the yellow connector off it's mounting bracket and unplug it.
Unplug this black connector as well.
Be VERY CAREFUL when pulling out the airbag and handle it with care, also make sure the connectors don't touch any possible grounding sources that might set them off.
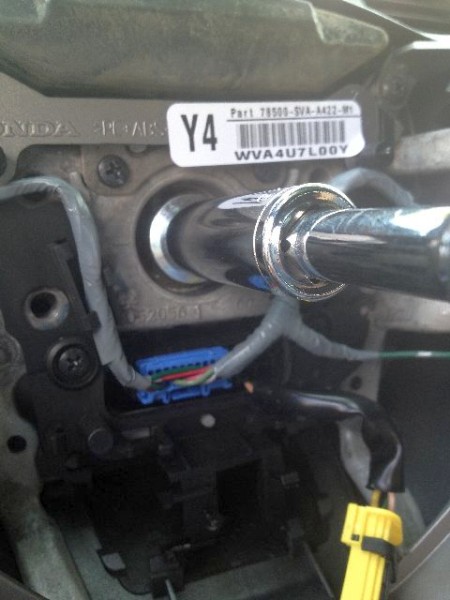
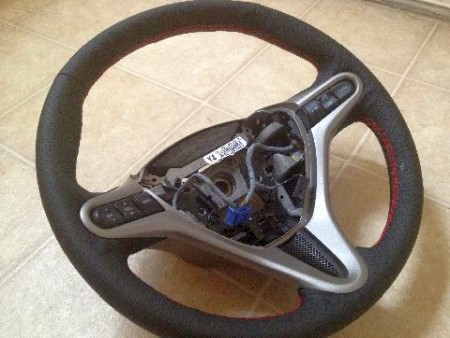
This is what your steering wheel looks like now.
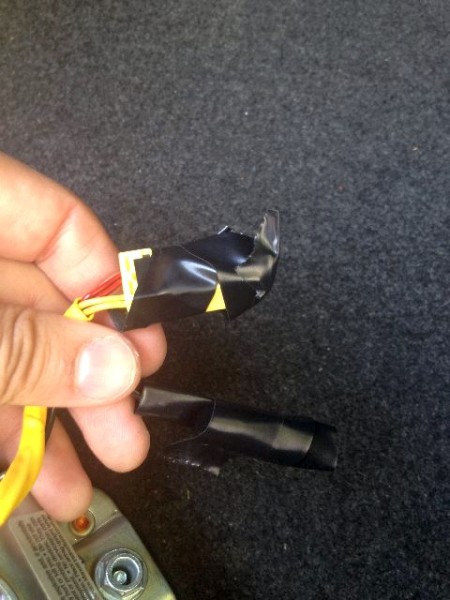
After you pull the airbag off, make sure you wrap the connectors with electrical tape, this is not entirely necessary; but again, we are just making sure we cover all our bases to avoid an airbag going off.
Now it's time to get your ratchet and your 9/16 socket ready.
This is the main bolt holding everything together.
Go ahead and loosen up the bolt and take it off. This is going to require some muscle, but you can definitely do it without power tools. If you happen to have them, then by all means go ahead and save yourself a couple of minutes.
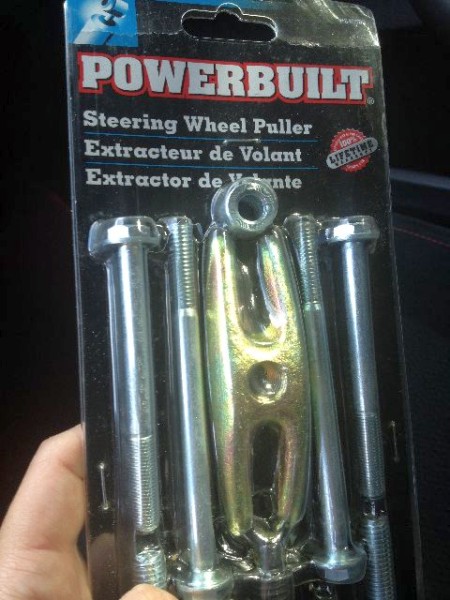
After the bolt is out, get your steering wheel puller ready. Please, don't bang or hit your steering wheel to try to make it come loose, you can severely damage it if you do that. You can get a steering wheel puller for as little as $8.99 (amazon) or $16.99 (local auto parts store) so just do it the right way.
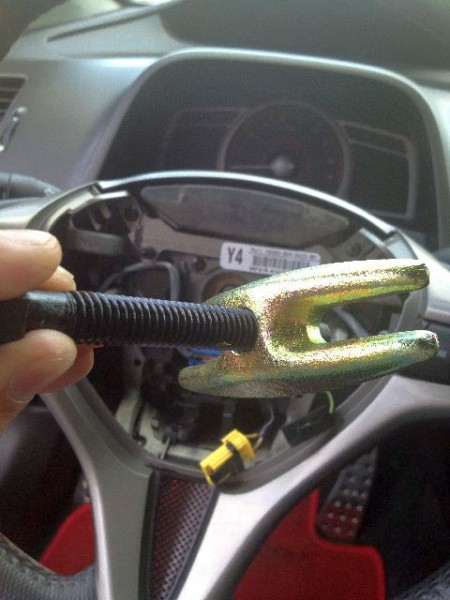
Put the puller together.
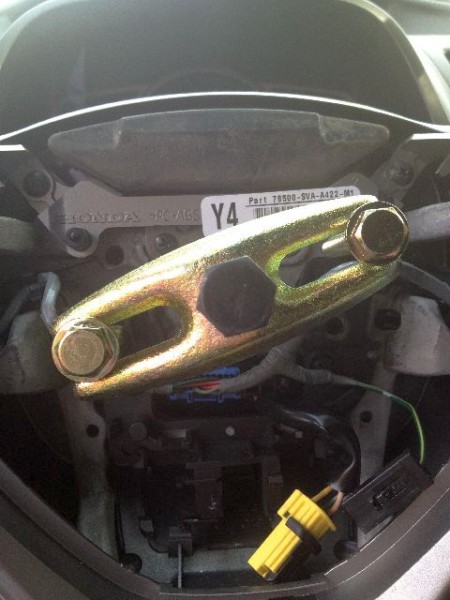
This is what it should look like once assembled (design may vary) and this are also the exact mounting points for the puller on our steering wheel.
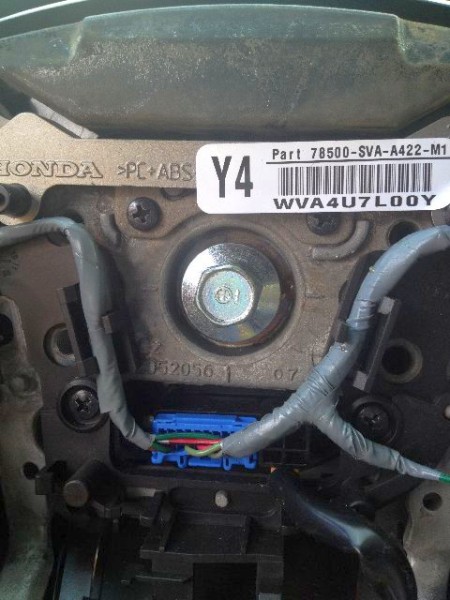
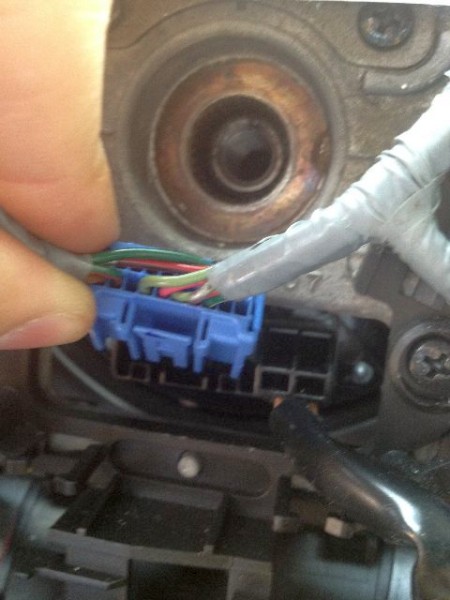
After you get the steering wheel loose, unplug this blue connector.
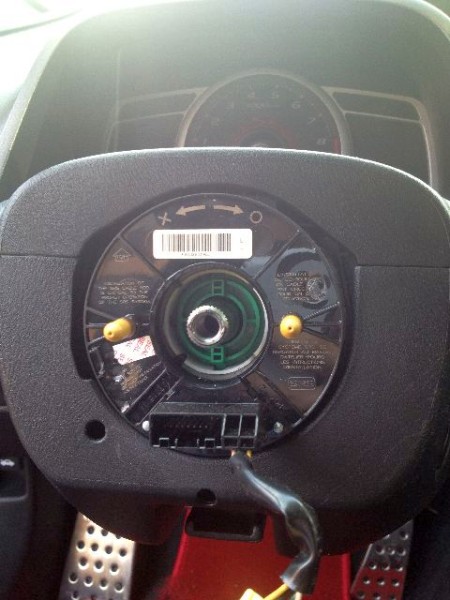
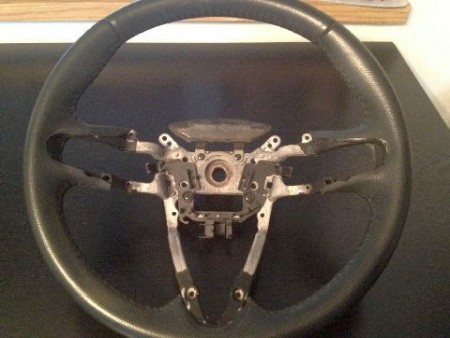
That's it, your steering wheel is out and this is what you end up with.
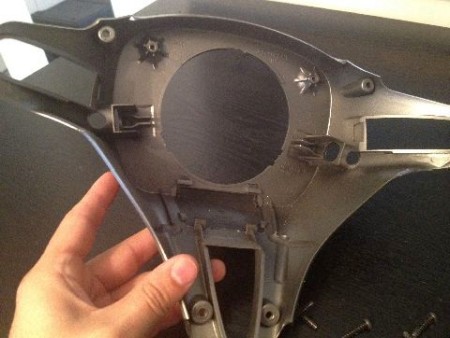
Now we got to take all the plastic trims and buttons off.
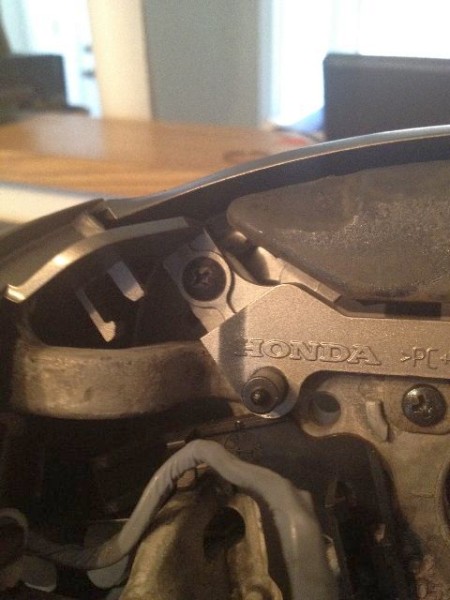
On the back of the steering wheel you're going to find 6 main screws holding everything into place, take them off:
Now go ahead pull the plastic fixture apart.
Pull the front piece.
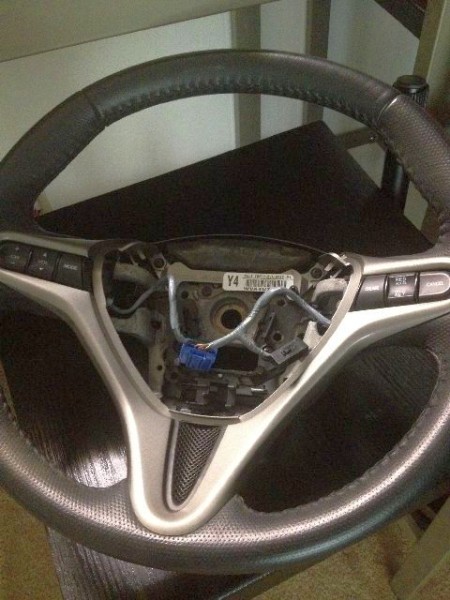
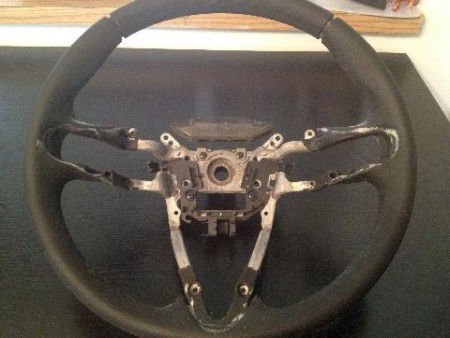
This is what your steering wheel should look like by now.
Now, use your Xacto knife and carefully cut along the sewing seems through out the steering wheel, take the old leather cover out and this is what you're left with.
Make sure you clean any glue / junk residue around the steering wheel, any imperfections will show through you new cover.
Now, this is the type of glue that I used, pretty simple and inexpensive.
At this point, I used this guide from RedlineGoods to get the wrap on and to do the sewing.
Be patient! Take your time adjusting your wrap to align correctly and doing the stitching, it will pay off.
After you're done gluing and stitching put the plastic pieces in a reverse order.
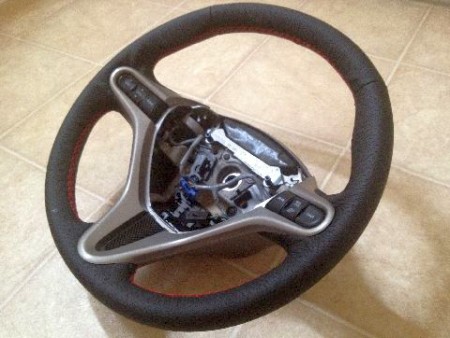
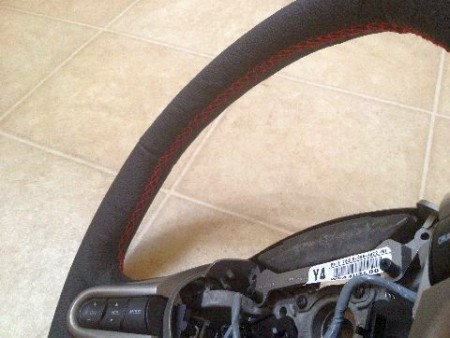
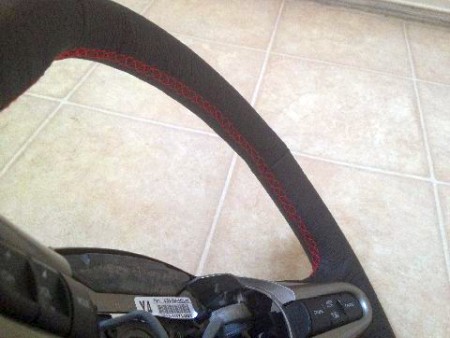
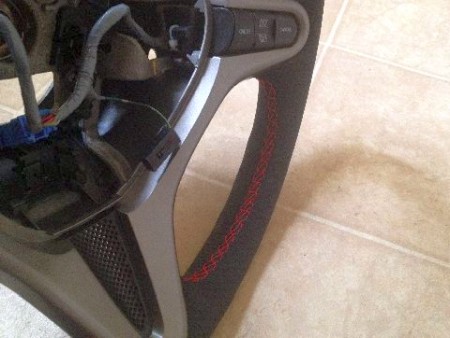
Congratulations, you're done! This is what your wrap should look like:
Go ahead and repeat all the steps used to pull the steering wheel off to put it back on, just in a reverse order.
Useful tip
You have installed a product made out of genuine leather. As you know, to maintain a leather product in good condition, you should take care of it. We suggest occasionally (every 4-6 week for example) applying some leather conditioner/UV protector to keep your leather from drying up in the sun and cracking.
Redline Automotive Accessories Corp. will not be held liable for any labor, incidental or consequential damages of any kind. Proceed at your own risk.