2006-11 HONDA CIVIC |
|
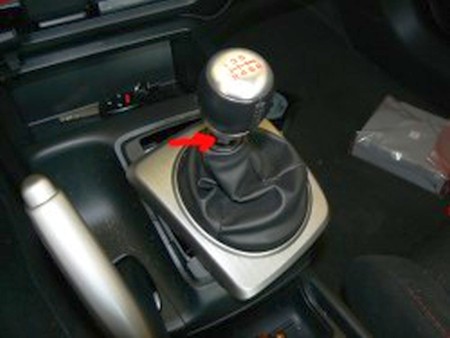
1. Loosen the nut below the shift knob. Unscrew the shift knob and nut
and put them aside. |
 |
|
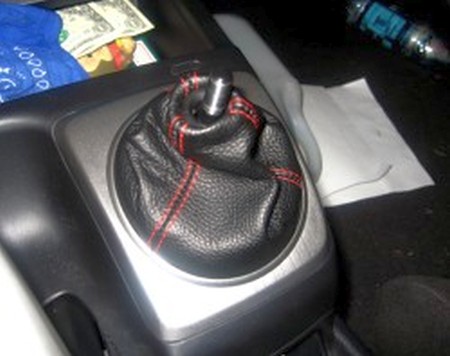
2. Push the boot down into the console and grab the inside rim of the silver trim piece and pull up evenly on both sides. It should pop right off. |
 |
|
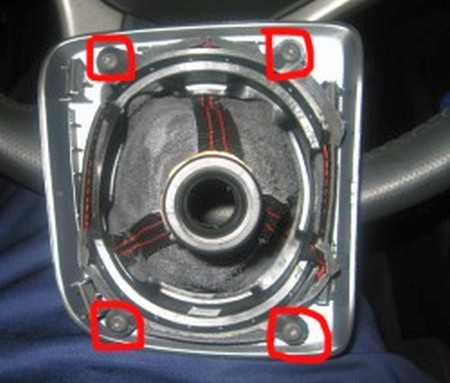
3. There are 4 torx head screws holding the boot to the silver trim piece. Remove the screws and pull the boot and ring out through the bottom. |
 |
|
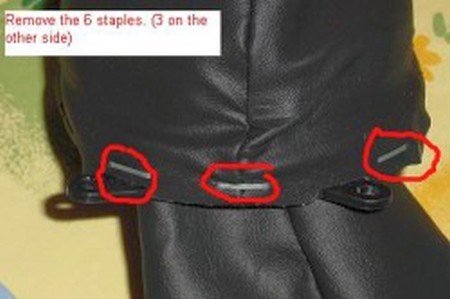
4. The boot is secured to the ring with 6 staples. Remove them with a pair of needle nose pliers or anything else that might work. |
 |
|
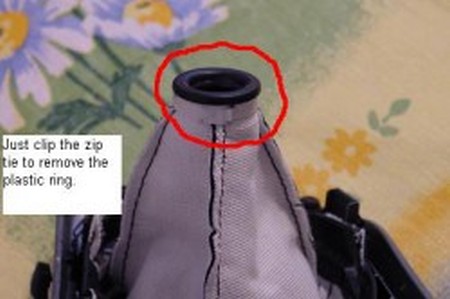
5. Flip the old boot inside-out and use a pair of cutting pliers or whatever you have to cut the zip tie holding the plastic ring to the boot. (You will need this ring for the new boot).
Flip the new boot inside-out and make a cut on the top section that doesnt have stitching on it. Wrap the top of the boot around the plastic ring from the old boot and secure with a new zip tie or rubber bands. Make sure it's secure.
To install the new shift boot, follow these instructions in reverse. |
 |
|
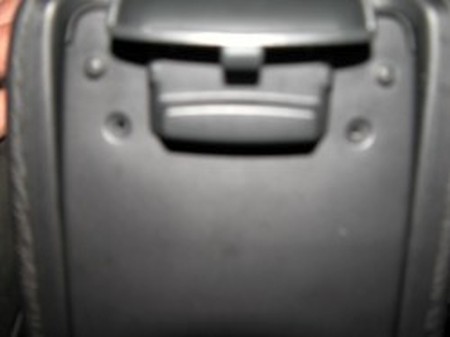
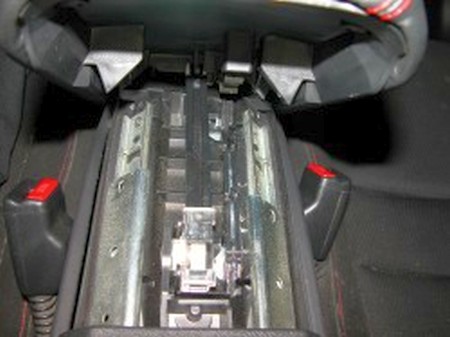
6. First, pop open your center console and remove the two screws underneath the handle, shown below. After they’re out, lift the handle and pull off that plate. |
 |
|
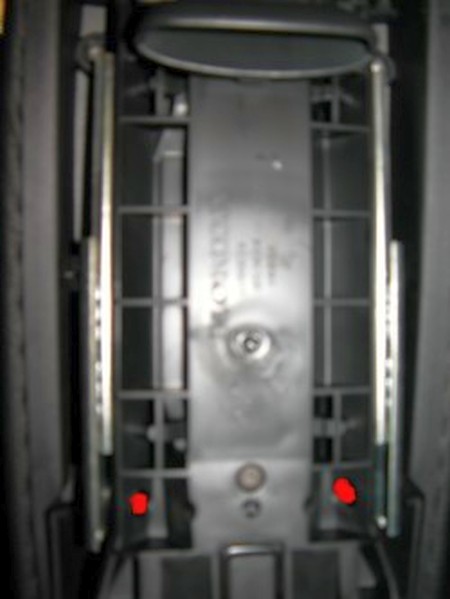
7. With your armrest in the pushed-back position, reach through the lower cutouts to unscrew the screws holding the armrest to the rails. |
 |
|
8. Next, push it to the pushed-up position, reach through the cutouts, and take out the screws. |
 |
|
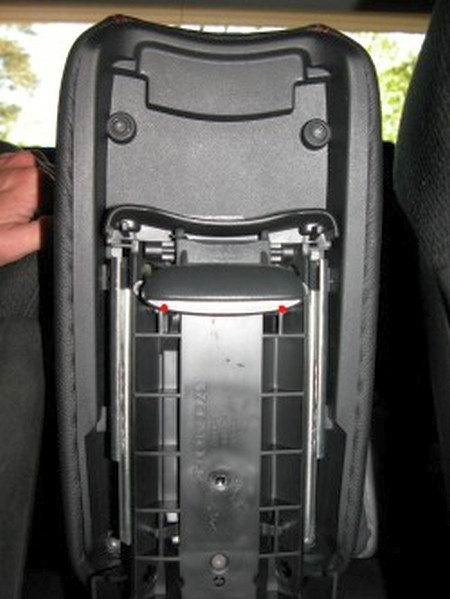
9. Don’t rip it off after you’ve gotten all the screws removed, you’ll want to slide this strip out of the little white gear slowly, then it’ll be free. |
 |
|
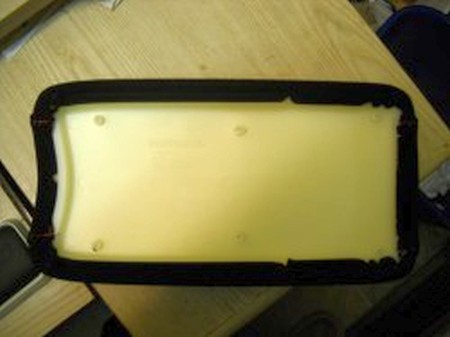
10. Unscrew the six screws on the underside of the armrest and pull of the plate holding the fabric in place. |
 |
|
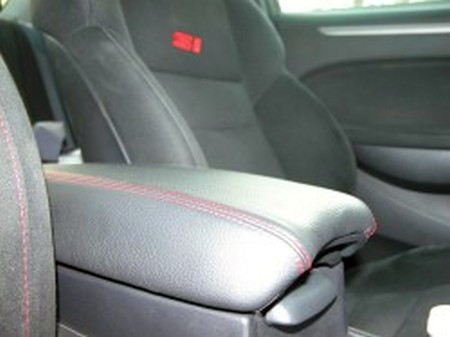
11. Peel off your OEM fabric and carefully stretch your new armrest cover into place. Simply reverse the process, and enjoy the results! |
 |
You have installed a product made out of genuine leather. As you know, to maintain a leather product in good condition, you should take care of it. We suggest occasionally (every 4-6 week for example) applying some leather conditioner/UV protector to keep your leather from drying up in the sun and cracking.
Redline Automotive Accessories Corp. will not be held liable for any labor, incidental or consequential damages of any kind. Proceed at your own risk.
Please subscribe to our newsletter.
Get an instant 20% discount and enter our montly $100 CASH sweepstakes!