2001-05 HONDA CIVIC |
||||||||||||||||||||||||||
|
EP3 INSTALLATION - SCROLL DOWN!
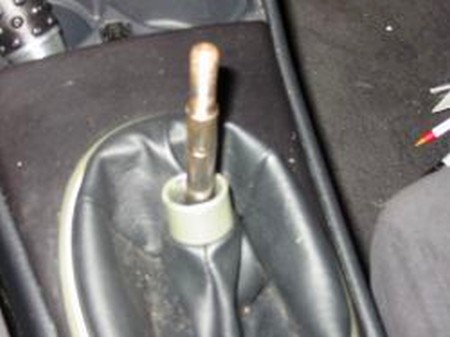
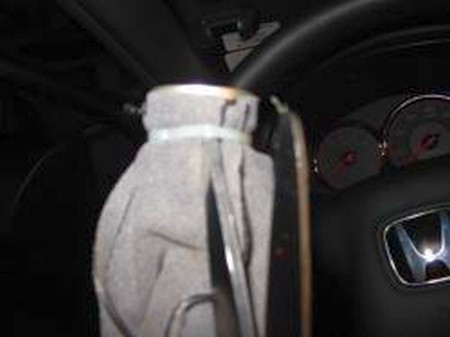
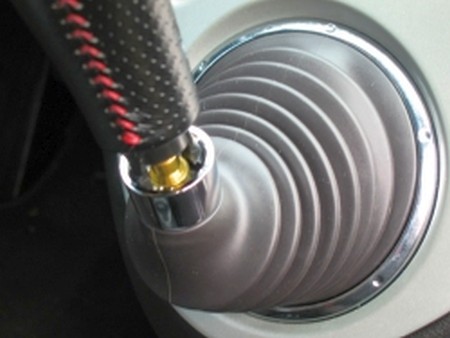
1. To remove the shift boot, first remove the shift knob. If you have a stock shift knob, the plastic trim ring should unclip by pulling straight down. Then, unscrew the shift knob. |
 |
||
|
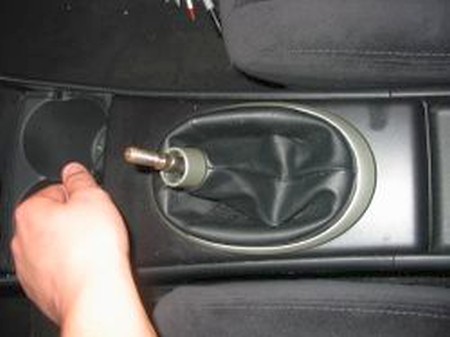
2. Second, pull up on the panel that the shift knob comes out of, by prying it from the front, near the cup holder. If you find it doesn't budge, try the alternative: using a plastic putty pry on the driver's side lateral edge. Once the driver's side is loosened, the other edge will come off easily. |
 |
||
|
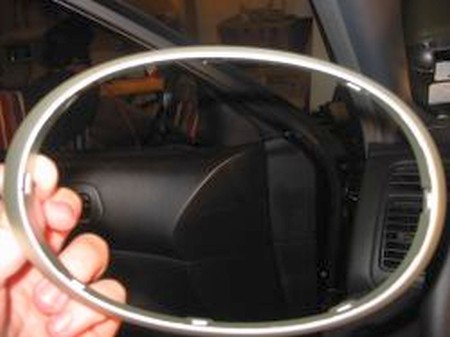
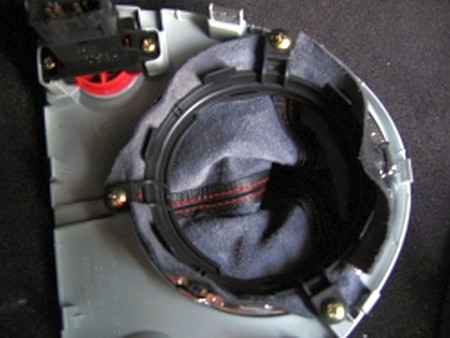
3. On the bottom side of this panel is a single screw. Remove this screw, and then look for the seven clips that hold the trim ring around the base of the boot in. Using a slot screwdriver, pry the ring off. |
 |
||
|
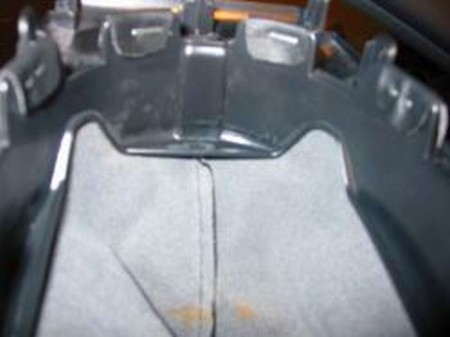
4. Then, using a slot screwdriver or a small pry tool, remove the eight staples holding the boot on. With the boot off, turn it inside out, and cut the lock tie holding it onto the trim piece. |
 |
||
|
5. To install the new shift boot, follow these instructions in reverse. |
 |
||
|
INSTALLATION ON AN EP3
1. To remove the shift boot, first remove the shift knob. If you have a stock shift knob, the plastic trim ring should unclip by pulling straight down. Then, unscrew the shift knob. |
 |
||
|
2. Second, pull up on the panel that the shift knob comes out of, by prying it from the rear. |
 |
||
|
3. On the bottom side of this panel there are 3. Remove them, and then look for the seven clips that hold the trim ring around the base of the boot in. Using a slot screwdriver, pry the ring off.
Install the RedlineGoods boot in place of the stock one. Install the top trim piece into the new boot, holding it to the boot with a zip-tie (flip the boot inside-out, slide the trim piece into it, zip-tie it so that it stays in place, then flip the boot back to the right side).
You can also use the zip-tie method without the top trim piece (useful for aftermarket shift knobs).
Reverse steps 1-3 to reinstall everything. |
 |
||
|
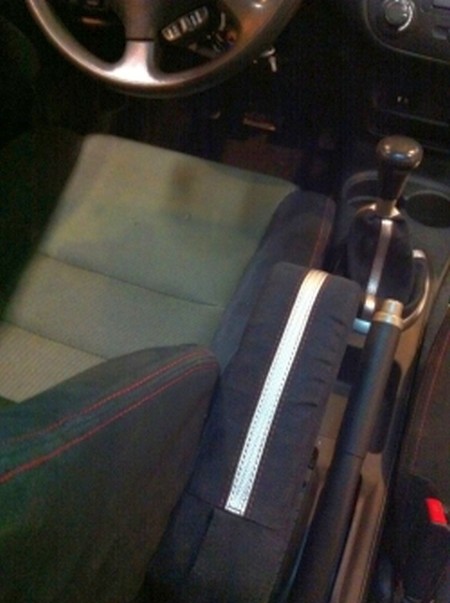
INSTALLATION OF A SEAT-MOUNTED ARMREST COVER
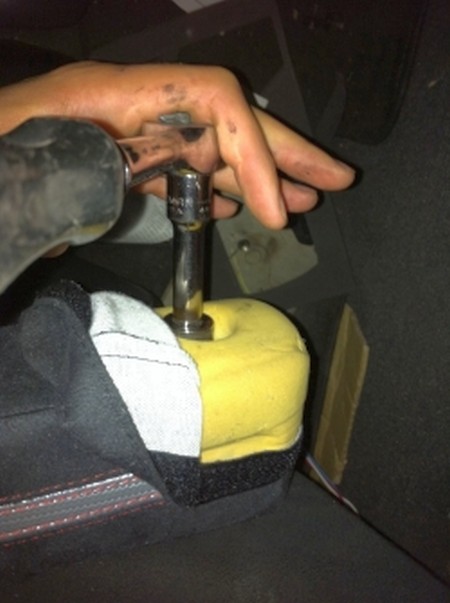
1. Start pushing the fabric towards the front of the car exposing the nut that holds the armrest in place on the shaft. |
 |
||
|
2. Remove the nut with a 17mm socket (you may want to make sure your ratchet is clean of grease so your interior stays clean). |
 |
||
|
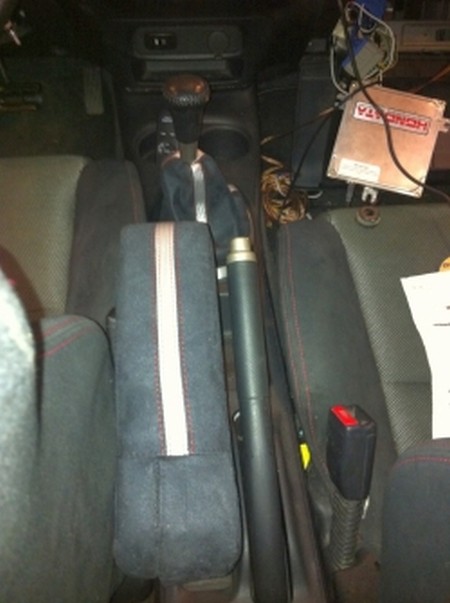
3. Remove the armrest by pulling it towards the passenger seat. Making sure as not to lose any washers or bushings also note the order came off.
Next remove the rest of the cover. Take the new cover and put it on. I found starting with it inside out worked pretty well.
You can also use the zip-tie method without the top trim piece (useful for aftermarket shift knobs).
Reverse steps 1-3 to reinstall everything. |
 |
||
|
|||
Please subscribe to our newsletter.
Get an instant 20% discount and enter our montly $100 CASH sweepstakes!