1988-91 HONDA CRX |
||||||||||||
|
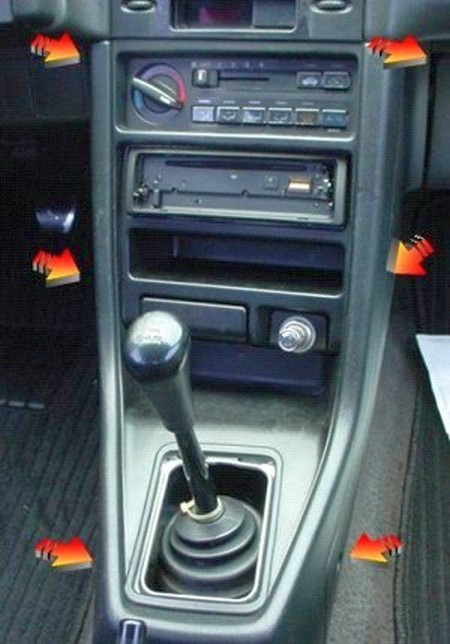
1. Remove all six screws from the center console. Arrows point to their respective locations.
|
 |
|
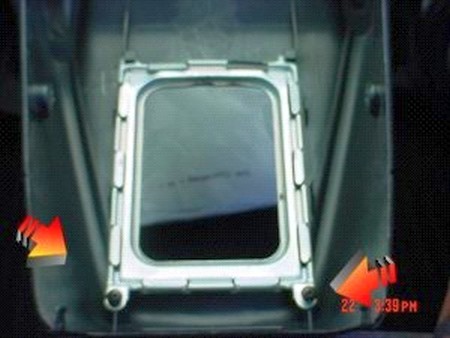
2. Unscrew the two screws that hold the metal plate. |
 |
|
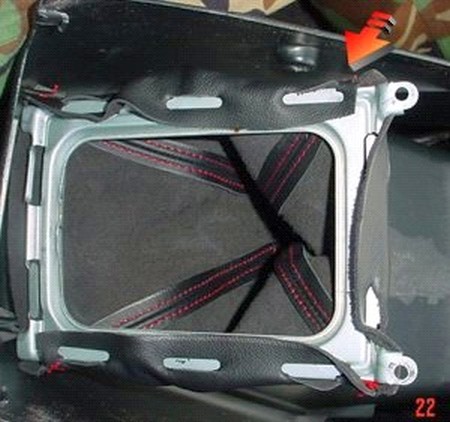
3. Attach the shift boot to the metal prongs on the plate, then screw the plate back on the center console. So much for the shift boot. |
 |
|
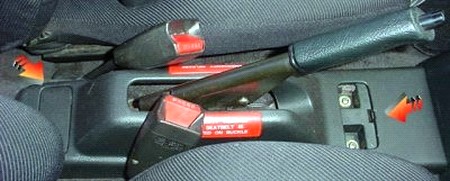
4. Remove the plastic piece that covers the screws - you can use a flat head screw driver or a knife. Remove the two screws that hold the e-brake console.
|
 |
|
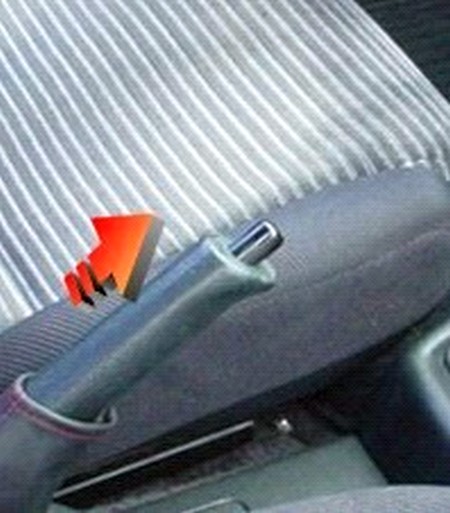
5. Remove the e-brake handle by pulling on it while going left to right. Remove stock e-brake boot and replace with the leather one. Reinstall e-brake handle and the e-brake console in the reverse order to its removal. That's it, you are done!! |
 |
|
Useful tip You have installed a product made out of genuine leather. As you know, to maintain a leather product in good condition, you should take care of it. We suggest occasionally (every 4-6 week for example) applying some leather conditioner/UV protector to keep your leather from drying up in the sun and cracking. |
|
Please subscribe to our newsletter.
Get an instant 20% discount and enter our montly $100 CASH sweepstakes!