2005-13 CHEVROLET CORVETTE C6 |
||||||||||||||||||||||||||||||||||||||||||||||||||||
|
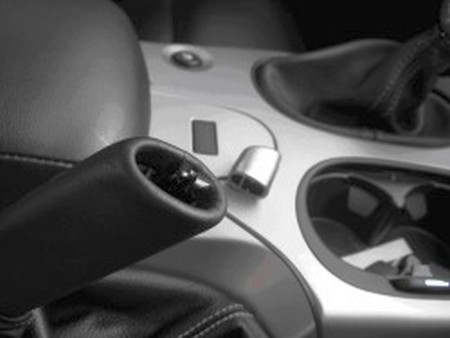
C6 shift boot replacement procedure
1. Remove the shifter handle by pulling down the boot and revealing a torx T20 screw. Remove the screw and then the handle.
2010+ cars: Remove the shifter handle by turning the collar on the base of the shift knob counter clockwise. This will reveal a torx T25 screw/ Remove the screw and then the handle. |
|
|
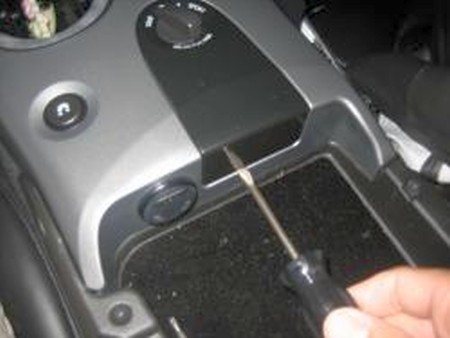
2. On the lower part of the boot there are 5 tabs that hold the plastic boot frame to the console. Use a screw driver to pull the tabs away from the console and up over the trim ring. Best done when the interior is well warmed. Once they are all out you can remove the boot and the plastic frame.
2010+ cars: You should turn the boot inside out and remove the o-ring that holds the top of the boot to the collar, noting its orientaion to aid in assembly on the new boot. |
|
|
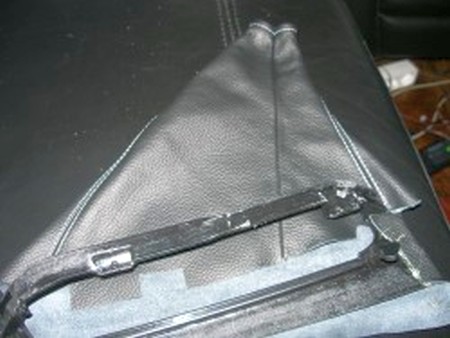
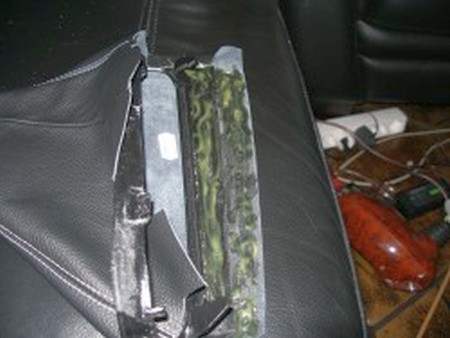
3. Remove the staples that hold the boot to the frame. |
|
|
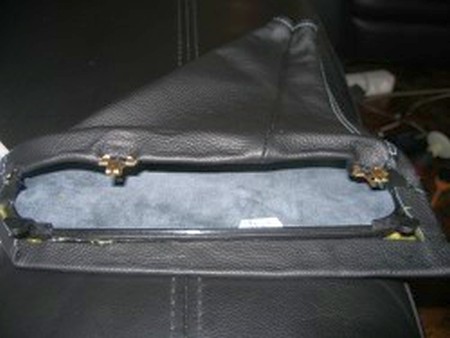
4. There are three notches on the new leather boot that match the three tabs in the front of the plastic frame. Pull the boot over the framing pulling the notches well up to the tabs and staple in place.
2010+ cars: Then turn the boot inside out and install the collar and lock in place by placing the o-ring over the boot material and into the detent. Then right the boot again. |
|
|
5. Reinstall the plastic frame into the console. |
|
|
C6 E-Brake boot replacement procedure
1. Tools and supplies needed: Long small Phillips head screw driver, Good quality contact cement for leather and plastic.
|
|
|
2. Pull down the cover on the emergency to reveal a Philips head screw holding the leather grip in place. Remove the screw. |
|
|
3. Pull up on the leather grip to release the plastic release button. The button will pop off and the grip will slide off after it.
4. Pull up on the OEM boot to release the clips holding the cover to the console. Remove the OEM Emergency brake cover. |
 |
|
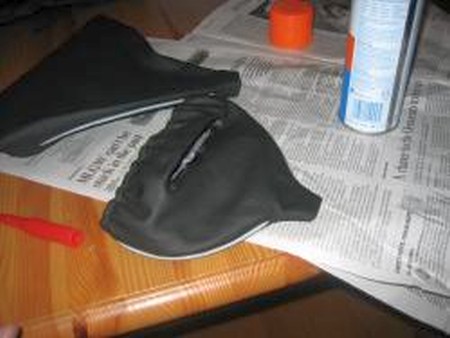
5. There is a plastic form that is glued on to the OEM cover. Peal the cover off the plastic form.
6. Start at the front of the boot and lay the new leather boot over the plastic form noting where the front leather tab will wrap over the frame. Apply contact cement to this tab and the corresponding area on the plastic frame first. Let dry and press the two pieces together. |
 |
|
7. Continue working your way around the plastic frame, gluing and stretching to fit. |
 |
|
6. Reinstall the clips and install in reverse order.
Tip: a small screwdriver can help in installing the boot over the OEM leather grip but do not forget to install the screw for the grip first! |
 |
|
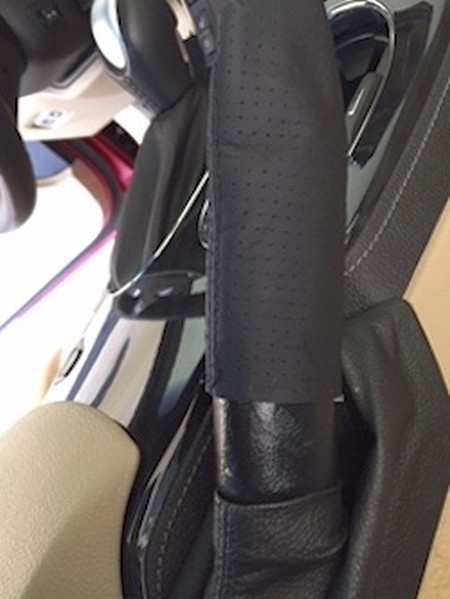
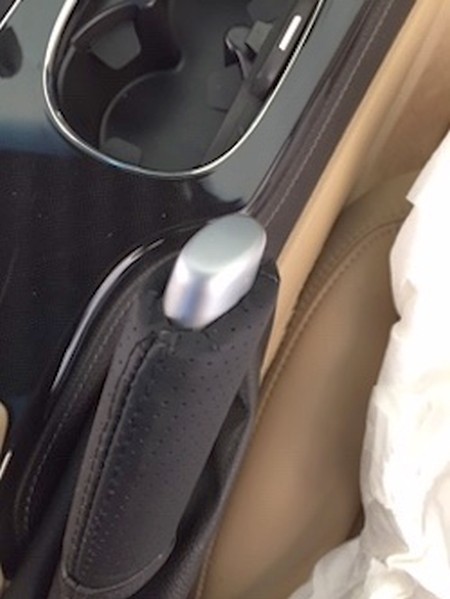
C6 EBRAKE HANDLE installation
1. Put a light coating of vaseline or similar grease on your ebrake handle (do not remove the original cover regardless of it's condition). Start sliding the ebrake handle cover on it, STRAIGHT END FIRST. |
 |
|
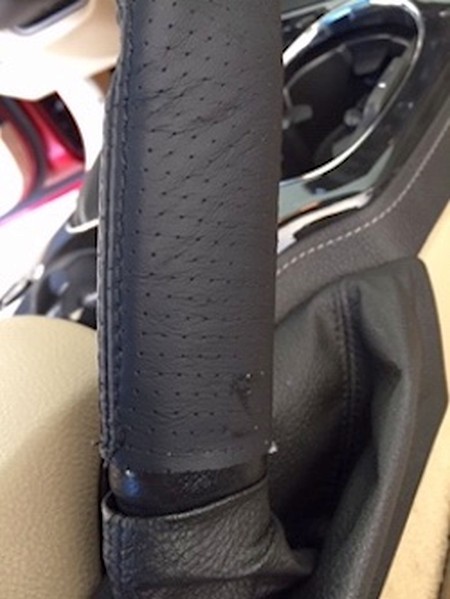
2. Around the halfway point it will become harder, move the cover back and forth a bit until you get it to move past the thickest point. |
 |
|
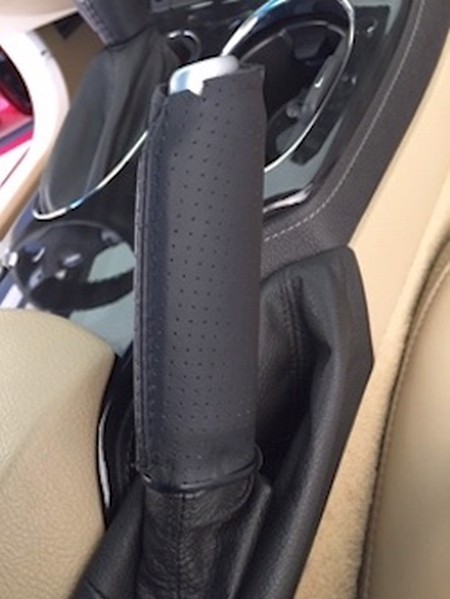
3. Keep sliding it down until it's seated completely. |
 |
|
4. Wrap some protective tape around the release button if you'd doing this on the car. Use an upholstery glue to glue the flaps around the release button down. |
 |
|
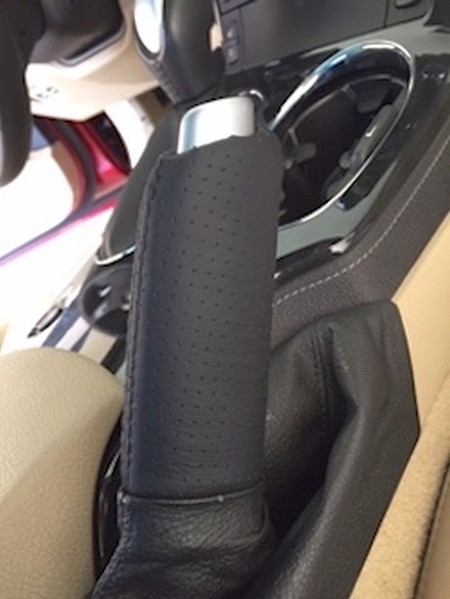
5. Make sure they are glued properly before you take off the protective tape. This is the result you're going for - leather completely flat, trimed nicely and the release button operates normally. |
 |
|
C6 AUTOMATIC shift boot installation
1. On the sifter, remove the top plastic trim piece and remove shift button from handle |
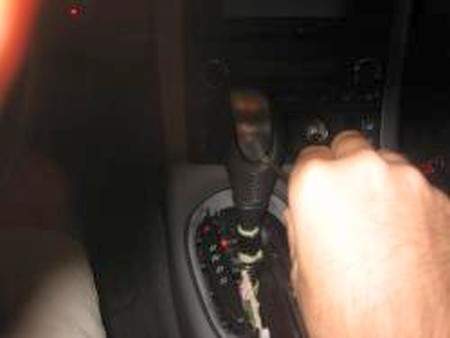 |
|
2. Slide shift boot (cheap GM vinyl - but that is why you are here!!) down off knob.
3. Just below the knob, there is a plastic collar that rests against the bottom of the knob. Turn the collar CLOCKWISE from its 12 o'clock position to about 2 o'clock. (it will stop turning easily at 2 o'clock)
4. Pull the shift handle straight up and off. (during this step, you will feel like you are breaking something...just keep pulling straight up!)
|
 |
|
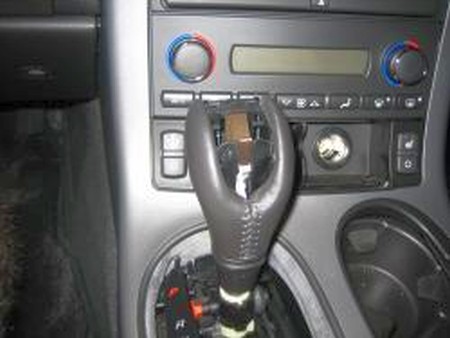
5. Now we need to remove the center trim piece. Remove the 4 Torx screws in the center console lid.
6. Pry up on the rear of the trim plate holding the air bag warning light (or F55 selector button). It just snaps on to the console but it is plastic so be careful. Unplug the connector and set the trim plate aside.
7. Remove the 2 bolts that were under the trim plate.
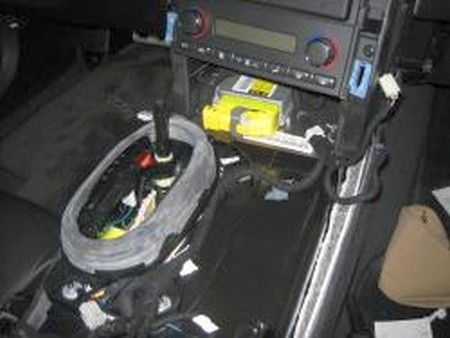
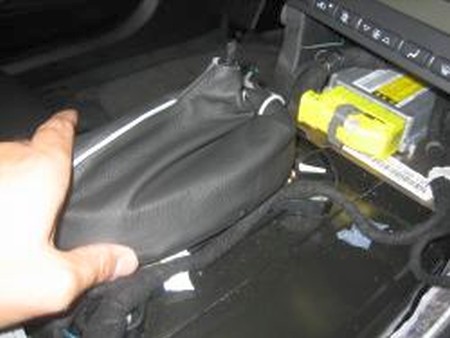
8. Pull straight up on the emergency brake boot. This boot is held in place by 4 clip fasteners.
9. Remove the two bolts from the console under the e-brake.
|
 |
|
10. Place shifter into Neutral. Slowly start to lift the rear portion of the silver trim. The biggest pain in this process is to remove the 6 remainin connectors: 1) 12V under center console 2) Active Handling Switch 3) Cigarette Lighter 4,5) 2 x Heated Seats 6) Hazard Switch
|
 |
|
11. Remove the old boot and remove plastic piece for the shift indicator.
12. Glue new boot with plastic piece
|
 |
|
13. Install new boot. Ensure that the plastic piece snaps in properly. Ensure holes line up.
14. Work backwards and reinstall everything in the reverse order of removal. |
 |
|
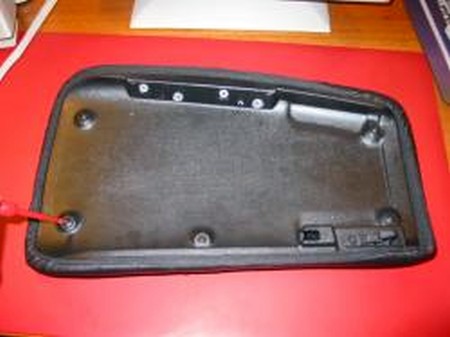
C6 armrest cover installation
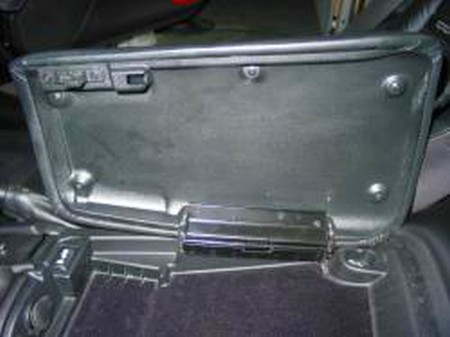
1. Open armrest lid. Remove the 4 screws holding the lid to the hinge.
2. Remove the 7 screws holding the top part of the lid to the bottom one (5 big ones around the perimeter of the lid and 2 next to the latch). |
 |
|
3. The top of the lid will fall free. Stretch the leather cover on it, making sure it's even and straight in all places.
4. Reinstall in reverse order of removing. |
 |
|
C6 door pull covers installation
Easy! Just wrap the cover around a respective element and squeeze velcro together. Keep in mind these remarks:
- the door pull covers are different left and right, both are meant to be installed with the top edge (after you close the velcro) pointing DOWN - this way you won't see the edge while in the car.
- skin contracts in cold ambient. During winter install indoors or, if impossible, keep indoors until they reach room temperature then quickly install before they get cold again. Warming with a heater, blow-dryer or any other way WILL void your warranty if damages to leather occur. RedlineGoods advises AGAINST such techniques. And if they catch on fire from overexposure to heat and your house or garage burns, we will not be held liable either. :) |
|
|
Useful tip You have installed a product made out of genuine leather. As you know, to maintain a leather product in good condition, you should take care of it. We suggest occasionally (every 4-6 week for example) applying some leather conditioner/UV protector to keep your leather from drying up in the sun and cracking. |
|
Please subscribe to our newsletter.
Get an instant 20% discount and enter our montly $100 CASH sweepstakes!