1997-04 CHEVROLET CORVETTE C5 dash panels installation guide
This guide begins where the dash removal guide leaves off. At this point, the center console, shift boot and knob, and radio trim bezel are all removed from the car. Please see the this write-up first and complete steps 1-10 to remove the center console from the car.
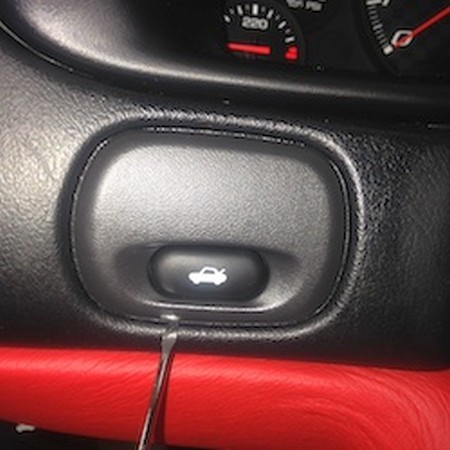
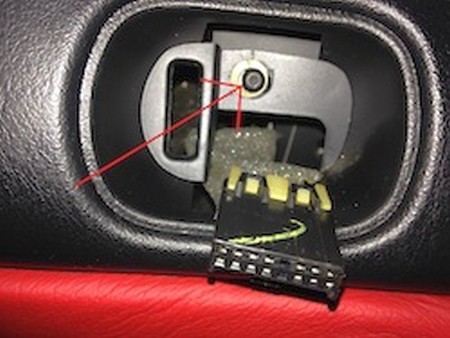
1. Remove the Interior Air Temp Sensor from its housing. Use a small flathead screwdriver to gently pry the fog lamp/hatch release panel from the dash. Disconnect the plug.
2. Behind the hatch release, remove the Torx T15 screw. Under the knee bolster, there are two more T15 screws. Remove those too..
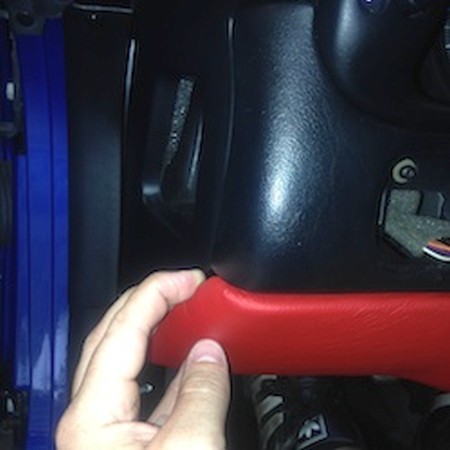
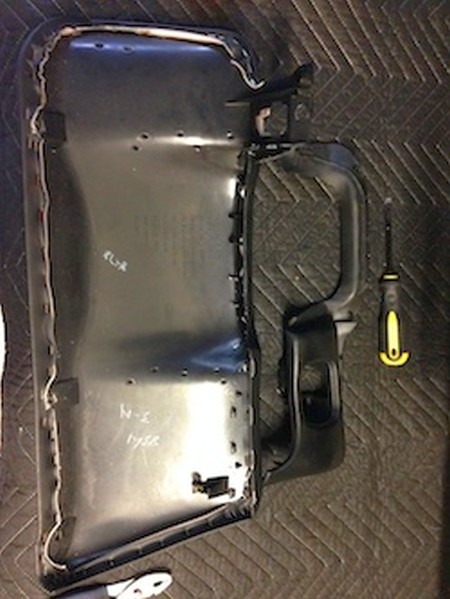
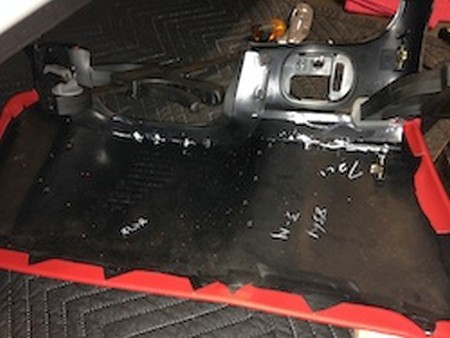
3. On each side of the knee bolster, gently pull downward and toward the rear of the car to remove the knee bolster. It will take some effort to release the locking tabs. Remove to a work bench before beginning the leather wrap.
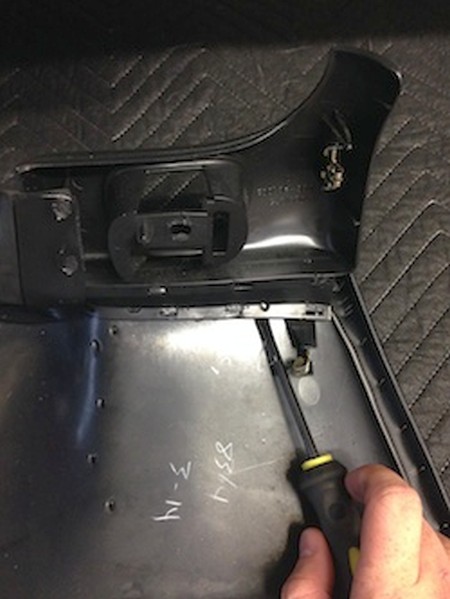
4. Once the knee is removed from the car, place it on the work bench face down. Pay close attention to how the top trim piece is attached to the rest of the panel. From the factory, the plastic pieces are melted together with plastic tabs.
5. Use a flathead screwdriver to gently (and very carefully) pry the two pieces apart. The middle section of the trim pece has a rubber collar for the steering column. Do not break the plastic attaching this to the trim piece.
6. Once removed, set the trim piece aside. Using a small flathead screwdriver and pliers, remove the staples that secure the vinyl to the panel. Peel the vinyl back off the panel. If you use a hair dryer, the vinyl should come off in one piece. If not, use a scraper to get the rest off.
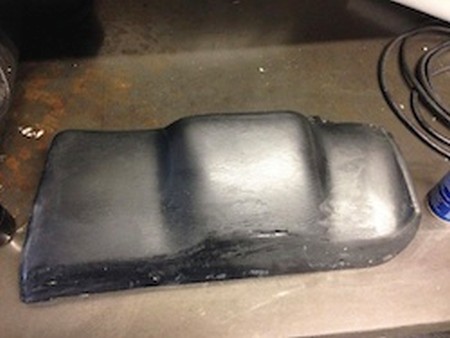
7. Use adhesive remover to remove the rest of the glue. Use sandpaper or a die grinder with buffing pad to smooth the surface of the panel.
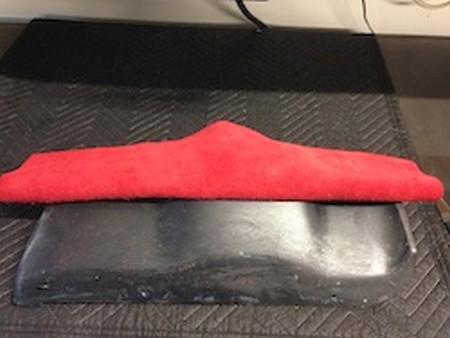
8. Lay the sheet of leather over the panel, keeping an equal amount over all edges. Once it is centered, fold back one half of the sheet. Brush on a strip of adhesive about 2-3" wide and smooth the leather onto it. Flip back the other half of the leather sheet and apply another strip of adhesive. The purpose of this is to make sure the leather is smoothed over the raised portion of the panel. Continue on either end, adhering the leather to the panel until the entire panel is covered. Let the glue dry.
9. Once the glue is dry, use scissors to cut small V's out of the edges of the leather. This will aid in smoothing the leather around the curved edges of the panel. Apply adhesive to the underside of the edges of the leather and to the underside of the panel. Adhere the leather to the panel.
10. Once the glue is dry, test fit the plastic trim piece to the panel. Mix the epoxy and apply to the mating surfaces of the trim piece and panel. Use clamps to secure the two pieces together. Use short pieces of 2"x 2" to evenly distribute the clamping force. Also, place rags under the wood to prevent damage to the leather surface. Let sit overnight. Once dry, re-isntall back into the car.
WE ARE NOW GOING TO THE RIGTH HAND SIDE OF THE CAR TO DEAL WITH THE GLOVEBOX
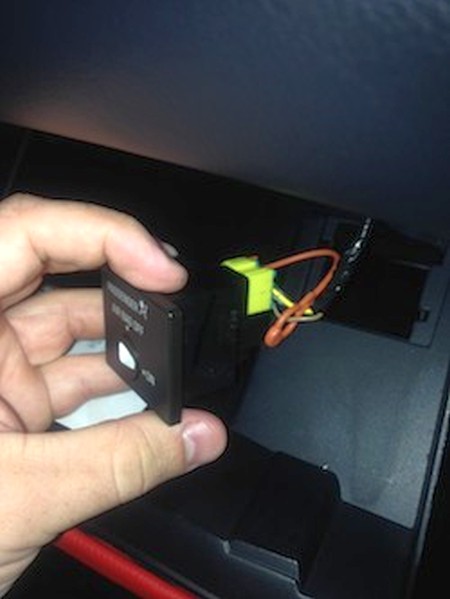
11. Disconnect Negative terminal from battery. This will ensure that the airbag does not deploy during removal of the airbag switch. Open the glovebox and remove all contents. Disconnect the airbag switch and remove the selector switch by squeezing the two tabs on the rear of the switch. Disconnect the glovebox light connector.
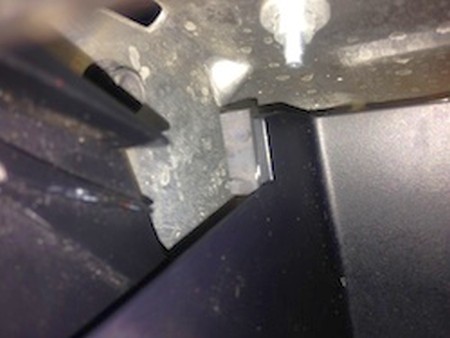
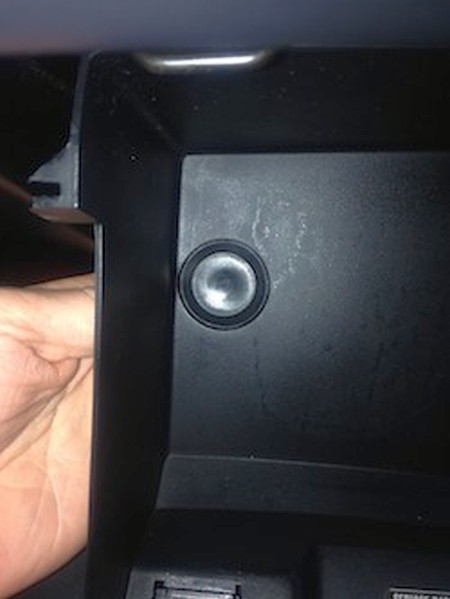
12. Reach up inside the glovebox door and remove the two square rubber stops on the door.
13. Use both hands to squeeze the outside of the glovebox door inwards to allow the stops to pass by the housing.
14. This will allow the glovebox door to open much wider.
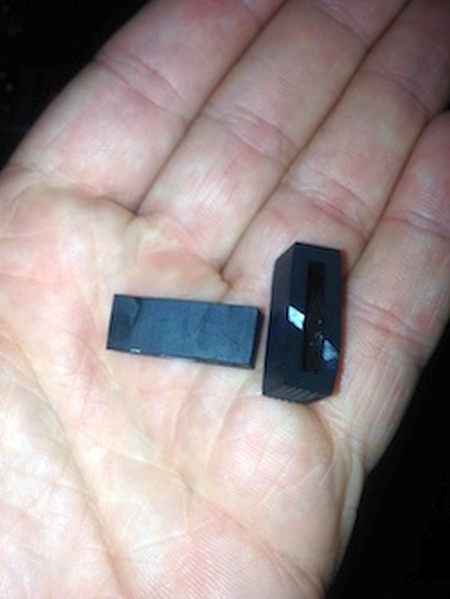
15. Use the flathead screwdriver to remove the two plastic covers on the door. It may be possible to reach behind the door and push the covers outward.
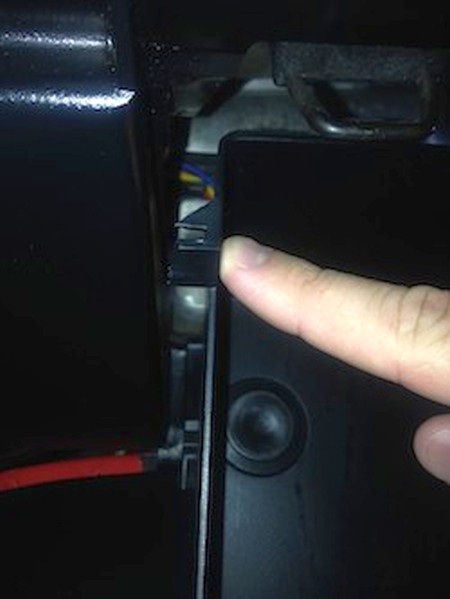
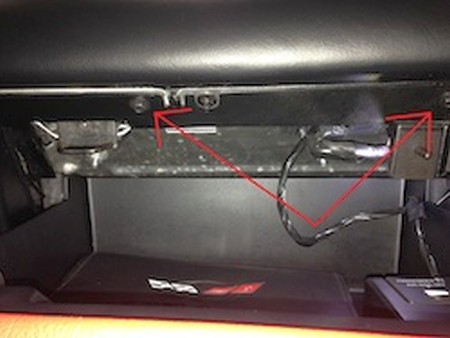
16. Using the 10mm socket, ratchet and extension, remove the two 10mm nuts behind the door.
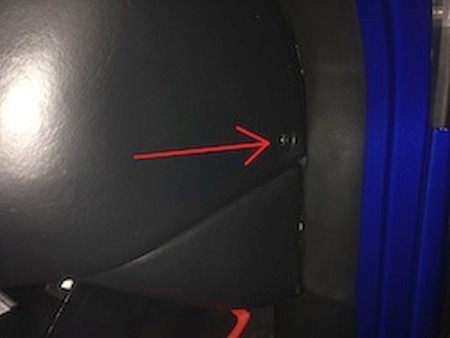
17. Using the 7mm Nut Driver, first remove the screw on the passenger door side, and then the two screws along the front of the door. Gently pull the glovebox assembly towards the rear of the car and it should slide right out.
18. To begin, lay the glovebox assembly on a work bench.Use a Phillips head screwdriver to remove the lock assembly.
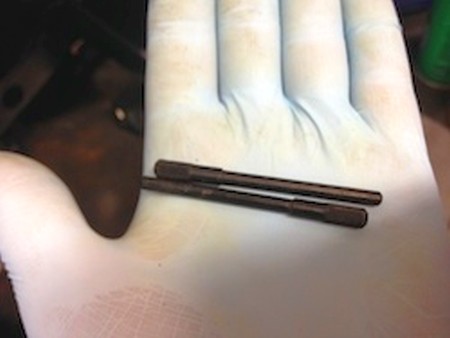
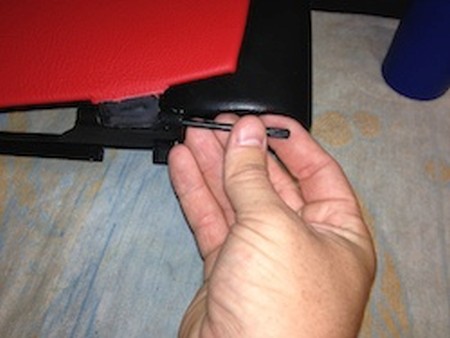
19. Turn the assembly vertically and use the 1/8" punch and hammer to remove hinge pins. They are installed outside in, so remove them towards the outside of the assembly.
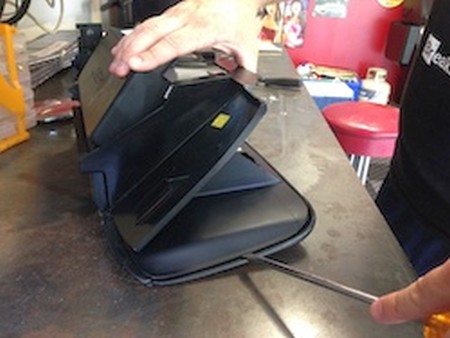
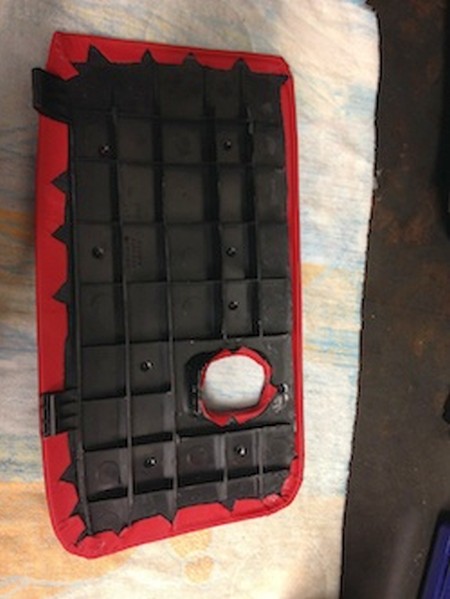
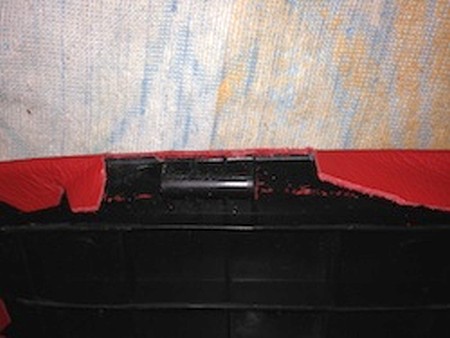
20. With the lid removed, use a flathead screwdriver to pry the top half of the lid from the bottom. It was installed from the factory using heat, so the plastic pieces are melted together. This will take some effort and time. Be careful not to break the glovebox lid. Set the rest of the glovebox assembly aside.
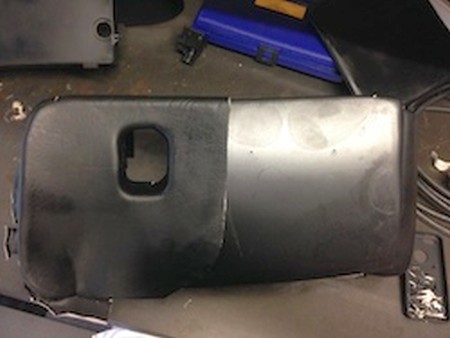
21. Using a small flathead screwdriver and pliers, remove the staples holding the vinyl wrap around the perimeter or the lid. Peel the vinyl off the lid. Take your time and be careful. If you remove it slowly (and use a little heat from a hair dryer), the vinyl should come off in one piece. If not, you may need the scraper and wire brush to remove the adhesive. I used a right-angle die grinder with a buffing pad and removed the majority of the glue before using the adhesive remover.
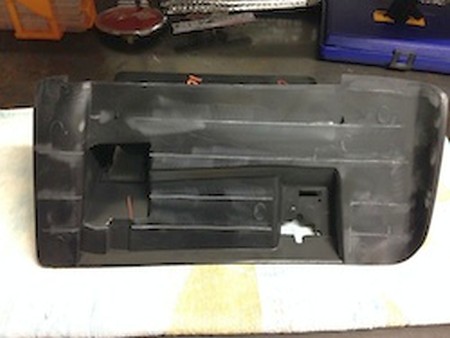
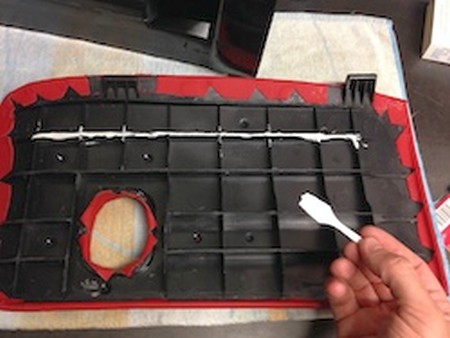
22. Flip the lid over and use sand paper or the die grinder and buffing pad to smooth the plastic grid. This will be the surface to which expoxy will be applied to reattach the lid to the glovebox. Do the same to the mating surface on the glovebox assembly.
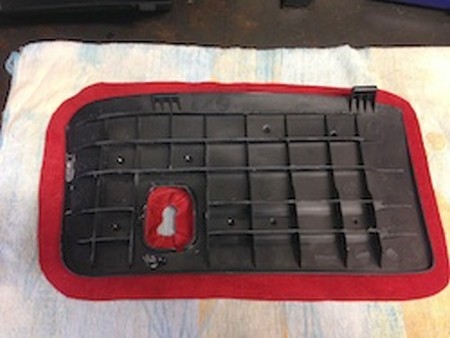
23. Once the surface is cleaned, lay out your leather sheet with the outside of the leather down. Lay the glovebox lid over it, using the cutout for the latch to center the sheet. Remember to leave enough aroud the edges so the leather can be adhered to the underside of the lid. Making sure to keep the leather sheet in place, flip the lid over so the leather is on top.
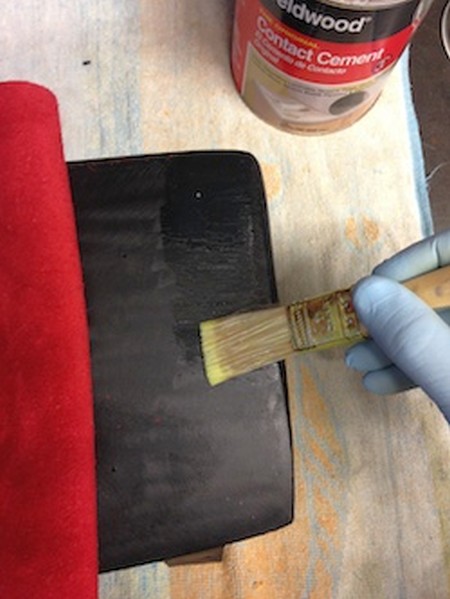
24. Fold back one end of the leather sheet and begin brushing on the adhesive, making sure to keep it from wrinkling. Apply adhesive in 2-3" wide strips at a time. Once the entire sheet is adhered to the lid, let it dry for a few minutes.
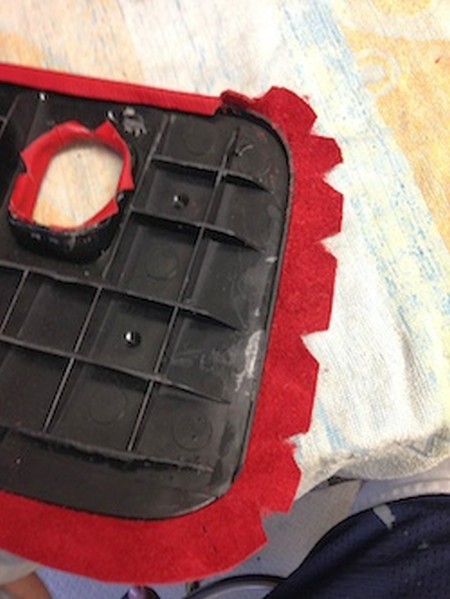
25. Flip the lip over and pay attention to the excess leather around the edges. In the straight sections, the leather can be glued to the inside of the lid. Around the corner sections, it is best to cut small "V's" along the edges.
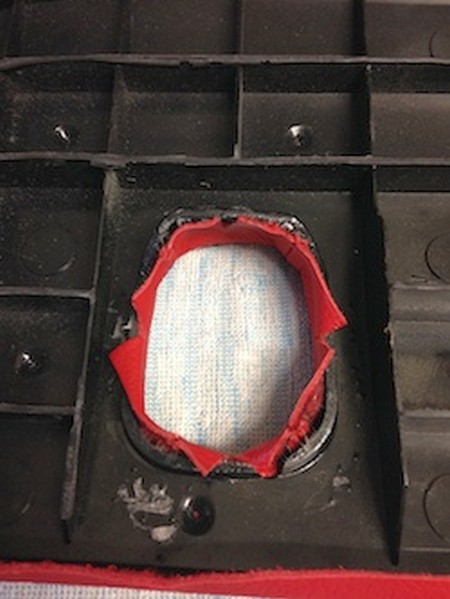
26. Apply adhesive to the underside of the leather around the latch location and to the lid itself. You may need to cut small slits to ensure that the leather can attach to the lid.
27. Start at either end and apply adhesive to the inside of the leather, and also to the glovebox lid. Fold and press down firmly on the leather. Continue around the lid until the entire piece of leather is adhered.
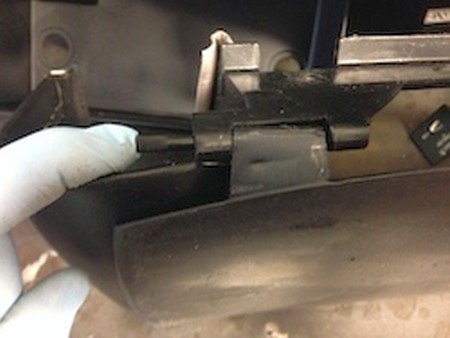
28. The hinges on the lid are two different heights. One is short and the other is tall. On either side of the shorter hinge, cut a small section from the leather to accomodate the outside hinge when the assembly is back together. If you don't do this, the glovebox door will squeak when opening and closing as a result of the hinge rubbing the leather.
Once all the edges are smoothed out and the glue is dry, flip the lid over and lay it next to the other half of the lid. Test fit the two halves before applying the epoxy.
29. Mix up the epoxy and apply it to the grid on the underside of the lid. Also apply expoxy to the other side of the lid, in a grid pattern that matches that of the top half of the lid. Using your clamps, secure the two halves of the lid to each other. NOTE: Use small sections or 2" x 2" lumber to distribute the clamping load evenly across the lid. Place rags under each piece of wood to ensure there is no damage to the leather. Let sit overnight.
30. Place the glovebox lid on the rest of the assembly and install the hinge pins from the outside in. Reinstall the lock mechanism in the glovebox door. Install the glovebox assembly in the car.
CONGRATULATIONS - YOU HAVE SUCCESSFULLY INSTALLED YOUR NEW LEATHER BOOTS!
Useful tip
You have installed a product made out of genuine leather. As you know, to maintain a leather product in good condition, you should take care of it. We suggest occasionally (every 4-6 week for example) applying some leather conditioner/UV protector to keep your leather from drying up in the sun and cracking.
Redline Automotive Accessories Corp. will not be held liable for any labor, incidental or consequential damages of any kind. Proceed at your own risk.