1. First of all remove factory leather cover by cutting old seams. The leather is glued but does not hold strongly so removing should be fairly easy.
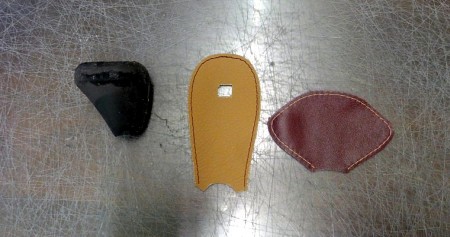
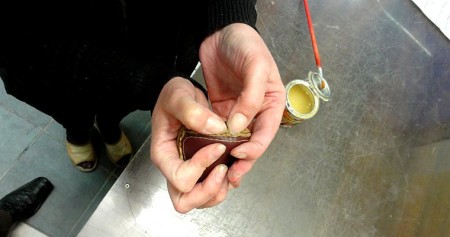
2. What you will receive from us is two parts of leather cover and a spool of thread and needle you will use for lacing.
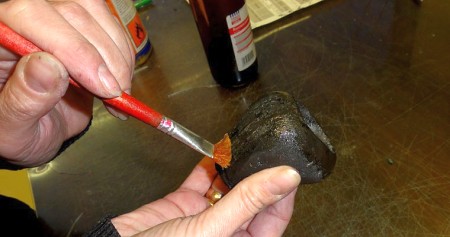
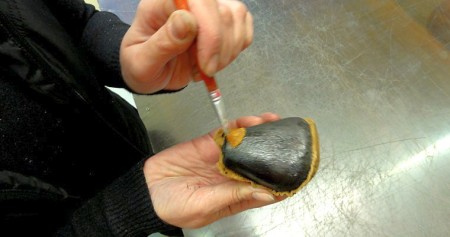
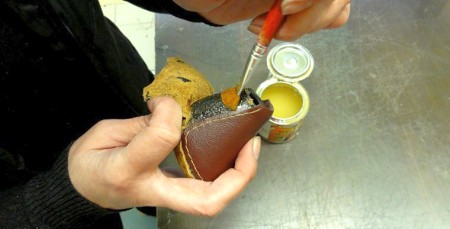
3. First, apply the glue to the rear and top part of the knob – where the bigger leather element will go. Do not cover the whole knob in glue as it will make holding it in hands troublesome.
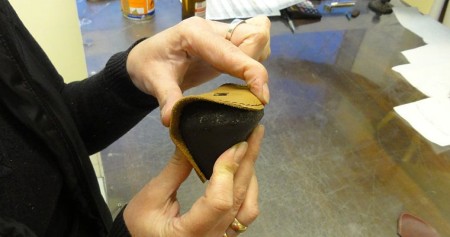
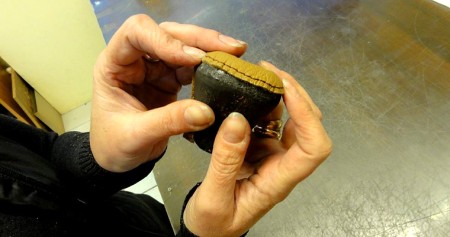
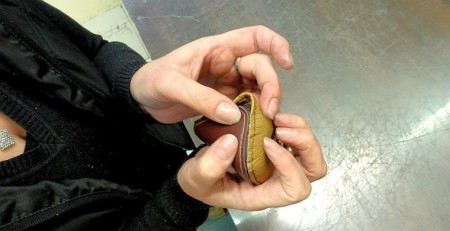
4. Place the larger leather element on the glued part of the knob. Traces of old factory seam are easily visible so you can use them for guidance as to how o spread the leather on the knob. When you press the leather firmly, especially along the edges, you can proceed to the next step. Pay special attention to the top rear part of the knob where the curves of leather require a bit of work to avoid wrinkles there.
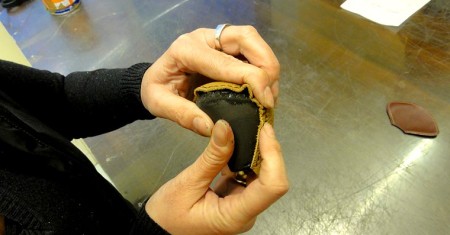
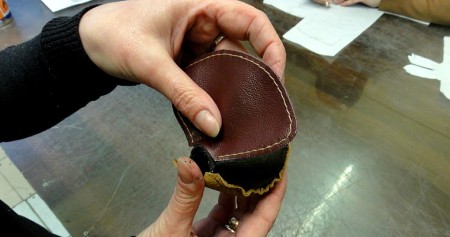
5. Apply glue to the rest of the knob – the front part – all the way to the edges to already glued leather. And put the smaller leather part there making sure the edges meet the edges of the rear-top leather already glued. This will require some strength and pressure but pay attention to this in order to achieve a nice final effect.
6. At this stage you may see that you are not able to make both eather element meet. No problem – you can just unglue the top-rear leather already glued and adjust its position. Do not worry, the leather will not tear if you unglue it carefully. Just apply the glue again to the areas that need adjustments and press the leather against the knob again. If you do this carefully and pay attention to aligning the edges of leather elements (your fingers and nails will be the best tool here) you’ll surely achieve nice results :-). Do not worry if you see a little gap between leather parts – you will be able to get rid of it when lacing the cover later.
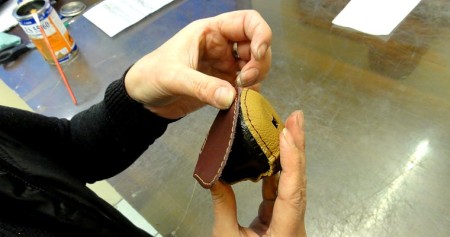
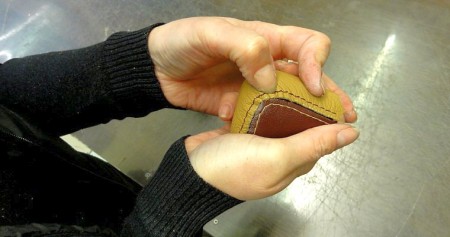
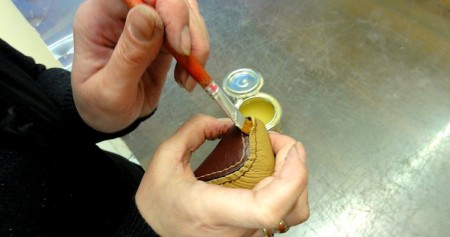
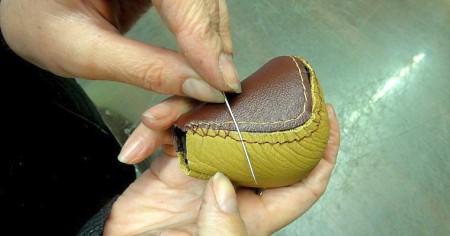
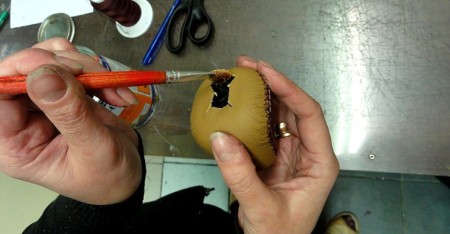
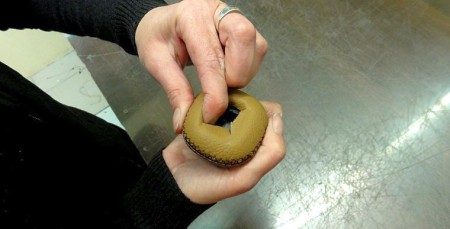
7. Now the lacing. This may look tricky at first but it really isn’t as difficult ;-) Just thread the needle and make small knot at the end of the thread to prevent it from sliding through the leather. Put the needle through the first hole of the seam all the way until the knot holds the needle against the leather. Then make a loop joining the two first stitches on both seams and proceed with lacing every stitch all the way along the seam. One in a while, pull the thread firmly applying stress to the thread thus pulling leather edges to make them meet together. When you reach the end of seam, just make another loop joining last stitches of each seam and tie a knot (preferably even two knots in one place) to prevent threat from coming loose and proceed to the last stage
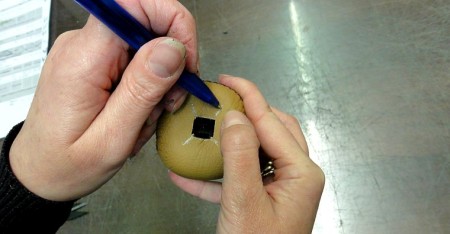
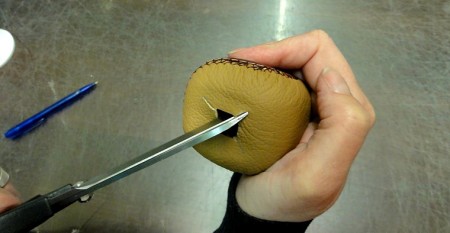
8. You will have to extend the pre-cut square hole towards the corners of the hole in the top of the knob. Be careful not to cut too far otherwise the cuts may be visible afterwards – drawing lines may help but anyway cut a little bit first and then extend them until you are able to fold the leather down the hole without applying too much strain. Apply the glue into the hole walls, press the leather firmly against them and hold a bit until the glue bonds.
9. Install rewrapped knob into your car and ENJOY :-)
Useful tip
You have installed a product made out of genuine leather. As you know, to maintain a leather product in good condition, you should take care of it. We suggest occasionally (every 4-6 week for example) applying some leather conditioner/UV protector to keep your leather from drying up in the sun and cracking.
Redline Automotive Accessories Corp. will not be held liable for any labor, incidental or consequential damages of any kind. Proceed at your own risk.