2011-18 JEEP WRANGLER JK |
||||||||||||||||||||||||
|
1. Remove both the shift knobs for the shifter and the transfer case. They both pull straight off. I found it easiest to pull levers toward the rear of the car, then stand in the back seat and pull. Be careful to not punch yourself in the face when then let go. |
|
|
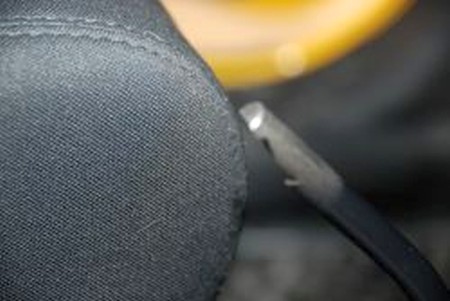
2. Here's what the top of the shift levers look like |
 |
|
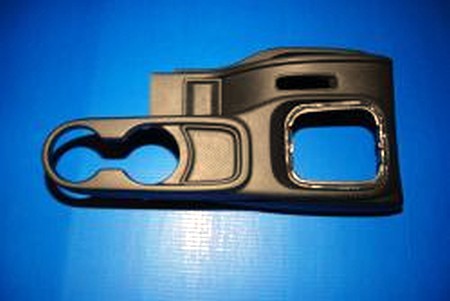
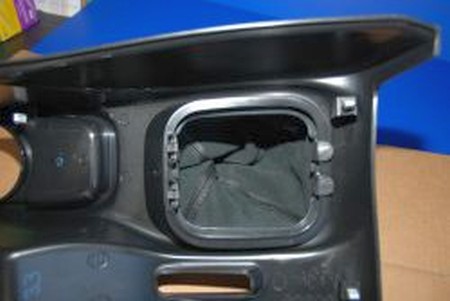
3. Pop off the top of the center console. It needs to be removed to unclip the shift boot. Pull the emergency brake up to the top click to give yourself room. Grab the edges on either side of the console down by the carpet and pull up. It will pop right off. Here's what it looks like removed. As you can see it also forms the top of the cup holder. |
 |
|
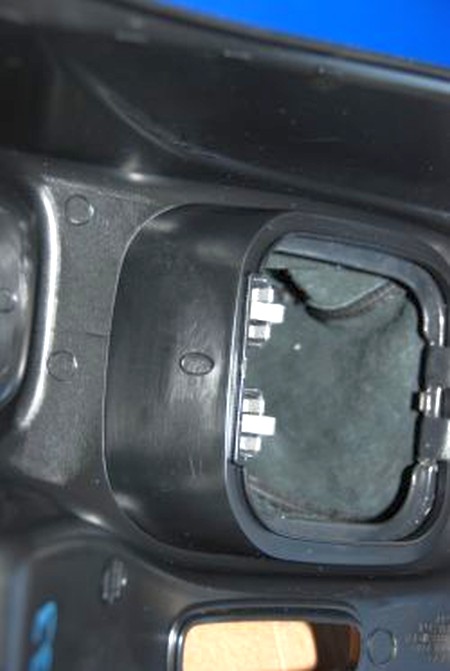
4. Squeeze and unclip the two clips holding on the shift boot underneath the console. |
 |
|
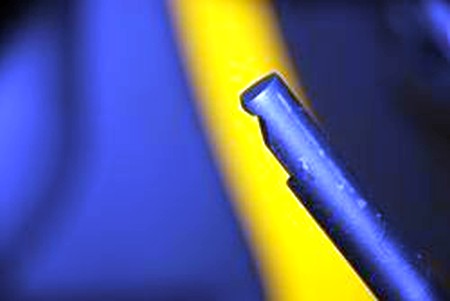
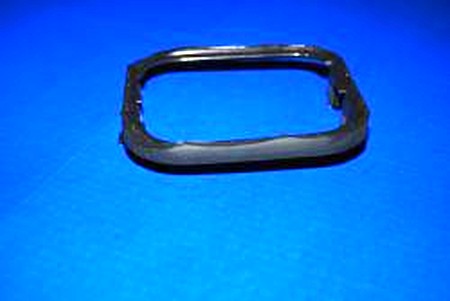
5. Now that the boot is free, you need to cut off the rubber upper section because you need to reuse the frame that clips to the console. |
 |
|
6. Take some sand paper and rough up the rubber coating on the frame so the glue will stick better. |
|
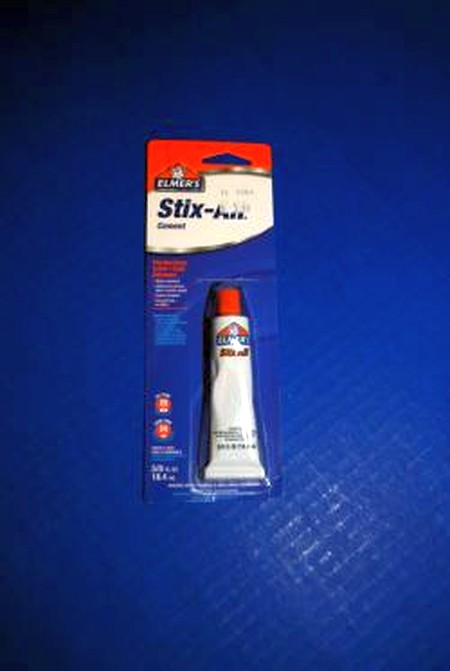
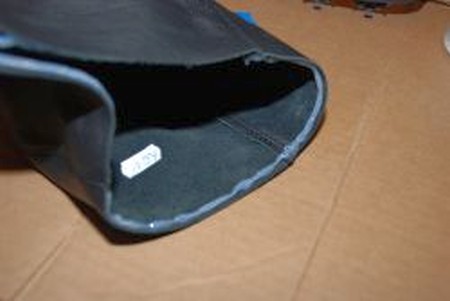
7. Now glue on the new leather boot. I chose Elmer's Stix-All because it doesn't dry instantly and it's supposed to be rated for cold and hot applications. Run a bead around the inside of the boot and clamp it to the frame. |
 |
|
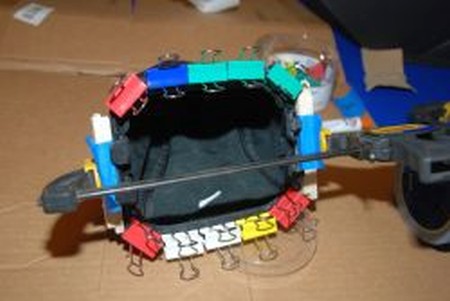
8. I used binder clips and a clamp with a couple pieces of wood. I understand you can use contact cement too, but I felt the longer way around sounded safer- with contact cement you need to get it positioned correctly in one shot. |
 |
|
9. Wait 24 hours for the glue to dry. Remove the clamps and reinstall the boot. |
 |
|
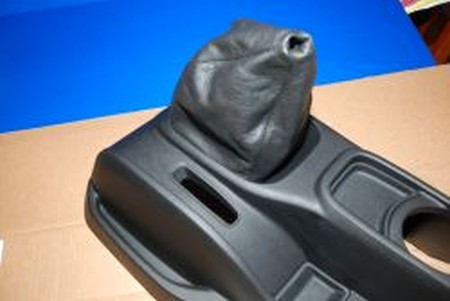
10. It's a tight fit to get it back in the console since the overall size of the frame/boot is bigger, but it fits. |
 |
|
11. Now install the console the same way it came off and slide the shift knobs back on until they click into place. |
 |
|
CONGRATULATIONS - YOU HAVE SUCCESSFULLY INSTALLED YOUR NEW LEATHER BOOTS!
Useful tip You have installed a product made out of genuine leather. As you know, to maintain a leather product in good condition, you should take care of it. We suggest occasionally (every 4-6 week for example) applying some leather conditioner/UV protector to keep your leather from drying up in the sun and cracking. |
|
Subscribe to our newsletter to get an instant 20% discount!