2003-09 VOLKSWAGEN GOLF MK V |
|||||||||||||||||||||||||||||||||||||||
|
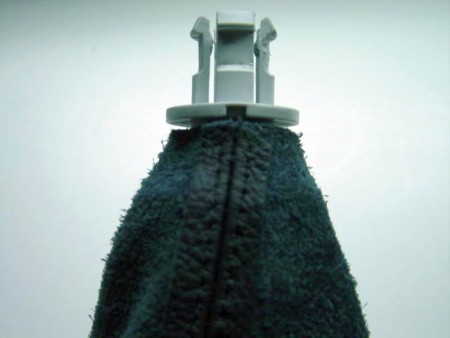
1. Carefully pry the shift frame up from the base and once the frame is off, flip the old boot cover inside out until the shift lever is exposed. Cut the metal ring around the plastic prongs holding the shift knob. Next, carefully pry the plastic prongs up while at the same time pulling up on the shift knob. The knob will then slide up off of the shift lever. |
|
|
2. With the knob off, remove the plastic retaining sleeve, which holds the boot cover to the shift knob. |
 |
|
3. Remove the old boot and replace with the new leather boot cover. |
 |
|
4. Slide the plastic retaining sleeve over the new cover and slide the shift knob back on to the shift lever. Push down until you feel it click into place. |
 |
|
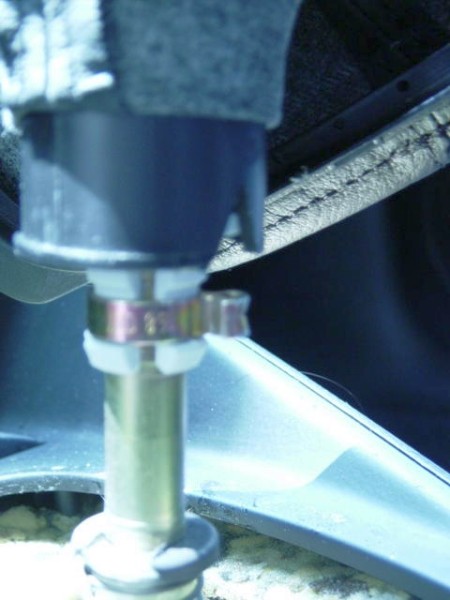
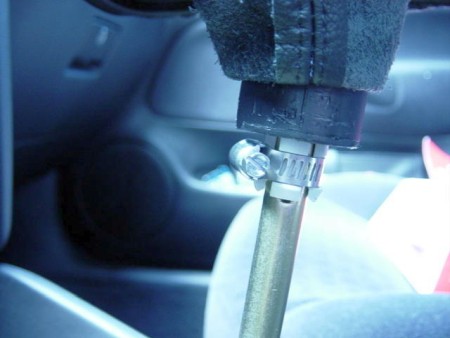
5. You will need to replace the metal ring, which held the knob in place. An easy replacement is a 1/4 - 5/8 in. hose clamp. Just place the clamp around the plastic prongs and tighten. Pull the cover over the shifter frame, re-install the frame back in place and you are done. |
 |
|
6. Remove the e-brake handle. Completely pull up the handle, pry back the tab on the bottom, and slide the handle off. |
 |
|
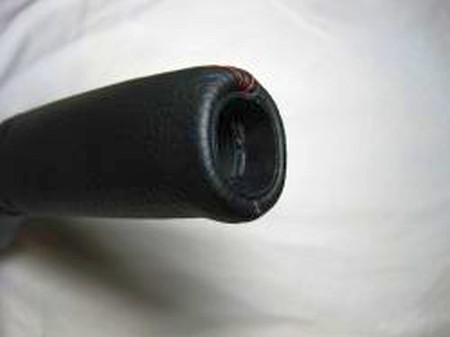
7. Remove the stock cover from the handle. |
 |
|
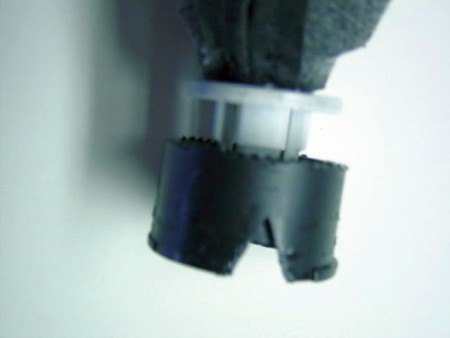
8. First, take out the inner plastic ring from the front of the handle by pushing it out from behind. I found a long flathead screwdriver worked well. Be sure to push from multiple points to avoid breaking the tabs off the ring. |
 |
|
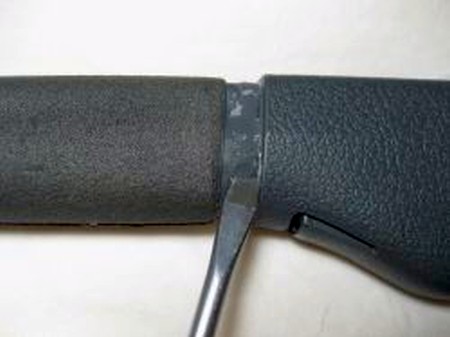
9. Once the ring is off, remove the cover by pulling or cutting it off. Note it is glued on at the very end. |
 |
|
10. Scrape off the dry glue from the back of the handle to ensure the new cover holds firm. |
 |
|
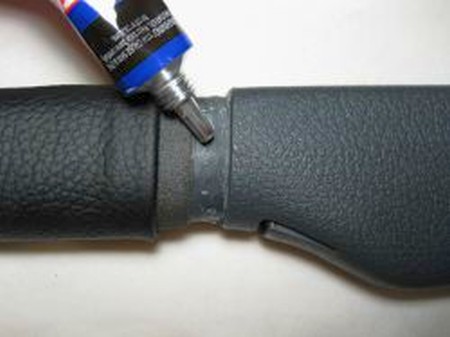
11. Glue the new cover to the handle. Slide the cover onto the handle almost to the very end. With the groove in the back of the handle still exposed, put glue in the groove and slide the cover the rest of the way on. Press the cover down onto the glue and hold according to the type of glue you are using. Make sure your glue is made for both leather and plastic. Wait for the glue to fully set! The next step involves stretching the leather taut, so you want to make sure your glue has completely set before moving on (this took 24 hours with my glue).
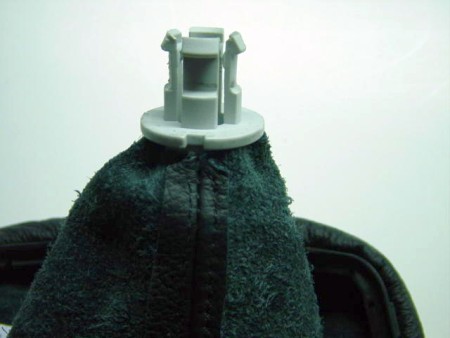
Reattach the front ring. After the glue has set, stretch the leather taut (just run your hand from back to front on the handle to remove any slack), and push the excess leather into the front hole of the handle. While still holding the leather, push the plastic ring back into its original position. Make sure you align the tabs correctly. This will take some force, as the new leather is thicker than the stock material.
Reinstall the handle. Slide the handle back onto the e-brake, and you are done! |
 |
|
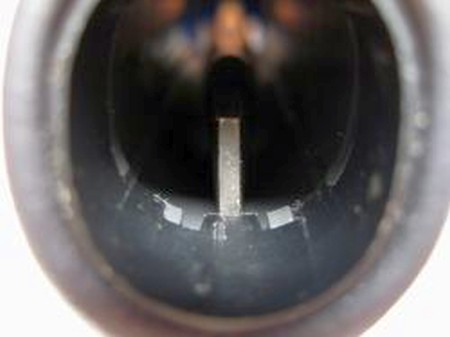
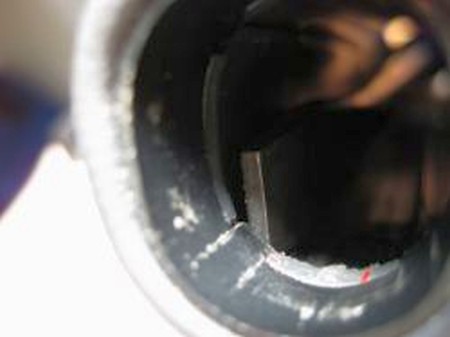
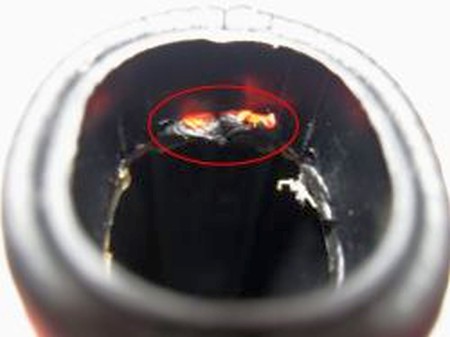
On a side note: The release button on the e-brake handle does stick a little after the new cover is installed due to the increased thickness of the leather. It did help a little to trim off the excess leather that stuck out from under the inner plastic ring of the handle. This is shown on these two pictures to the right. |
 |
 |
|
|
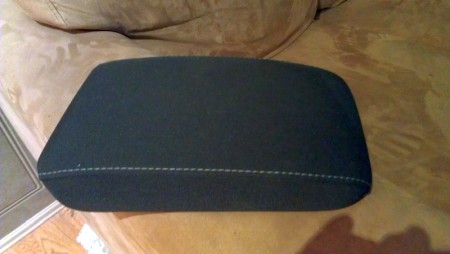
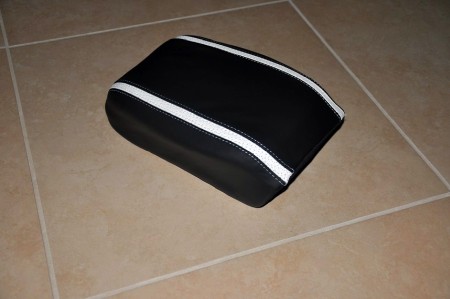
ARMREST COVER INSTALLATION |
|
|
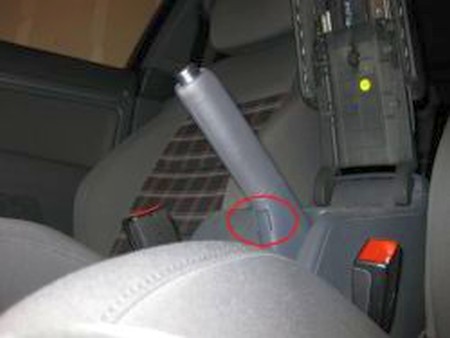
2. Grab the base of the plate and pull outwards. Top side swings out, but base and sides are simply clips. |
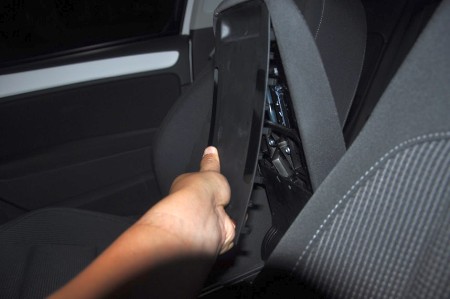 |
|
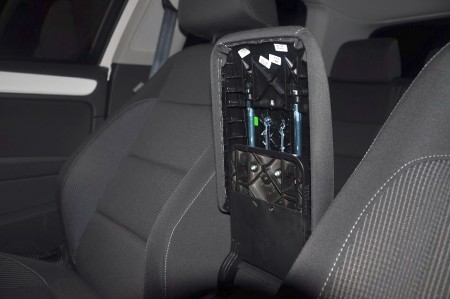
3. Remove plastic plate and look for 2 torx-25 screw. |
 |
|
4. Unscrew the two screws and push/pull the arm rest cover down and up and it will slide off. |
 |
|
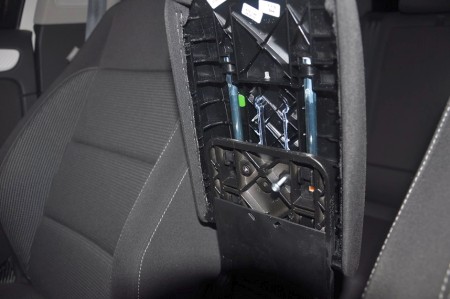
5. Remove the arm rest from assembly. |
 |
|
6. Wrap RedlineGoods custom cover over existing armrest assembly, smooth out cover and reinstall. |
 |
|
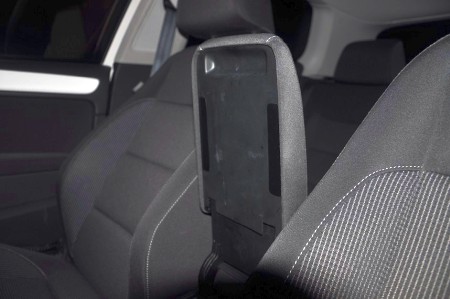
CONGRATULATIONS - YOU HAVE SUCCESSFULLY INSTALLED YOUR NEW LEATHER BOOTS!
Useful tip You have installed a product made out of genuine leather. As you know, to maintain a leather product in good condition, you should take care of it. We suggest occasionally (every 4-6 week for example) applying some leather conditioner/UV protector to keep your leather from drying up in the sun and cracking. |
|
Subscribe to our newsletter to get an instant 20% discount!