1974-84 VOLKSWAGEN GOLF MK I |
||||||||||||||||||||||
|
1. Remove the original shift knob, and boot -w- plastic insert. This pix depicts the bare shift lever. |
|
|
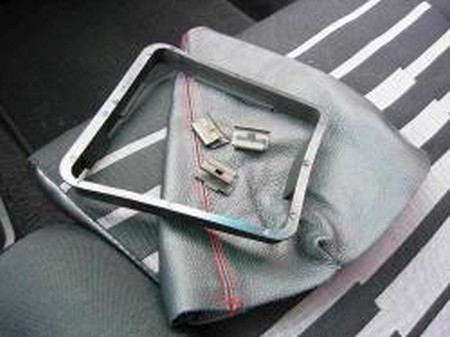
2. This pix depicts the new boot, original boot frame that fits in the bottom of the boot, and the original clips for connecting the bottom of the boot to the frame. |
 |
|
3. Fit the boot frame inside the bottom of the boot. |
 |
|
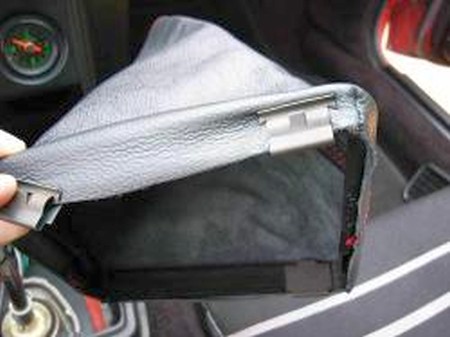
4. Use the clips to attach the bottom of the boot to the frame. Attach the larger side of clip to the inside of the frame. |
 |
|
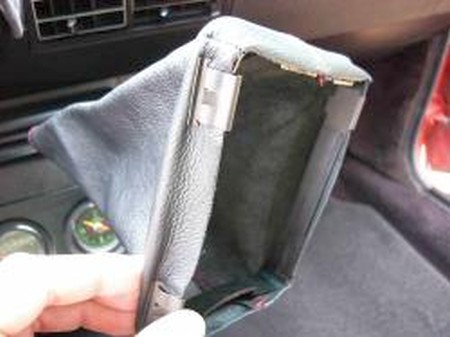
5. This depicts the four clips attached to the boot and frame. Note again that the larger side of the clip is on the inside of the plastic frame. |
 |
|
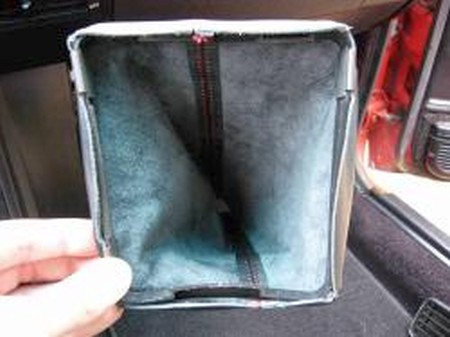
6. This pix depicts how the underside of the boot and frame should look. Note one side is wider than the other. This side is to be placed towards the front of the car. |
 |
|
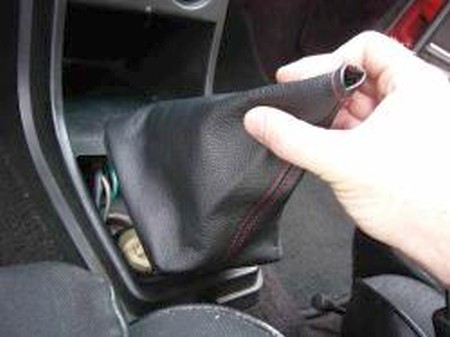
7. Slip the boot with the frame over the shift lever; larger side of the bottom of the boot/frame to the front of the car/console. |
 |
|
8. Attach/screw the shift knob back on the shift lever. |
 |
|
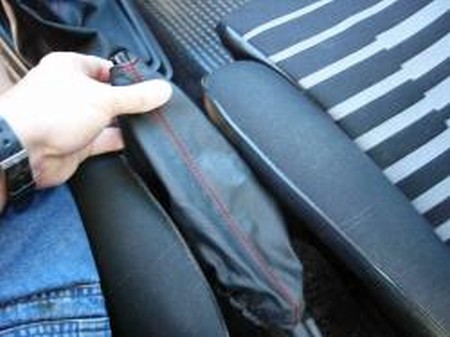
9. To install the ebrake boot, just slide it on top of the existing setup. |
 |
|
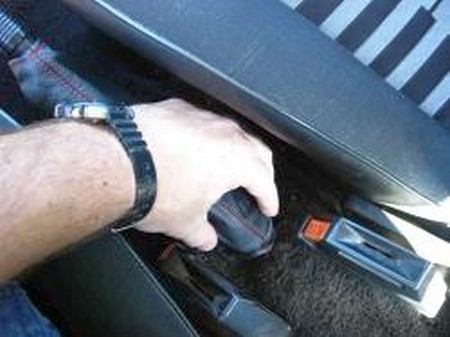
10. Make sure the elastic goes all the way in, nice and smooth around the plastic assembly. |
 |
|
CONGRATULATIONS - YOU HAVE SUCCESSFULLY INSTALLED YOUR NEW LEATHER BOOTS!
Useful tip You have installed a product made out of genuine leather. As you know, to maintain a leather product in good condition, you should take care of it. We suggest occasionally (every 4-6 week for example) applying some leather conditioner/UV protector to keep your leather from drying up in the sun and cracking. |
|
Please subscribe to our newsletter.
Get an instant 20% discount and enter our montly $100 CASH sweepstakes!
