2005-07 MAZDA TRIBUTE |
||||||||||||||||||||||||||||||||
|
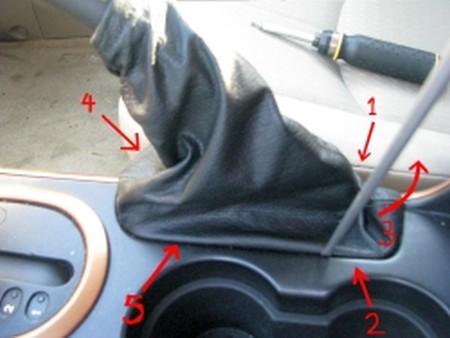
SHIFT BOOT |
 |
|
2. Cut the stock boot off the frame, clean any glue residue with a sharp knife or sandpaper. |
 |
|
3. Glue the new boot tothe frame. We used AutomotiveGOOP and it worked great. |
 |
|
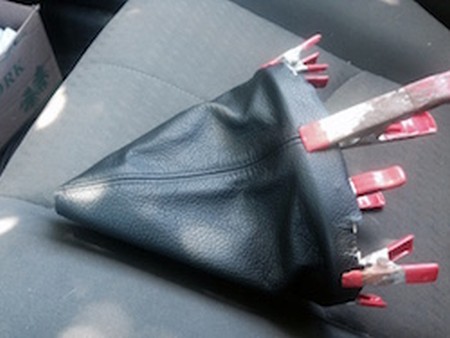
4. Flip the top of the boot inside out and secure it with a zip-tie to the shift lever, re-using the factory trim in the top of the shift boot. |
 |
|
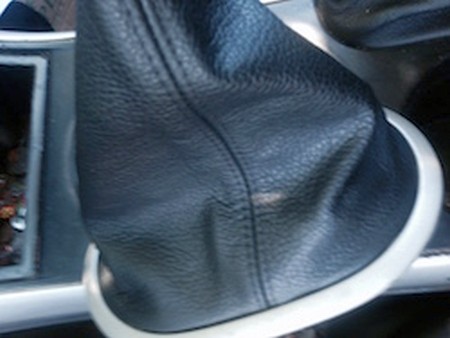
5. Clip the frame back in. Reinstall the shift knob. |
 |
|
EBRAKE BOOT |
 |
|
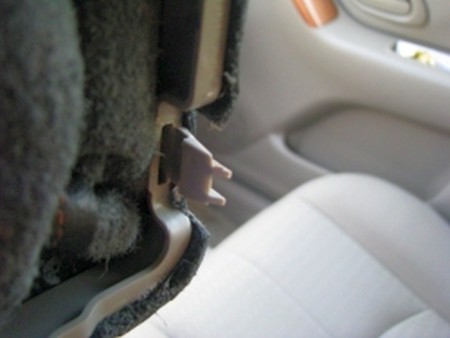
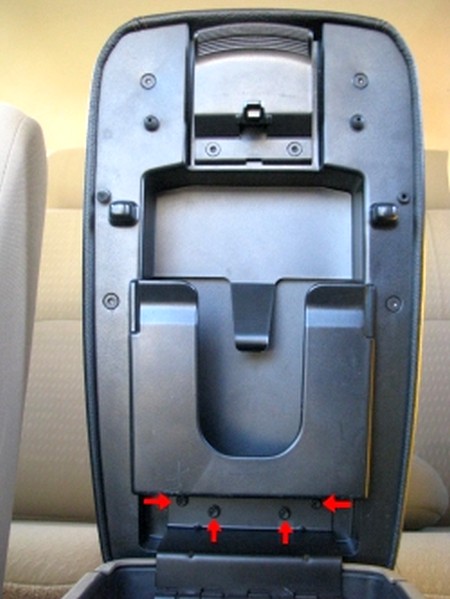
2. This is what the clips look like so you have an idea while youre unclipping them. |
 |
|
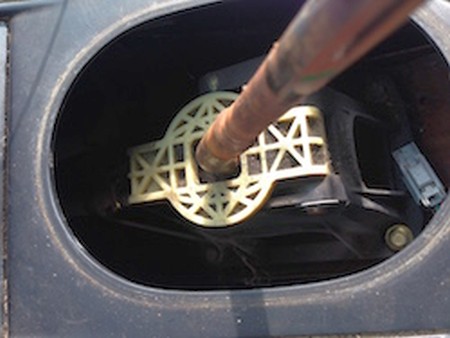
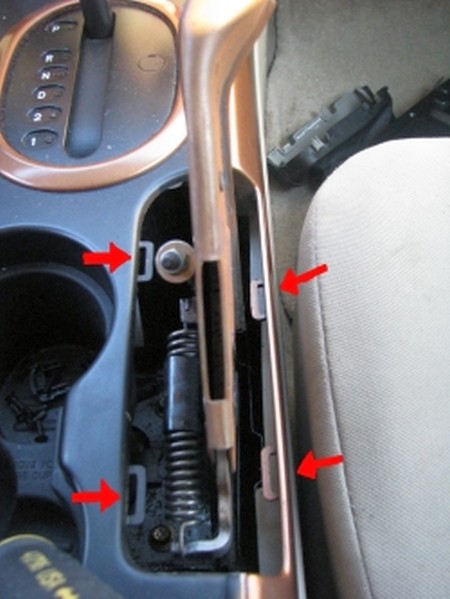
3. Brake lever with boot off. NOTE: four holes where clips clip. |
 |
|
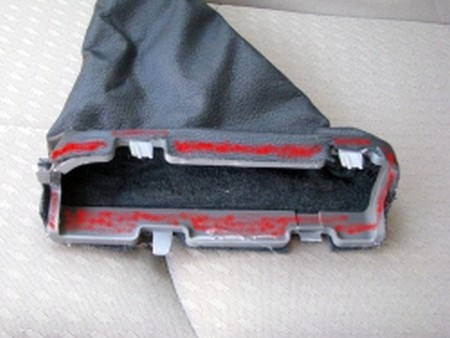
4. Remove any staples Old boot is glued onto bracket so you will need to peel it off.
Install new boot on bracket using a hot glue gun, putting glue in same locations that original glue was (example given in red in picture above)
Only glue small sections at a time Make sure you have boot lined up properly as glue dries fast
Install the boot back into the center console. |
 |
|
ARMREST COVER |
 |
|
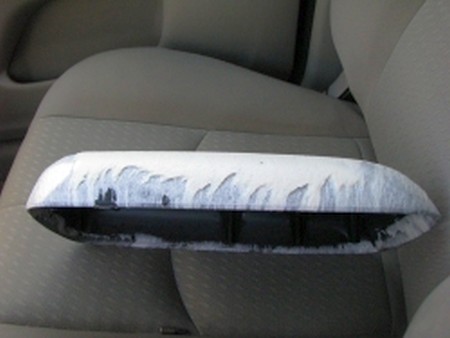
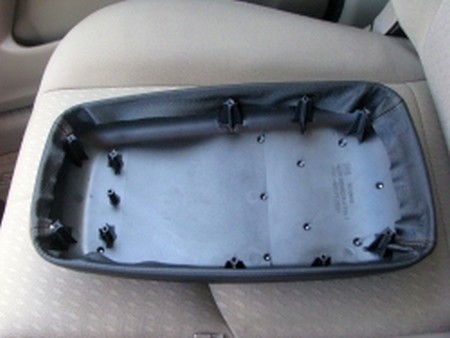
6. Using a T15 torx bit screwdriver, unscrew 6 screws from armrest indicated in picture. Top cover of armrest should now separate from base |
 |
|
7. To remove old cover, just peel it off. To install new leather cover, just stretch it over armrest top cover and fold ends behind screw holes as in picture |
 |
|
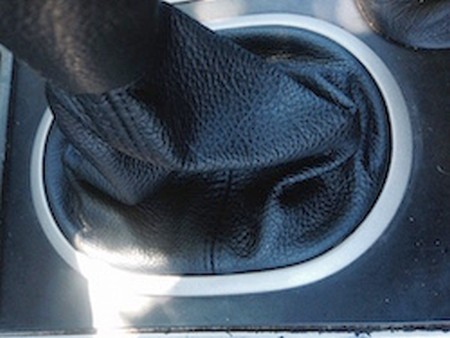
8. Tape off the wood veneer before applying cement for easier clean up. Using a thin brush apply coat of contact cement to the console boot ring. |
 |
|
9. Once leather cover is on, screw armrest base back on, this will hold leather cover in place.
Once base is screwed back on, screw armrest back into the car. |
 |
|
ENJOY YOUR NEW LEATHER BOOTS! |
|
|
Useful tip You have installed a product made out of genuine leather. As you know, to maintain a leather product in good condition, you should take care of it. We suggest occasionally (every 4-6 week for example) applying some leather conditioner/UV protector to keep your leather from drying up in the sun and cracking. |
|
Subscribe to our newsletter to get an instant 20% discount!