1993-02 TOYOTA SUPRA |
||||||||||||||||||||||
|
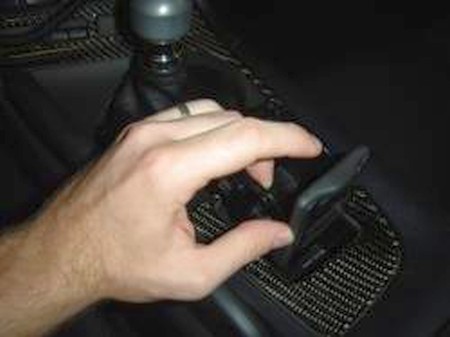
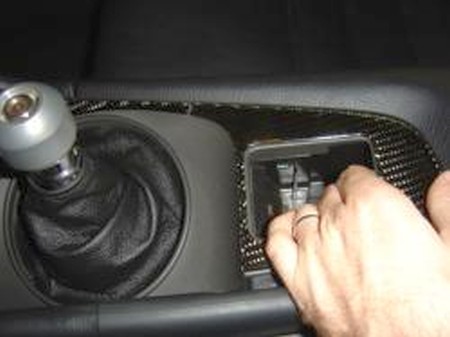
1. Open the ashtray, and pull up on it to remove it from the 'shifter console piece.' |
|
|
2. Gripping the area where the ashtray was, pull up on the rear of the 'shifter console piece' gently to unsnap the clips holding it down. |
  |
|
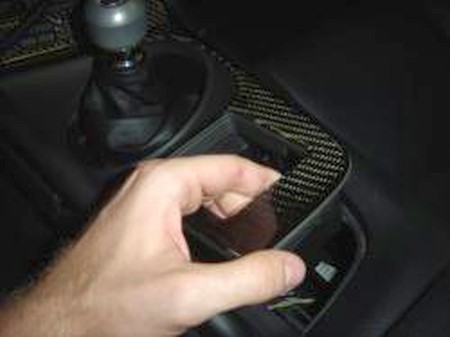
3. Pull up on the front of the 'shifter console piece' gently to remove the piece. Undo the velcro around the shifter neck, and slide the stock shifter boot up over the shifter knob. Undo the ashtray light wiring harness by pressing the clip and pulling them apart. |
 |
|
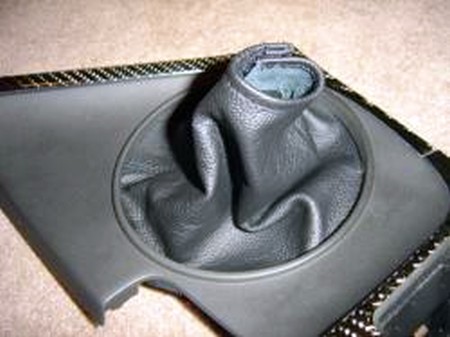
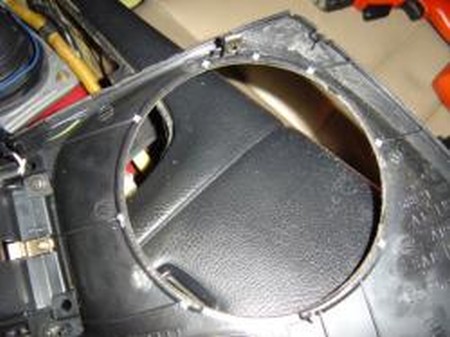
4. Set the shifter console piece upside-down on a soft cloth on a stable work area, making sure not to scratch the flaky dash coating on 1993-96 Supras' dash pieces ('97-98 dashes don't scratch easily.) |
 |
|
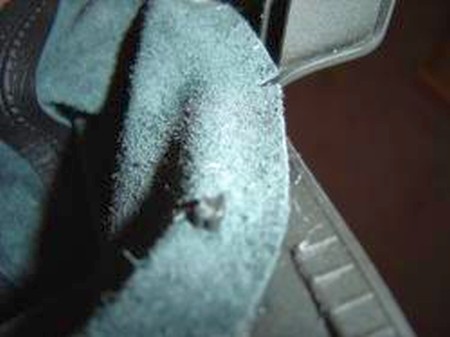
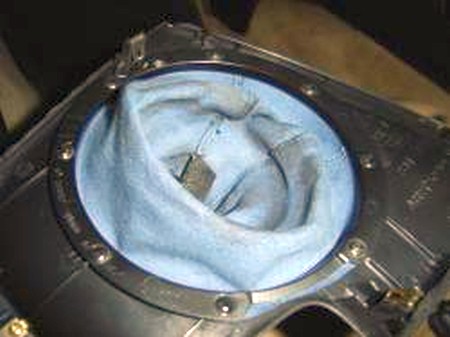
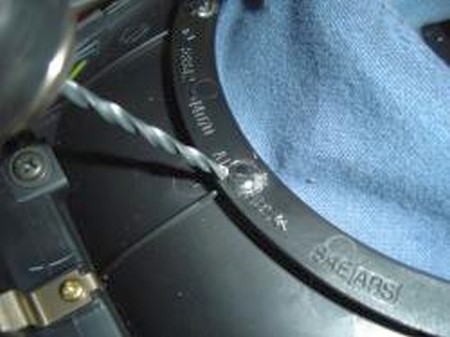
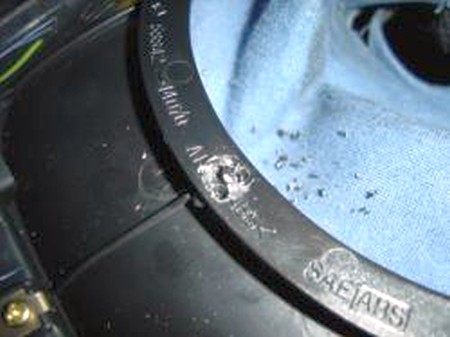
5. Use a drill, dremel tool, cut-off wheel, etc to separate the plastic rivets holding down the plastic ring holding the stock shifter boot down. NOTE: you should cut the rivet area a bit to loosen it, then simply pull up on the ring and it will SNAP/BREAK away from the rivets, leaving small rivet pegs sticking up. Notice I was using a drill in the pictures, due to not having anything else where I did this install. |
    |
|
6. The old shift boot will simply fall out. Discard the plastic ring piece. Now, simply put the new boot back in like the old one was. |
  |
|
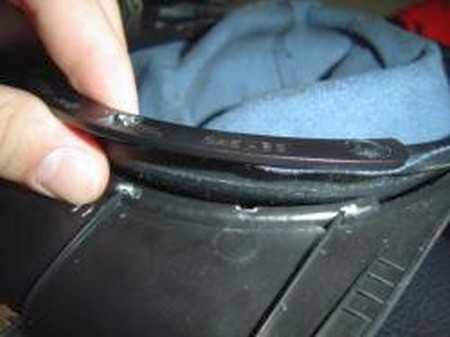
7. Align the new shifter boot in the proper orientation so the holes in the boot slide over the rivet pegs. Test fit the boot now. NOTE: Depending on how many pegs are left sticking up, you may have to hold the boot in place while test fitting. |
|
|
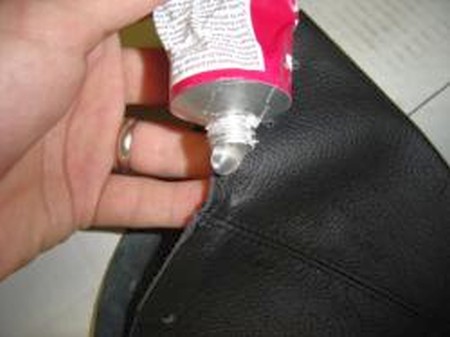
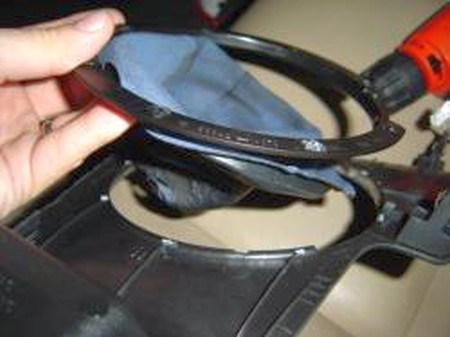
8. Using 'Automotive GOOP' or another similar adhesive, apply a thin bead around the END of the shiter boot skirt for about 1/4 of the way around the perimeter of the OUTSIDE LEATHER, and press it onto the back of the shifter console piece. You will have to hold it in place for a couple minutes while the adhesive dries. NOTE: Be careful to avoid any excess adhesive showing on the visible part of the boot! |
|
|
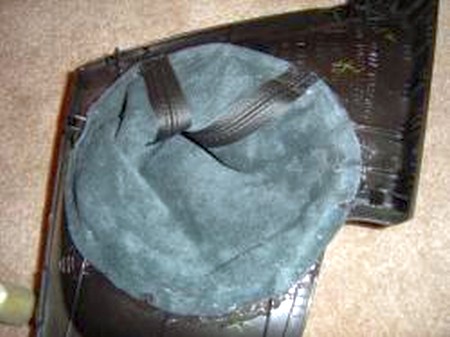
9. Continue applying adhesive and sticking down the skirt around the rest of the perimeter until the boot is completely held down. |
|
|
10. Allow the adhesive to dry for 24 hours, and then scrape off any excess adhesive showing on the top side of the boot. Reverse steps 1-5 to reinstall the shifter console piece.
11. To install the ebrake boot, simply slide it on the handle and use a piece of stick or a dull tool to push it below the rubber surround. |
|
|
CONGRATULATIONS - YOU HAVE SUCCESSFULLY INSTALLED YOUR NEW LEATHER BOOTS!
Useful tip You have installed a product made out of genuine leather. As you know, to maintain a leather product in good condition, you should take care of it. We suggest occasionally (every 4-6 week for example) applying some leather conditioner/UV protector to keep your leather from drying up in the sun and cracking. |
|
Subscribe to our newsletter to get an instant 20% discount!