2015-21 SUBARU WRX / STI |
||||||||||||||||||||||||||||
|
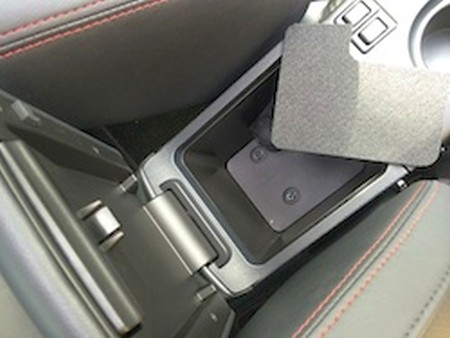
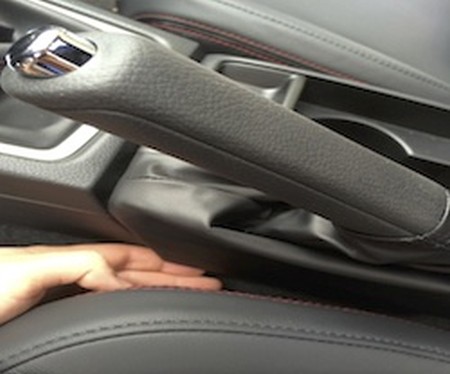
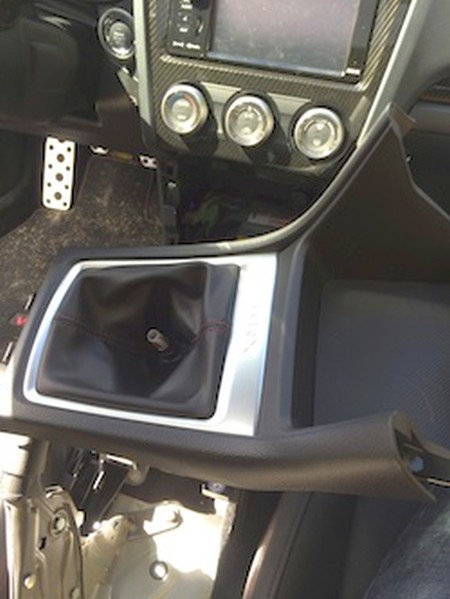
1. Remove the 2 bolts that are in the arm rest that are bolting down the arm rest to the chassis with a Philips screwdriver or 10mm socket. |
|
|
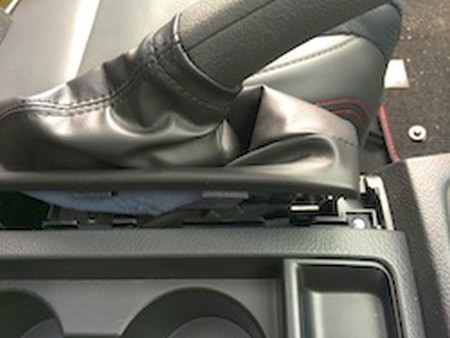
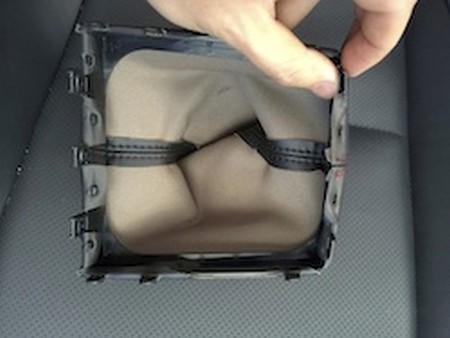
2. Push the ebrake boot up towards the roof of the car. There are three tabs that you need to release. If you push straight up they will release. You can also push the boot slightly towards the driver's seat to help this. |
 |
|
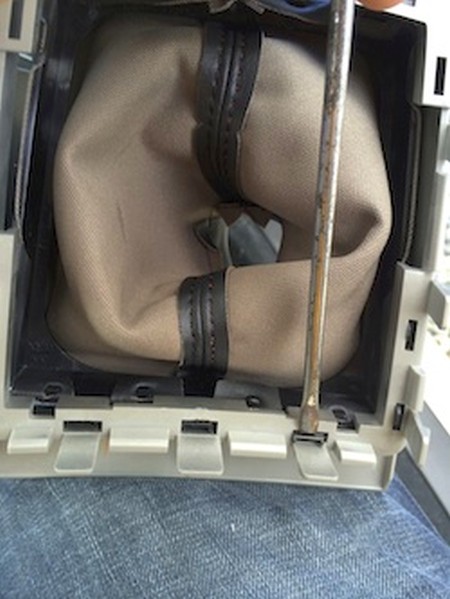
3. Once the tabs have released, just slide the entire boot over the handle. You will now need to remove the old boot from the plastic frame. The leather is bonded to the plastic frame with adhesive and you can use a hair dryer to soften the adhesive and gently peel off the old boot. Super glue works well to attach the new boot. You can have the ebrake boot replaced at this time |
 |
|
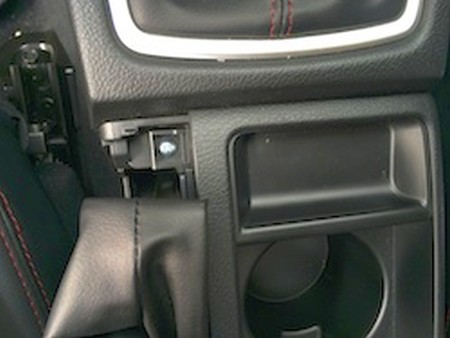
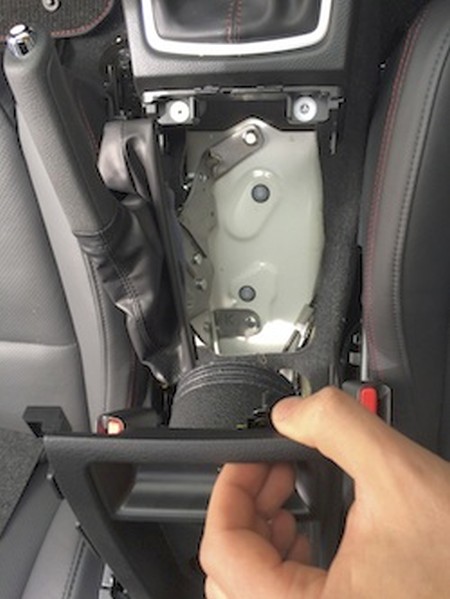
4. Under the Ebrake boot is a bolt that needs to be removed with a Philips screwdriver. |
 |
|
5. Gently lift and slide the entire center console towards the rear of the car. |
 |
|
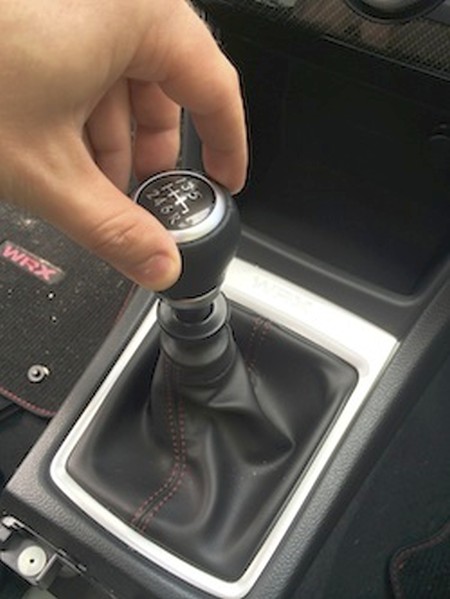
6. Remove the shift knob by turning it counter-clockwise. |
|
|
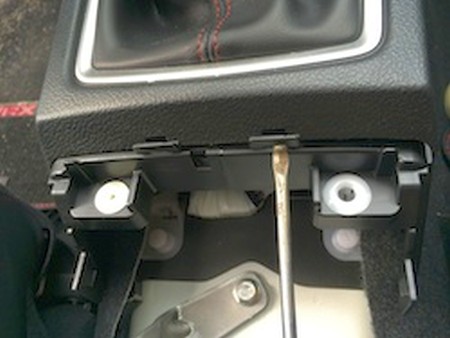
7. Carefully use a flat head screwdriver to separate the tray and the shift boot portion from the 2 clips./p> |
|
|
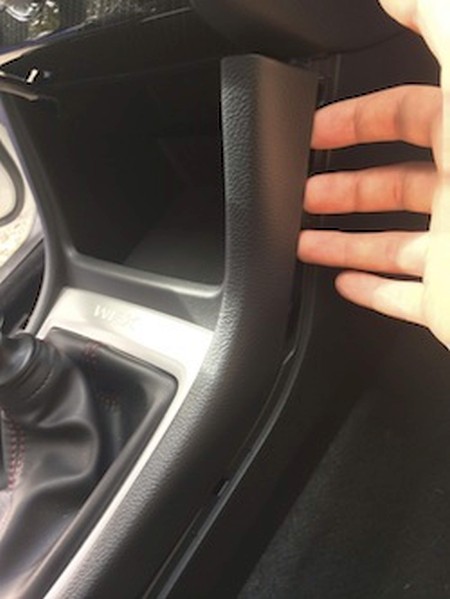
8. Grab the edges of the dash piece and pull it straight back to remove it. |
|
|
9. Put the car in 4th gear to allow more room and rotate the shift boot trim piece 90 degrees and lift up to remove it. |
 |
|
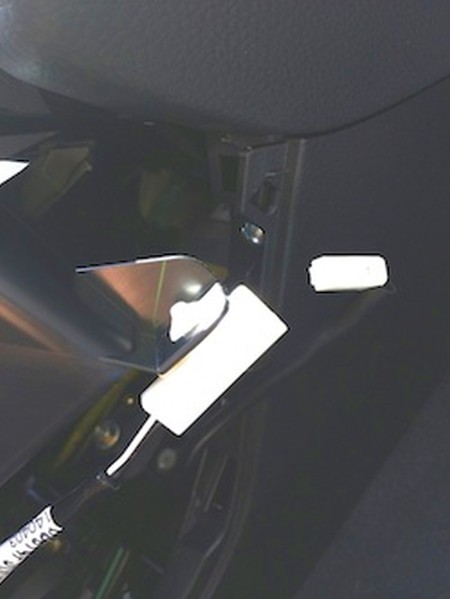
10. On the bottom of the shift boot trim piece is a wired connection. Disconnect this white wire connector by pressing in the tab and pulling the connectors apart. This will allow the shift boot trim piece to be completely removed. |
 |
|
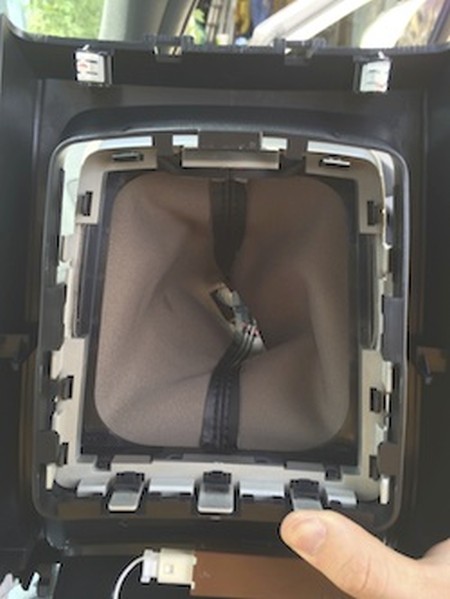
11. Carefully remove the shift boot trim ring by pressing on the black tabs by using a flat head screwdriver. |
 |
|
12. Once the trim ring is separated, flit the boot over and remove the leather from the tabs. |
 |
|
13. You will have to cut small slots in your new shift boot with a box cutter knife for it to slide over these tabs. Reinstall the steps 12 down to 1 to reinstall everything. |
 |
|
CONGRATULATIONS - YOU HAVE SUCCESSFULLY INSTALLED YOUR NEW LEATHER BOOTS!
Useful tip You have installed a product made out of genuine leather. As you know, to maintain a leather product in good condition, you should take care of it. We suggest occasionally (every 4-6 week for example) applying some leather conditioner/UV protector to keep your leather from drying up in the sun and cracking. |
|
Subscribe to our newsletter to get an instant 20% discount!