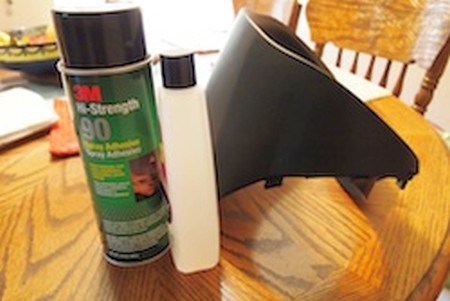
- use an epoxy-based glue that doesn't settle instantly but allows a few minutes to make sure your alignment is perfect before it settles.
- test-align the cover on the gauge hood, make sure it fits perfectly before you even start glueing
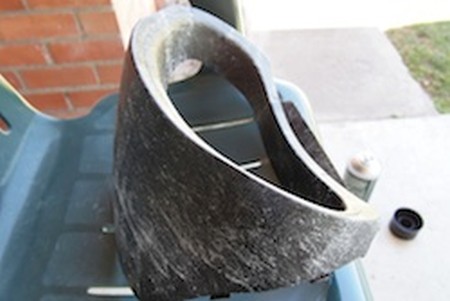
- first glue the driver-facing, vertical narrow surface, using clamps to help you hold the rest of the cover in place while you do it. Make sure it's nice and tight, readjust clamps if necessary to ensure a snug fit of the front surface
- let the glue settle
- only then proceed with the inside of the gauge hood. Glue small bits going from the rear of the car (vertical edge you have already glued) towards the front of the car (edges of gauge hood) and make sure there are no wrinkles at any point during the install. If there are, make sure to fix them before you glue the next part or else they will be there permanently.
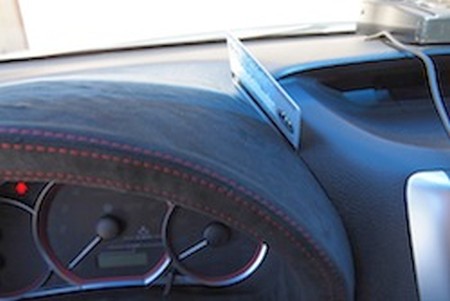
5. Reinstall hood cover into the car. Use a credit card to tuck remaining fabric in.
ENJOY YOUR NEW LEATHER GAUGE HOOD!
Useful tip
You have installed a product made out of genuine leather. As you know, to maintain a leather product in good condition, you should take care of it. We suggest occasionally (every 4-6 week for example) applying some leather conditioner/UV protector to keep your leather from drying up in the sun and cracking.
Redline Automotive Accessories Corp. will not be held liable for any labor, incidental or consequential damages of any kind. Proceed at your own risk.