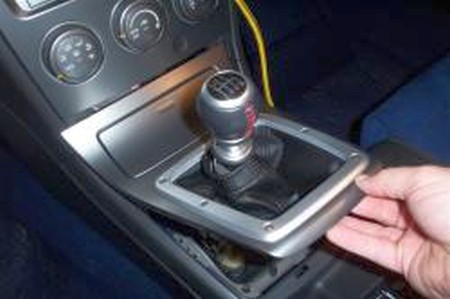
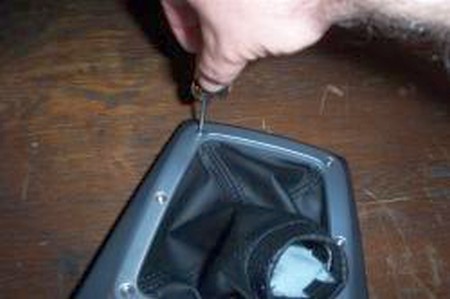
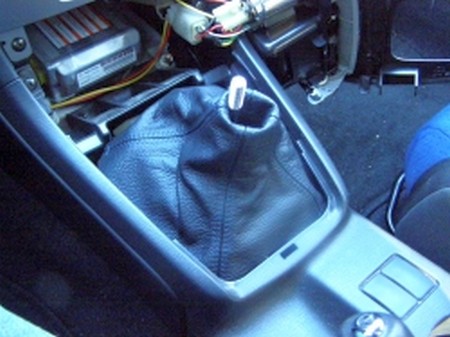
1. Slide fingers under trim piece surrounding shift lever and pull up
gently until it pops loose. Unsnap shift boot at shift knob. Using the shift
boot pull boot over shift knob and lift entire assembly straight up. There is a
single plug that needs to be removed that is attached to the ashtray cigarette
lighter. Unplug connector and then carefully remove console.
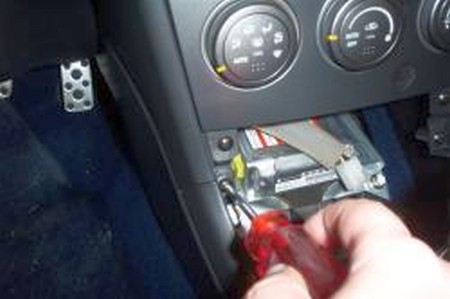
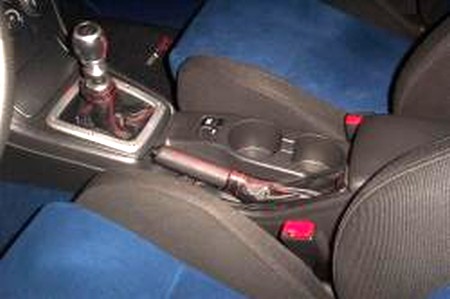
2. There are four screws that need to be removed to remove the
e-brake boot. First two are just below the climate controls, and are the bottom
two screws. Next two screws are below the center console storage compartment.
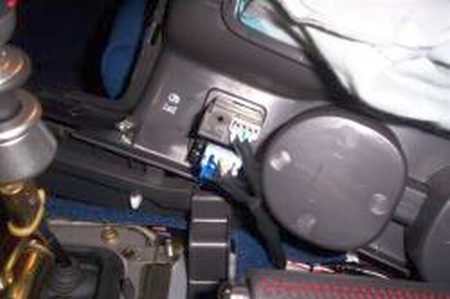
After removing screws pull the parking brake up unsnap the e-brake boot. At this
point you will need to unplug two connectors for the DCCD controls. Once they
are out you can pull the console free.
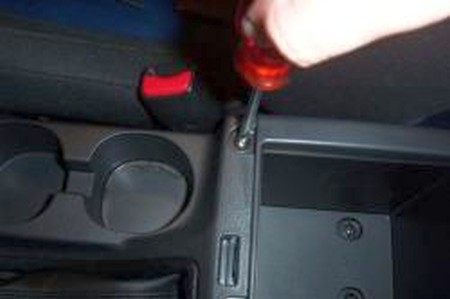
There is an alternative method for ebrake boot removal that does not require
the removal of the center console. If you just reach down at the corner of the
e-brake boot , closer to the console storage compartment, you can feel the clip
that holds the e-brake boot down. You can just pull on that clip towards the
e-brake and the clip will dislodge. You can now just pull up and towards the
console storage compartment. The boot will just pop right off without the hassle
of unscrewing the four screws and disconnecting the DCCD controls.
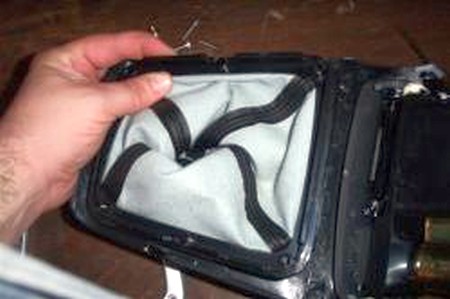
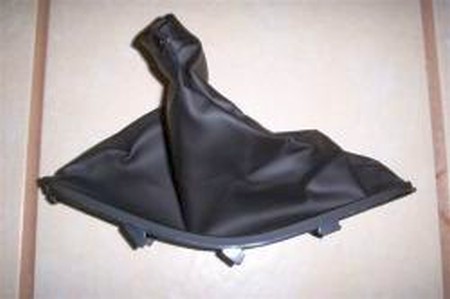
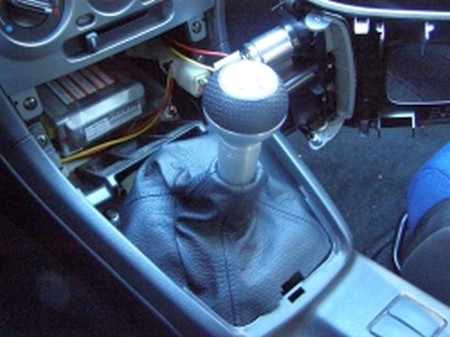
3. Now remove the shift boot. Remove the six socket head screws that
are holding the STI trim ring around the boot. Then unsnap the boot from the
console. There are for clips around the boot frame holding it. The boot is glued
to the frame and must be pulled off. It is glued on tight!! Work carefully and
use a hobby knife to remove stubborn spots.
4. The e-brake boot is held in by one clip nearest the storage
compartment. Unsnap this clip and give the boot a gentle tug and it will come
out. Once again the boot is glued to the frame and needs to be pulled of.
5. Now attach your new boots. Epoxy or superglue can be used, a thick
slow setting superglue worked the best. Start with the shift boot and align the
seams with the correct corners, narrow spacing to the rear. Work slowly gluing a
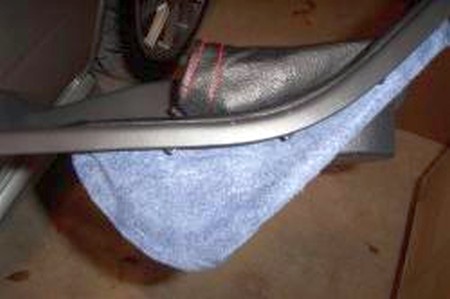
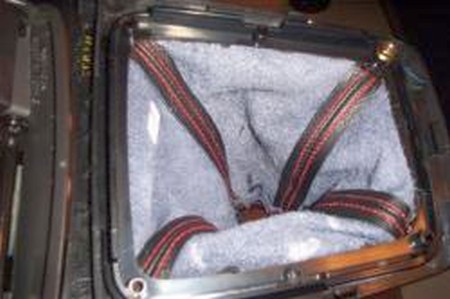
small section at a time to ensure proper alignment. The e-brake boot needs to be
turned somewhat inside out as shown in the photo to make is easier to glue. Once
you have the boots glued to the frame just reverse the removal process, and
don't forget to re-connect your DCCD and cigarette lighter plugs.
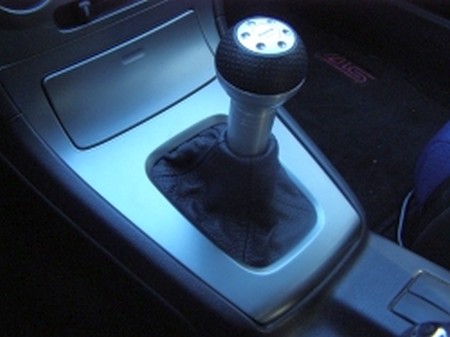
6. This is what you're going through all this for! :)
INSTALLATION ON AUTOMATIC TRANSMISSION VEHICLES:
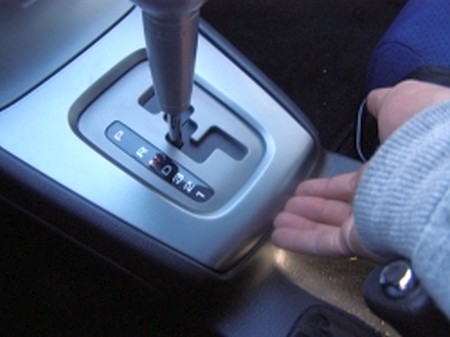
1. Set e-brake and shift car into neutral, pull straight up on the bottom of the trim piece.
2. remove the lower trim piece and set it off to the side. Remove the shift knob (unscrew counter-clockwise)
3. fit the shift boot, making sure to align the seams how you would
like them oriented, I chose to have the seams point to the four corners
of the trim piece.
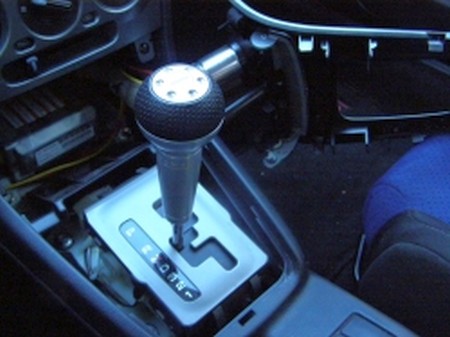
4. Reinstall the shift knob.
5. Reinstall the trimpiece. it just snaps into place, but may take some
aligning due to the fabric from the shift boot. Run the shifter through the full range of travel i.e. from park down
to first, this is to allow the shifter to pull up some of the boot to allow the full range of motion.
Armrest cover installation
The cover is installed on your stock armrest with flat elastic which goes between the two parts your stock armrest comprises. Just open the armrest, remove screws to loosen the top part, pull the armrest on it and screw it back to the bottom part - 5 minutes work in all!
For tight fitment, you might want to consider glueing the armrest to the inside of the top part of the armrest cover. Any quick-drying epoxy-based glue will work great along with some clamps.
CONGRATULATIONS - YOU HAVE SUCCESSFULLY INSTALLED YOUR NEW LEATHER BOOTS!
Useful tip
You have installed a product made out of genuine leather. As you know, to maintain a leather product in good condition, you should take care of it. We suggest occasionally (every 4-6 week for example) applying some leather conditioner/UV protector to keep your leather from drying up in the sun and cracking.
Redline Automotive Accessories Corp. will not be held liable for any labor, incidental or consequential damages of any kind. Proceed at your own risk.