2011-16 SCION TC |
||||||||||||||||||||||||||||||||||
|
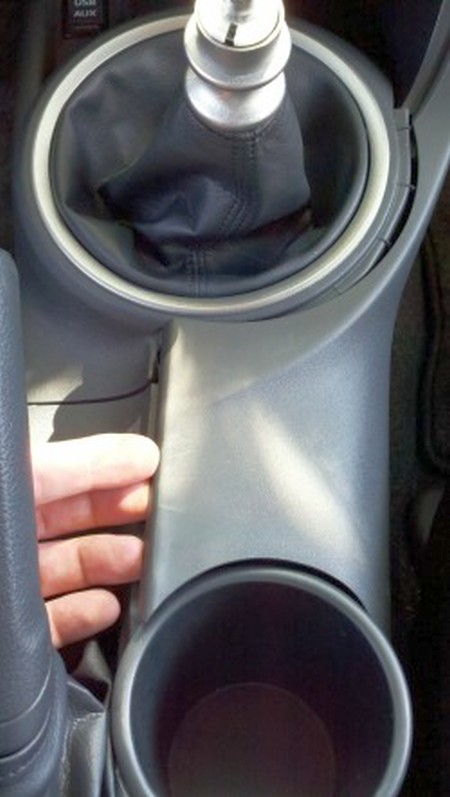
1. Remove Shift Knob by turning counter-clockwise. Remove the Right Upper Panel by firmly pulling up on the rear section... |
|
|
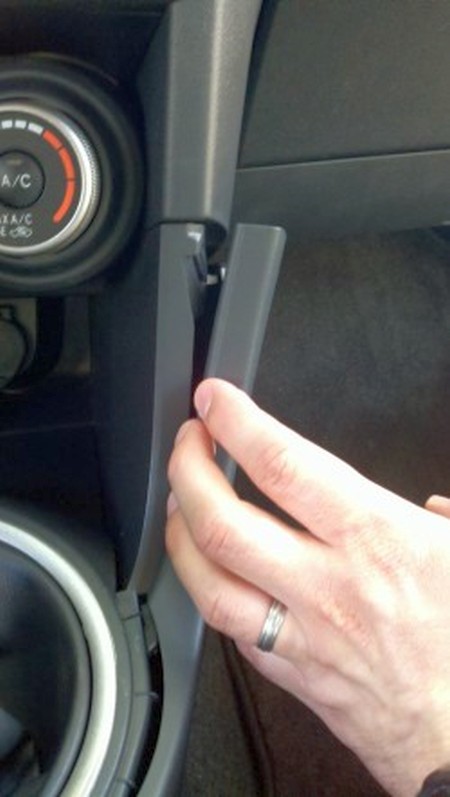
2.then out on the forward section. |
 |
|
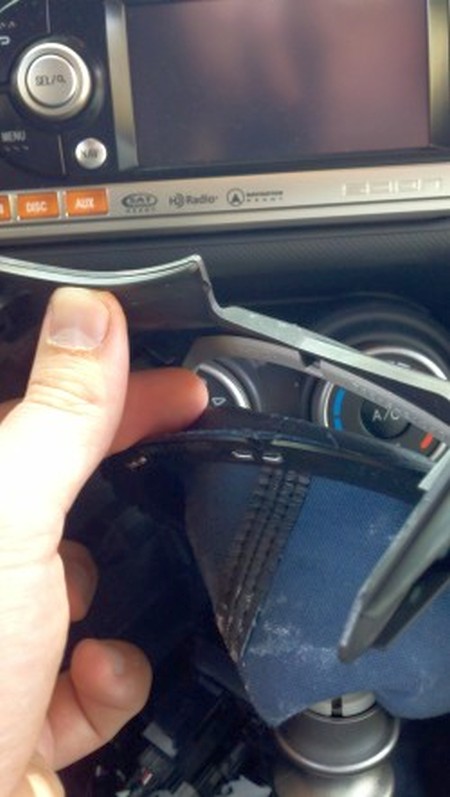
3. Remove Forward Console Cover by pulling up on exposed rear section... |
 |
|
4. and moving around the piece until it completely separates from the console base. |
 |
|
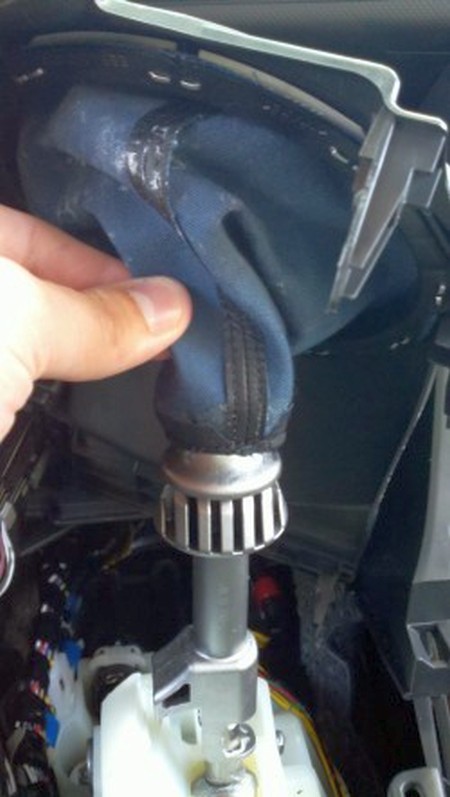
5. Gently pull the boot up, over the shifter, until it is separated from the shifter. |
 |
|
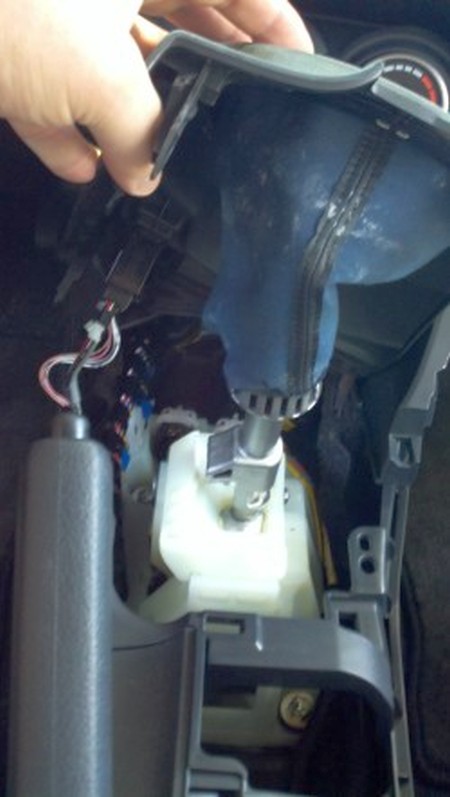
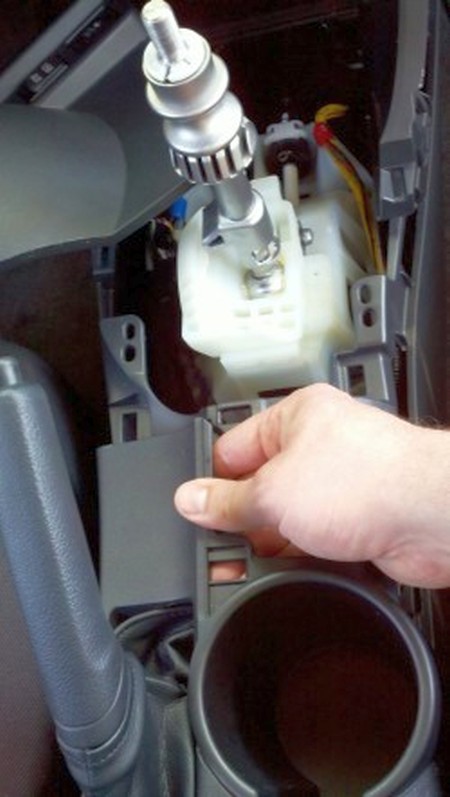
6. Tilt the base until you can see the plastic frame the shift boot is attached to. Pull plastic frame (with the shift boot) out from under the forward console cover.
CAUTION: Ensure attached cables are not pulled, torn or broken to avoid future vehicle issues. |
|
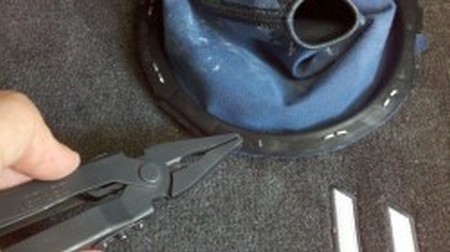
7. Use the needle nose pliers to straighten staples and remove the boot from the plastic frame. |
 |
|
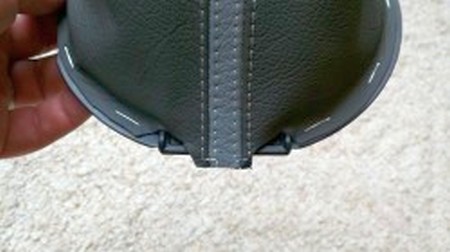
8. Attach Redline Goods Shift Boot to frame with staples or glue (whichever is easier given the tools at your disposal).
CAUTION: Take note of notches in the Redline Goods Shift Boot and align the boot in the same manner as the stock boot. |
 |
|
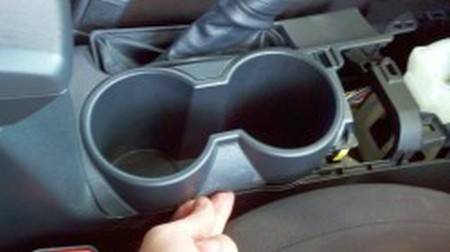
9. Remove Rear Console Cover (with cup holder) by pulling on the front... |
 |
10. and sides until the retaining clips release. Gently lift the cover up and over the e-brake, sliding the factory boot over the e-brake handle.
Remove e-brake boot from console and replace with RedlineGoods E-Brake Boot, ensuring the opening is toward the front. |
 |
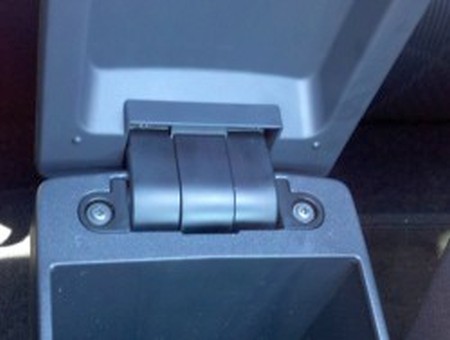
11. Remove the 2 screws holding the armrest from the base. |
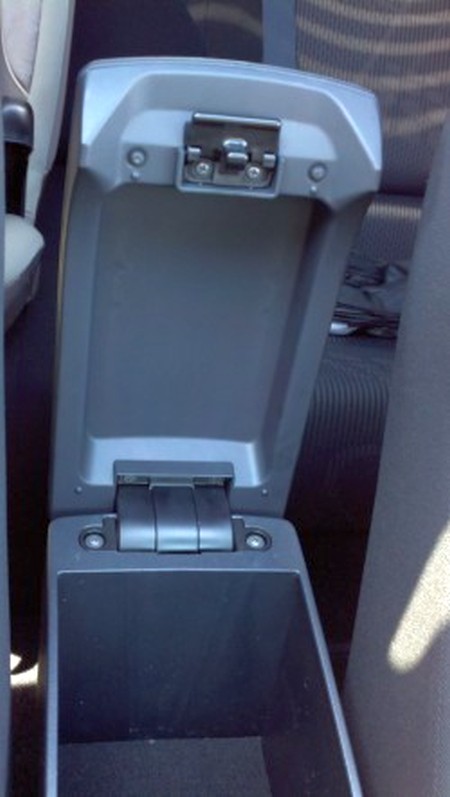 |
12. ...and lift the armrest off the center console. |
 |
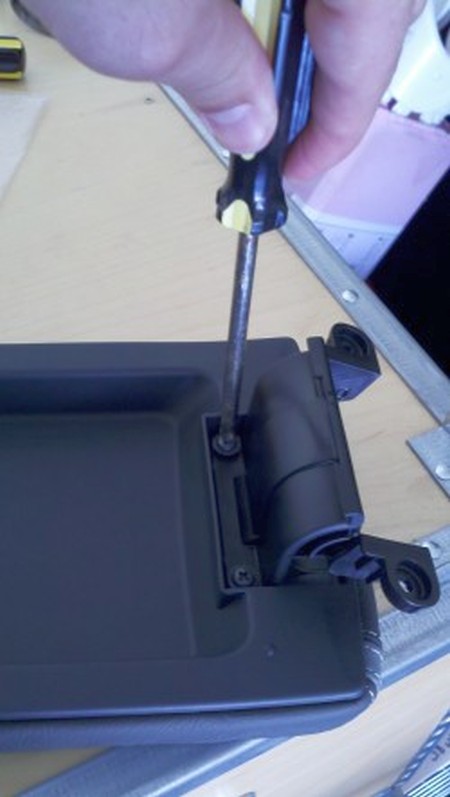
13. Turning the armrest upside down, remove the 4 screws (2 front and 2 rear)... |
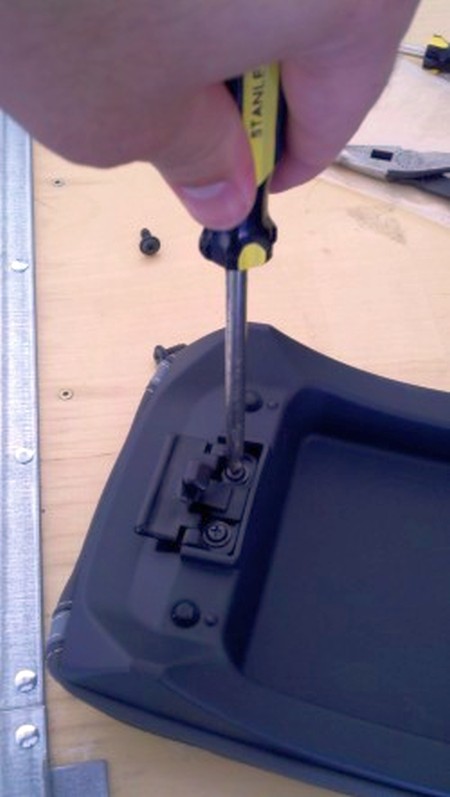 |
14. ...holding the top of the Armrest to the bottom. |
 |
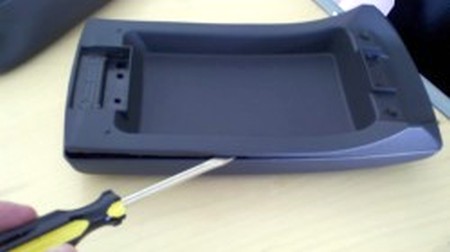
15. Using the flathead screwdriver, gently pry the bottom from the top.
Slide your RedlineGoods Armrest Cover over the top of the armrest.
Ensuring the armrest cover is pulled tight, press the bottom of the armrest back into the top and reattach the screws.
Set the armrest back into place on the center console and reattach the screws. |
 |
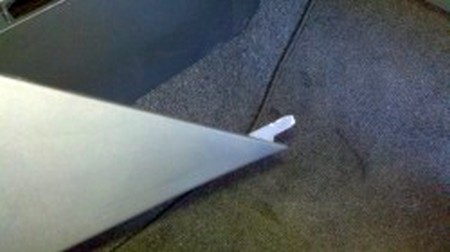
16. Reinstall all panels in the reverse order of removal. The forward section of the Right Upper Panel must be inserted into position first (notice the tab that must go under the adjacent panel), then the lower catches inserted in the Right Lower Panel before snapping the clips in place. Reinstall the shift knob. |
 |
|
CONGRATULATIONS - YOU HAVE SUCCESSFULLY INSTALLED YOUR NEW LEATHER BOOTS!
Useful tip You have installed a product made out of genuine leather. As you know, to maintain a leather product in good condition, you should take care of it. We suggest occasionally (every 4-6 week for example) applying some leather conditioner/UV protector to keep your leather from drying up in the sun and cracking. |
|
Subscribe to our newsletter to get an instant 20% discount!