1978-80 MAZDA RX7 |
||||||||||||||||||||||||||||
|
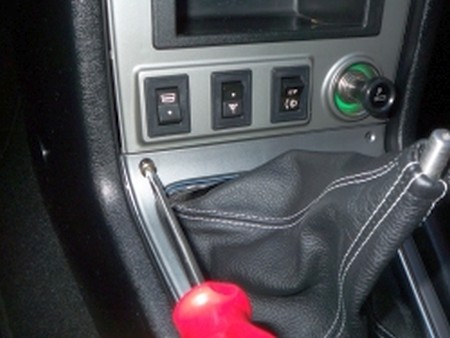
1. Unscrew the shift knob counter clockwise, and remove from the shifter assembly. There is a silver "stop nut" that must also be removed, unscrew it, and remove. Remove 2 screws on front upper shift cover plate. |
|
|
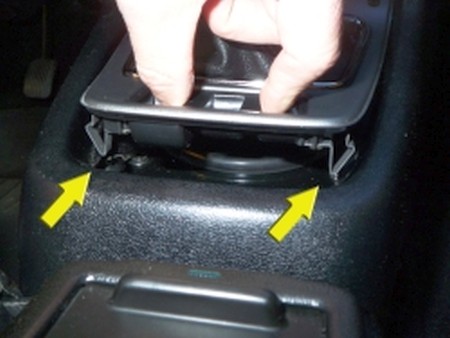
2. Using your hands only, lift the plastic console piece up. be sure not to force it, it will come loose with minimal force, and the clips will let go. lift the console piece up and over the shifter, along with the shift boot attached. |
 |
|
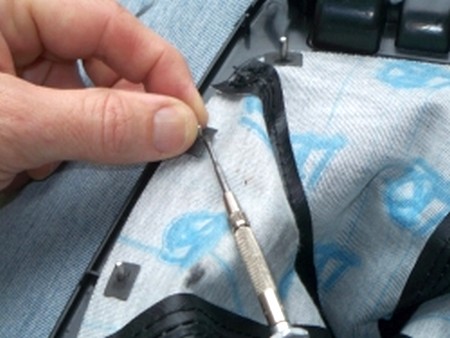
3. Remove the locking clips that hold the boot to the plastic pegs on the underside of the plate. HINT: use a small jewelers screwdriver to wedge open the clip so that you do not damage the peg as you remove the peg. Once loosened with the driver, use pliers to lift the clip off the peg. HOLD THE PEG WITH YOUR FINGERS! -while you release the clips. The pegs are FRAGILE and the torque of the driver may break them. Your fingers will take the load off the peg.
Since you're working with 20+ year old car here, chances are your little clips under the shifter surround are all broken, this will make the removal of the boot very straight forward.
|
 |
|
4. Even if you do have the clips, we recommend that you also use glue (step 5). Otherwise, go to step 8.
5. Clean the bottom side of the console with isoprophyl alcohol. You might want to remove the rest of the clips if only some of them are left.
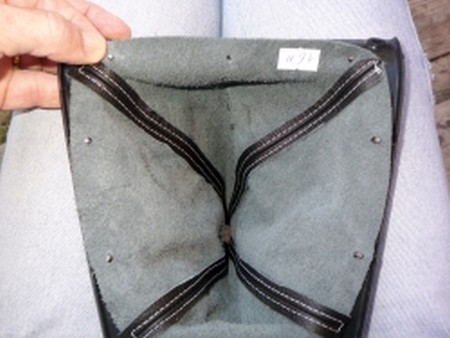
6. Slide the boot through the center console, making sure the short side faces the rear of the car (as did the stock boot) - you can't do it wrong, actually, it will only fit right one way.
|
|
|
7. Using Automotive GOOP or any other EPOXY-BASED glue, attach the boot to the console. Wait some time (designated on the label of the glue) until it dries and hold the properly. Proceed to step 9. |
|
|
8. Lay the Redline boot over the pegs and work them on. Install the CORNER peg clips first but do not push them all the way on till all the clips are pressed on. Now press the clips further onto the boot. NOTE: on removing and wedging apart the clips, they may fit on loosely. They can be pressed tighter BEFORE re-install by tapping on the top of the clip while on a hard surface, using a small hammer or the top of a screwdriver. DO NOT COMPRESS THE CLIPS TOO MUCH! Otherwise the fitting hole in the clip will be too tight and you my break the peg as you try to force the clip back on. Clips should be installed "fairly" firmly but they do not have to be super-tight. The idea is to keep the load on the pegs to a minimum. |
 |
|
9. Re-install the silver "stop nut" back onto the shifter. this will help you to adjust the shift knob to its final resting position. You will want to make sure that it is adjusted so your shift knob will stop in the proper position now, before you go any further with the install (it will be harder to turn this nut once the boot is attached to it). Turn the boot inside out, and slip the top over the shifter, and attach it to the "stop nut", (there is a groove in the nut that makes this very easy and straight forward). you may use a plastic zip-tie, or anything that will hold it in place. Plastic coated wire works well too. Make sure to leave about a 1/2" inch overlapping to ensure it doesn't come loose and slip off the "stop nut".
10. Pull the shifter surround down, and over the boot, and snap it back into place. adjust the boot with your fingers the way you like it. all you have to do is install the shift knob back on, and you're finished! |
|
|
11. Set the emergency brake. |
 |
|
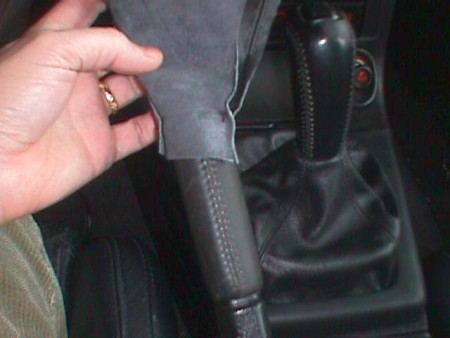
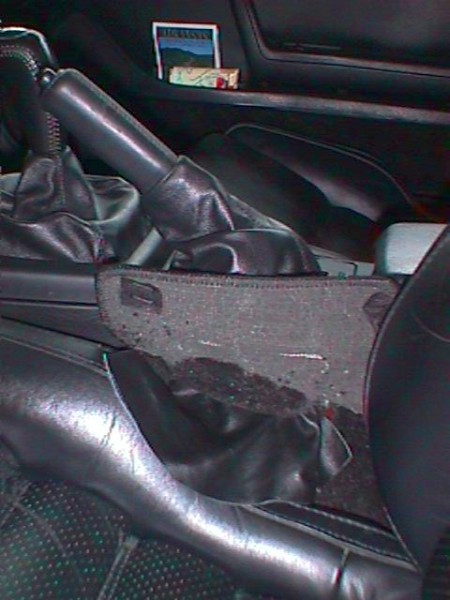
14. Make sure that the top seam of the boot is facing up. Slide the narrow top edge of the inverted boot a short distance past the point where the leather handle and the plastic lever cover intersect. |
 |
|
15. Secure the boot at this intersection point using a nylon wire tie. Trim off the unwanted length of the wire tie. It is recommended that you position the "knot" of the wire tie underneath the handle. |
 |
|
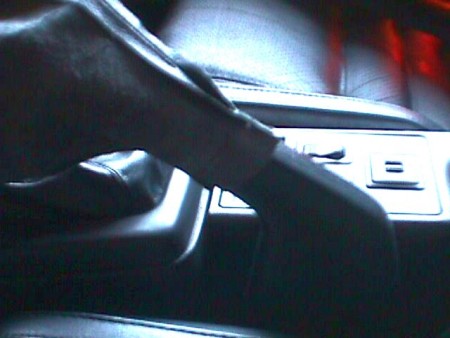
16. Now pull the boot over the handle toward the back, so that it turns right side out. Pull carefully on the boot as far as it goes until you can barely see the end of the brake handle against the top part of the boot, where the wire tie is fastened, when stretched. |
 |
|
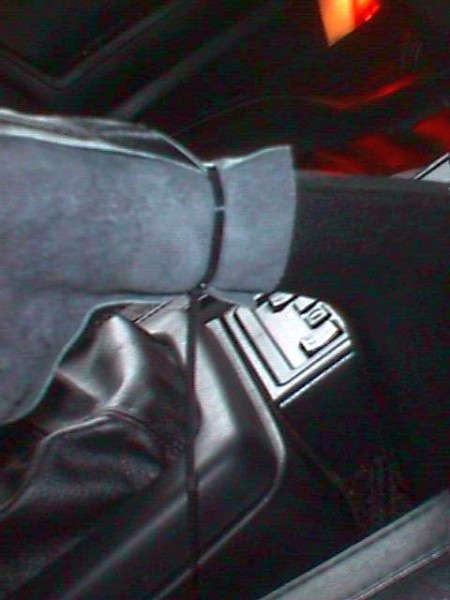
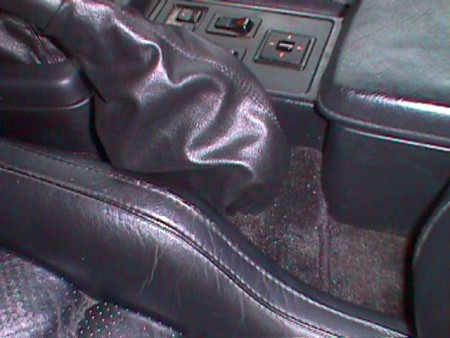
17. At the base of the brake lever there is a carpet flap held in place by Velcro. Pull up on the flap and tuck the leather boot through the whole in the flap, facing the driver's side. You may need to move the seat forward or backward to gain easy access to it. |
 |
|
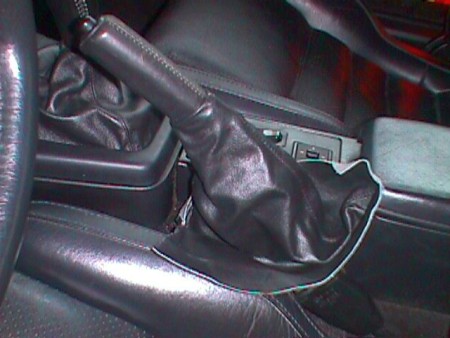
19. Make sure that the leather boot or the carpet does not interfere with the function of the brake lever at the front and rear points. Try the brake lever several times. The boot should not interfere in any way. |
 |
|
CONGRATULATIONS - YOU HAVE SUCCESSFULLY INSTALLED YOUR NEW LEATHER BOOTS!
Useful tip You have installed a product made out of genuine leather. As you know, to maintain a leather product in good condition, you should take care of it. We suggest occasionally (every 4-6 week for example) applying some leather conditioner/UV protector to keep your leather from drying up in the sun and cracking. |
|
Subscribe to our newsletter to get an instant 20% discount!