1979-86 FORD MUSTANG |
||||||||||||||||||||||||
|
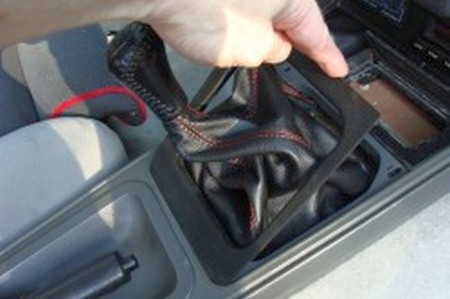
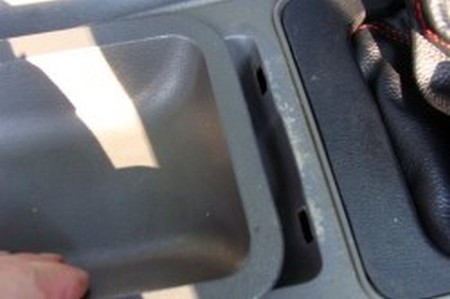
1. Unscrew shift knob, counterclockwise to remove. Remove shifter bezel by unsnapping the forward edge, then sliding forward to disengage the tabs.
|
 |
|
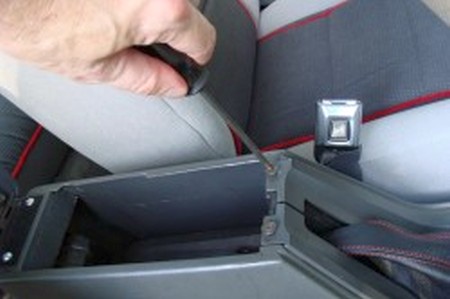
2. Open center console lid and at the leading edge you will see two phillips screws. Remove these two screws. In the bottom of the console itself you will find four more screws, remove these as well. |
 |
|
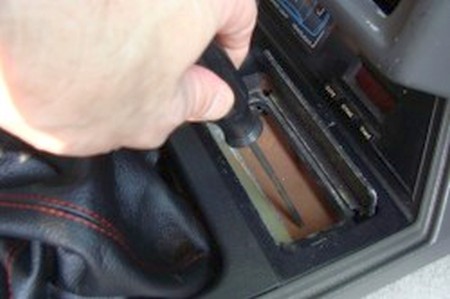
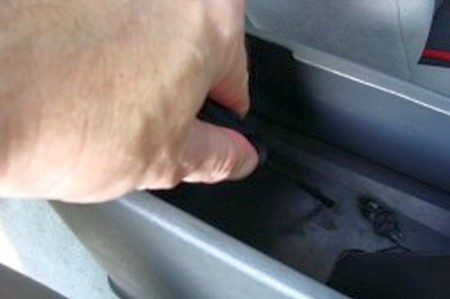
3. Remove the ashtray insert and underneath you will find two more screws, remove these. |
 |
|
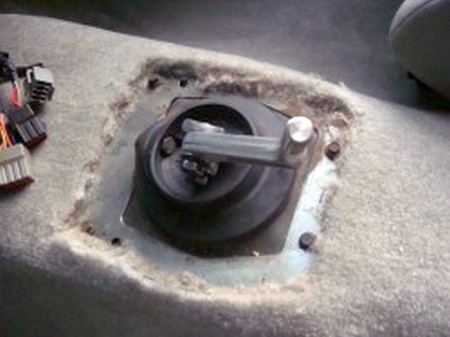
4. Remove the old shift boot & shifter knob. It's wrapped around a metal ring that's held down with 3 nylon pins -- you can simply pull the metal ring up, detaching the nylon pins. Lift the old boot assembly over the shift lever. |
 |
|
5. Open center console lid and at the leading edge you will see two phillips screws. Remove these two screws. In the bottom of the console itself you will find four more screws, remove these as well. Lift straight up on the trim piece which goes around the parking brake, starting with the back edge. Two clips need to release the trim from the center console. Once the two clips release, you will need to slide the trim toward the rear of the car to release the tabs which hold the trim in place, then with the parking brake engaged you can lift the parking brake surround free. |
 |
|
6. You are now ready to remove the center console. With the sfifter in neutral and the parking brake up, tilt the console up in the rear and slide back to expose the three electrical plugs for the console. Uplug them and remove the console. Remove the metal ring around the shift which holds the factory boot in place. Remove the staples from the metal rings and remove the stock shift boot. |
 |
|
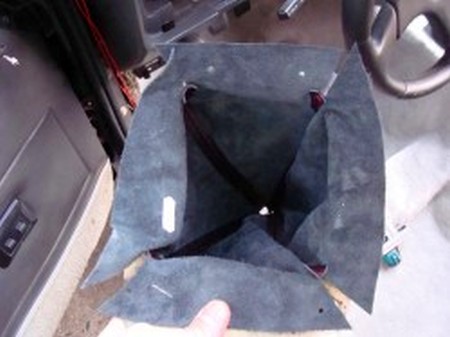
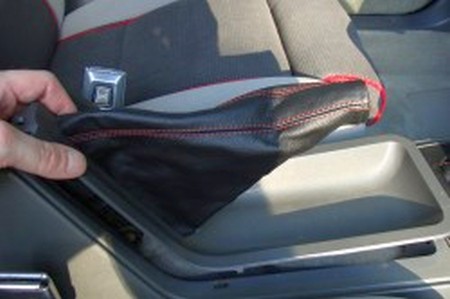
7. Insert the boot through the metal ring and notice that the holes in the new boot line up with the holes in the ring, it will only fit one way. |
 |
|
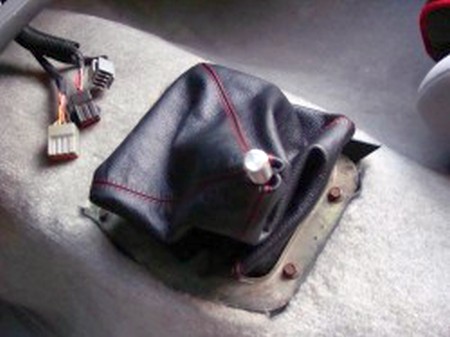
8. Put the bolts through the holes provided and bolt the boot and the ring to the lower shift boot assembly. |
 |
|
9. Using a sharp razor blade cut what remains of all the plastic pegs (previously securing the rubber e-brake dust shield) flush with the console top panel. Mine were already broken off.
Prep upper console panel for parking brake boot installation. Lightly sand underside of console top panel (around parking brake opening) with 120 - 400 grit sand paper (this step is required to promote the Velrco’s adhesion). Clean area with denatured alcohol.
Cut and install ½” wide stripes of Velcro all around e-brake opening.
Install e-brake boot in the trim panel. Starting at one end center the seam and gentle roll boot around making sure the Velcro fastens securely; continue up both sides leaving the end opposite the starting point for last. Then carefully slide the boot over the parking brake handle, (be careful it is a snug fit). |
 |
|
10. Reinstall everything in the reverse order of removal.
|
|
|
ENJOY YOUR NEW LEATHER BOOTS! |
|
|
Useful tip You have installed a product made out of genuine leather. As you know, to maintain a leather product in good condition, you should take care of it. We suggest occasionally (every 4-6 week for example) applying some leather conditioner/UV protector to keep your leather from drying up in the sun and cracking. |
|
Please subscribe to our newsletter.
Get an instant 20% discount and enter our montly $100 CASH sweepstakes!