2010-14 FORD MUSTANG |
||||||||||||||||||||
|
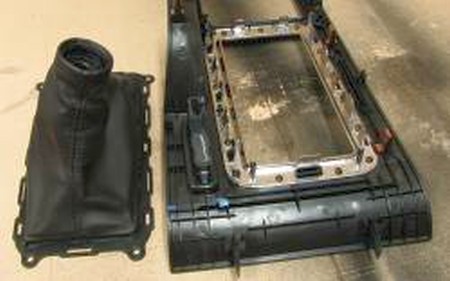
1. Remove the shift knob by unscrewing it counter-clockwise.
Remove the console trim piece by opening the rear cover and then pulling up on the entire piece. It is held in with push-clips only. Once unclipped, unplug the traction control/hazard/trunk release button and then lift the console trim piece off.
Flip the console trim piece over and see how the factory boot is clipped to the chrome shift trim ring. Remove the shift boot by unclipping all of the clips, working in a single direction (such as front to back). |
 |
|
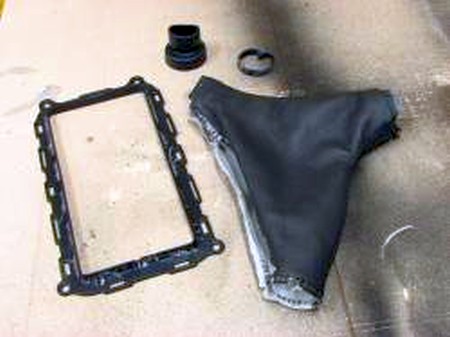
2. Remove the plastic square ring from the shift boot by using a prying tool, such as a putty knife or flathead screwdriver.
3. If you are going to reuse the factory shift knob, also remove the round ring at the top of the shift boot. |
 |
|
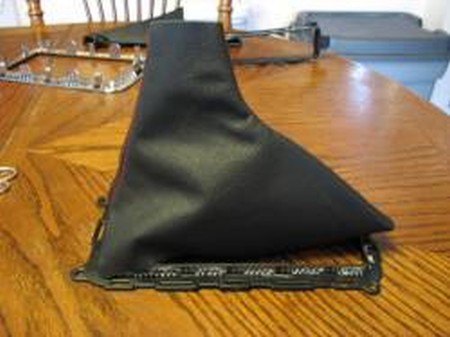
4. Remove the stock hand brake boot by pulling up around the base of the boot and pulling it off of the stock handle.
Begin the installation of the new boot by gluing the boot centered on the "back" of the trim ring (see picture). |
 |
|
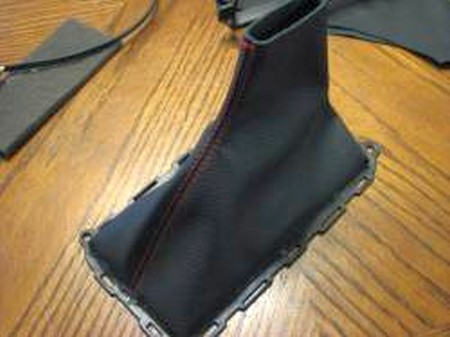
5. Glue the boot to the front of the trim ring, as to leave the sides unglued.
Glue one side entirely to the trim ring, then the other side.
Trim excess as needed.
Reinstall by pulling boot over handle, then pressing ring into slots in console. |
 |
|
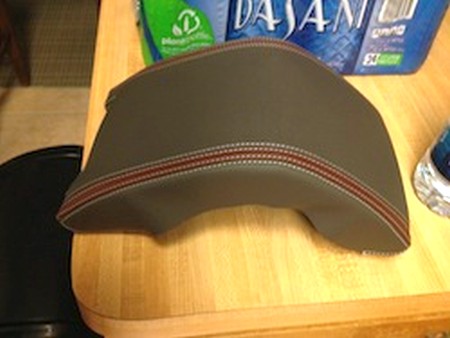
1. Remove the armrest at the hinges. Just undo the screws holding it to the car. To install the leather cover first remove the black plastic piece and the 4 screws on the back side of it. |
 |
|
2. Pull the leather hanging out underneath the plastic cover and secure. |
 |
|
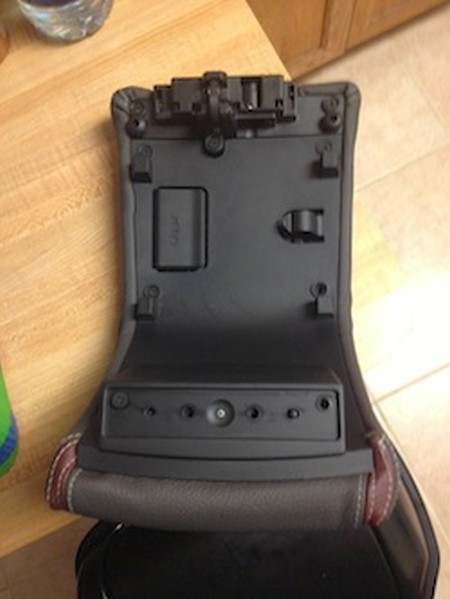
3. Place the plastic cover back on the back of the cover with the leather secured and screw the screws back in. Make sure everything is nice and tight. If you are struggling, glue the armrest padding to the actual armrest, but be aware that this will make it permanent. Without glueing the process is 100% reversible. |
 |
|
4. This picture shows how the back of the cover should look once you have tucked it all in and put the plastic piece back on and screwed it down. Once you have done all this continue to install it in the car doing the reverse of what you did when taking the cover out. |
 |
|
ENJOY YOUR NEW LEATHER BOOTS! |
|
|
Useful tip You have installed a product made out of genuine leather. As you know, to maintain a leather product in good condition, you should take care of it. We suggest occasionally (every 4-6 week for example) applying some leather conditioner/UV protector to keep your leather from drying up in the sun and cracking. |
|
Subscribe to our newsletter to get an instant 20% discount!