1990-97 MAZDA MIATA NA |
||||||||||||||||||||||
|
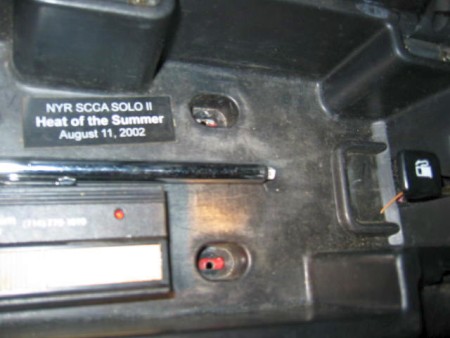
1. Open the storage box at the back of the rear console. Remove the 2 screws from the base. |
 |
|
2. Lift out the ashtray / cupholder, and remove the single recessed screw.
With 2003 and newer Miata, that screw is actually located under the power window switches, which arent so easy to get out. Use a swiss army knife to very gently and carefully (pretty soft plastic, easy to damage) pry out the switch surround and get at that screw. The power window wires make it impossible to actually take OUT the center console, so accessing the boot screws can be a bit harder that in earlier models. |
 |
|
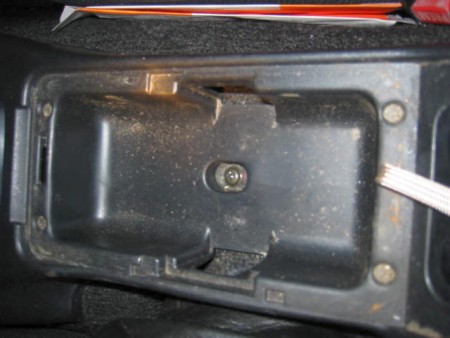
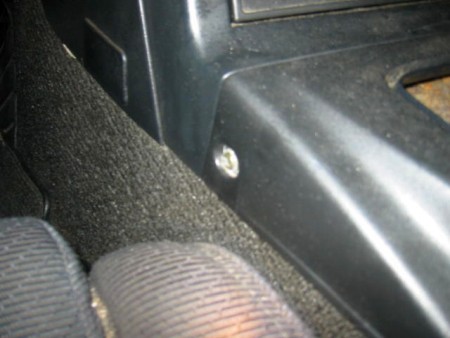
3. Unscrew the shift knob. Remove the 2 screws on each side. The console can now be removed as follows: lift the front, guide the old ratty shifter boot over the end. Once clear in the front, move the entire console forward to disengage the fuel cap/trunk release. The ashtray light connector and the power window switch (if equipped) connectors can be released but it is not necessary in order to install your new leather shifter boot. |
 |
|
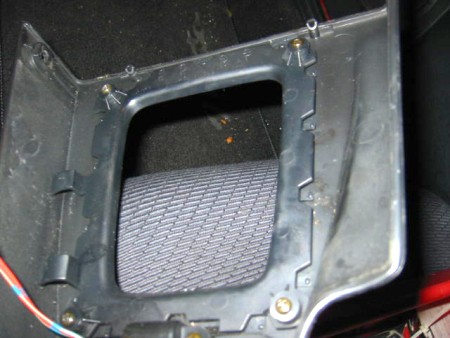
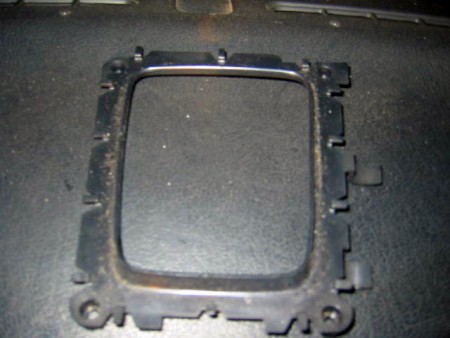
4. Turn the console upside town and remove the front boot holder's 4 screws. This picture shows the holder without the shift boot, you will have your old shift boot in the holder at this time, obviously. ;) |
 |
|
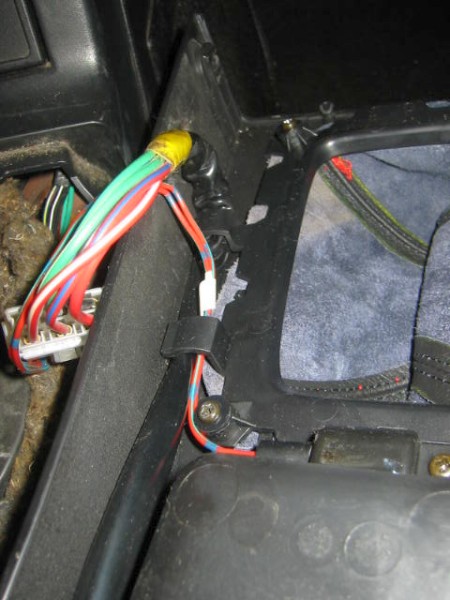
5. Detach the old boot, note the installation method. Also note the wiring harness needs to go under the wiring guide belt into the plastic boot holder. |
 |
|
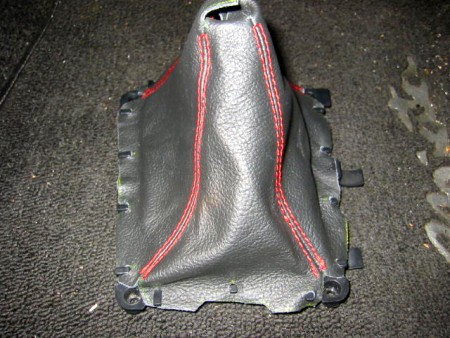
6. Install new boot as shown. PLEASE BEWARE: the boots are cut specifically for your Miata/ MX-5, ie. The front (facing stereo) is cut wider than the rear (facing trunk).
You will need to re-use the top ring from your old boot and either glue it into the new boot, or use a ZIP-tie to mount the flaps of the boot on your shifter shaft. The flaps have been extended more than necessary to allow for more flexibility for your install - please feel free to trim them if you feel like it. |
 |
|
7. Reinstall the boot holder. Make sure your wiring harness is underneath the boot holder before tightening the 4 screws. |
 |
|
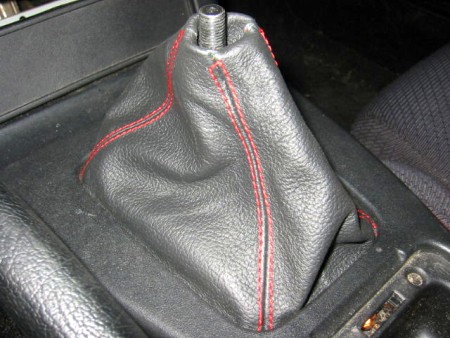
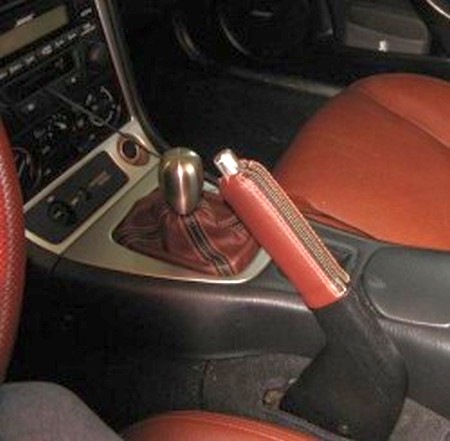
8. Reattach center console. Reinstall shift knob. Adjust the shift boot to 'crinkle' as you desire. |
 |
|
9. Cut off your original e-brake handle cover along the threads. Slide the Redline Goods handle down the plastic handle until it looks like this. Glue the tip down onto the plastic handle. |
 |
|
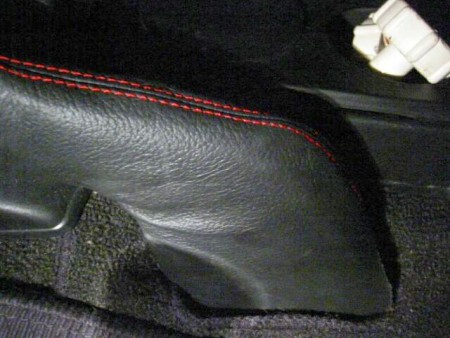
10. Slip fit the e-brake boot over the plastic e-brake cover. Tuck the excess leather into the slot in the carpeting. |
 |
Useful tip
|
|
Subscribe to our newsletter to get an instant 20% discount!