Steering Wheel Cover installation
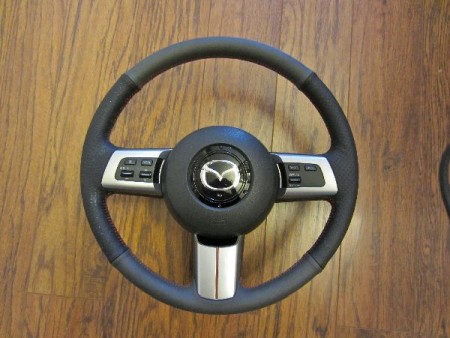
Installation of the steering wheel wraps is quite simple, in fact, although definitely doesn't appear so. But if you follow this write-up you will see that indeed, technically, it is quite simple. Here shown on a 2006+ Mazda Miata, but the same principles apply with minor differences to all vehicles.
Please watch the instructional videos from RedlineGoods if you haven't done so already, which will explain how to lace the new wrap on the steering wheel. Find them here.
SO, LET'S GET TO IT :)
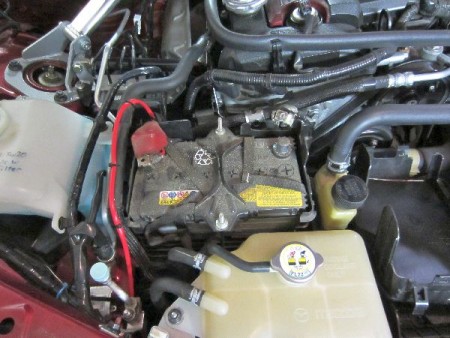
DISCONNECT THE BATTERY BEFORE STARTING! and let it sit for a minute or two so the airbag system powers down completely. Failure to do this could result in the airbag deploying in your face when you remove it!
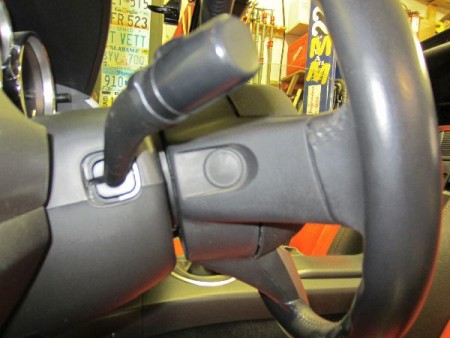
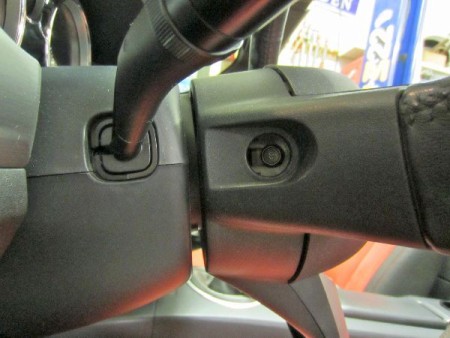
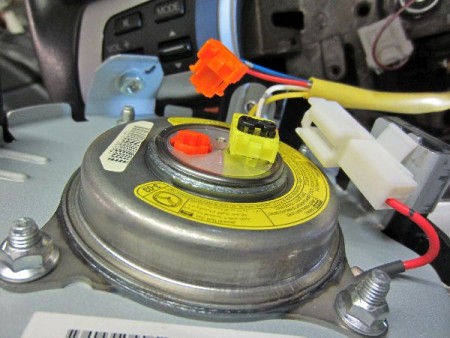
There are two soft rubber plugs, one on either side of the steering wheel, a fingernail pops them out.
Remove the two bolts (one on either side) with a 12mm socket and the airbag will fall right out.
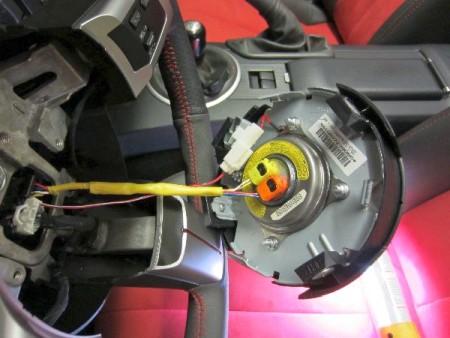
Let the airbag fall out of the way so that you can get to the wires. Be sure to always HOLD THE AIRBAG SO THAT IT FACES AWAY FROM YOU! Once the air bag is loose, disconnect the horn wire and then the airbag wires. Pull the black plastic lock up and out of the plugs. Just pull straight out, there is no secret locking mechanism here. Then unplug the wires. Be sure to always HOLD THE AIRBAG SO THAT IT FACES AWAY FROM YOU!
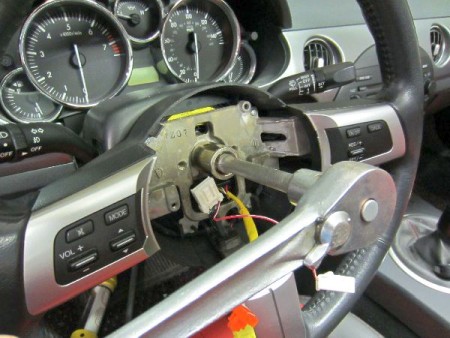
Remove the center nut on the steering wheel. Use your 21 mm socket. This is a lock nut so expect it to be snug as you back it off.
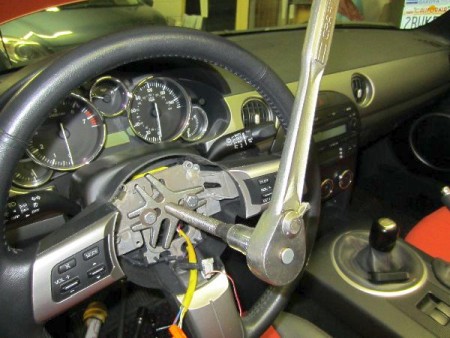
Use a wheel puller to remove the steering wheel. DO NOT push, pull or beat on the wheel to remove it or damage to the steering column could result! The bolts required for the puller are 8mm x 1.25 thread (might vary with other vehicles so always check the spec for your vehicle before proceeding with this step.)
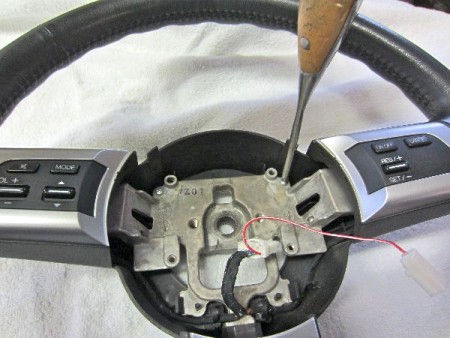
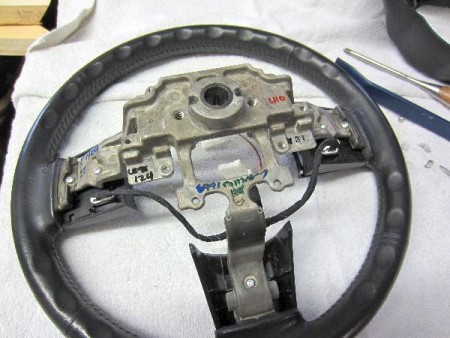
To remove the back cover, start by removing these two screws. Then unclamp the wires from the plastic loops and push the two clips holding the bottom of the cover to the metal steering wheel framework. These clips are just to the left and right of the plastic loops that hold the wires in place. The cover then can simply be pushed off of the steering wheel.
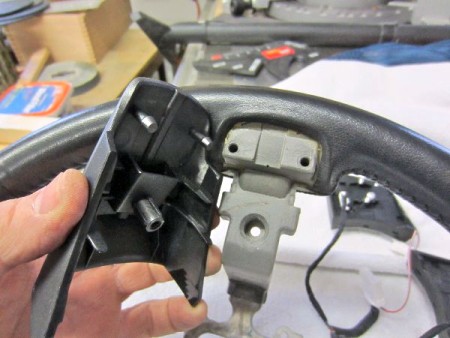
There are two screws in the left & right spokes but only one screw in the bottom spoke. WIth the two screws in the switch plates removed they fall right off.
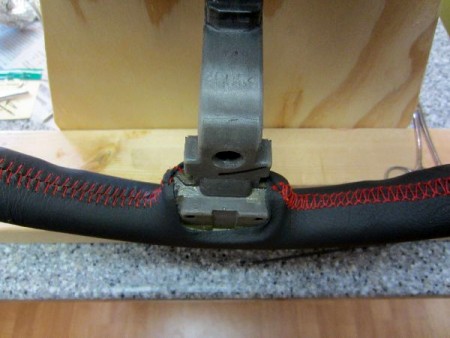
This is the bottom spoke cover, it is different form the left & right covers as this cover has these two pins that fit snuggly in the holes in the soft plastic spoke. This cover pulls straight off once the screw on the backside is out.
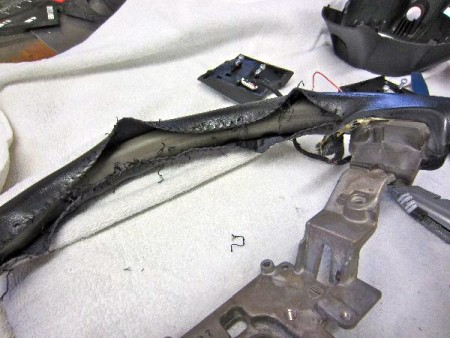
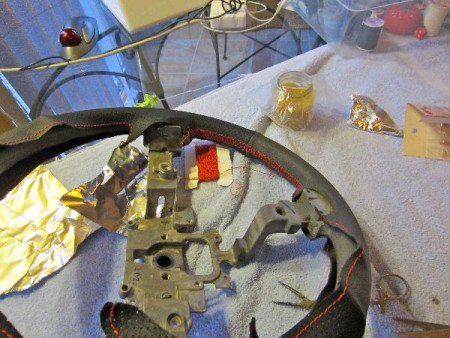
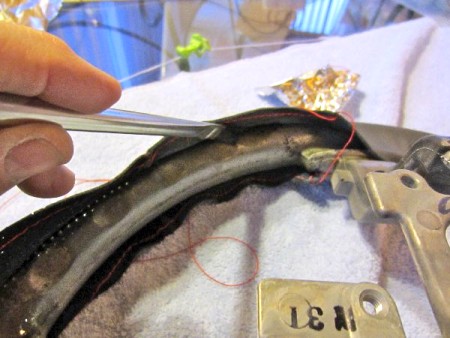
Removing the stitching from the factory cover, this is the point of no return. Use care and you can preserve the factory cover.
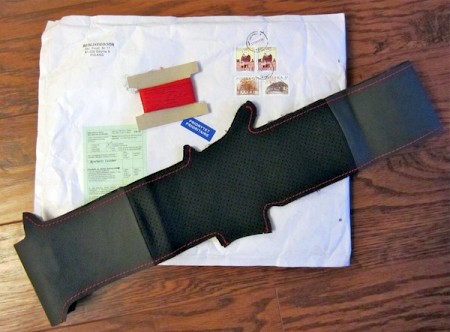
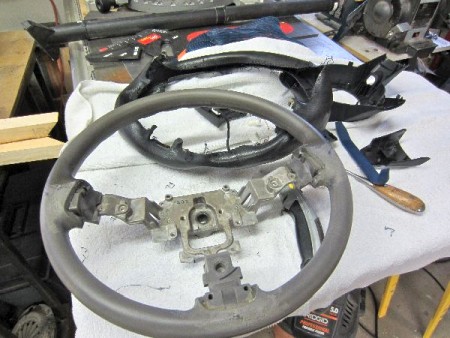
Here's what's left with the factory cover removed.
Partially done, being sure to get the spokes & new cover lined up properly before glueing and stitching. This is the recommended, and pretty easy to do, Redline Goods stitching pattern. This actually worked very well but I later elected to undo the whole thing and used my own pattern.
Gluing the new cover in place. Mazda only used glue around the spokes but I used it all around on the outside rim of the wheel, leaving the inside free to stretch the new cover into place. Do not glue to much of the new cover as it will not be able to stretch tightly, you must allow enough free leather for it to be pulled into place before stitching. Also, if you're using perforated leather do not put so much glue on the wheel and cover that the glue leaks through the holes.
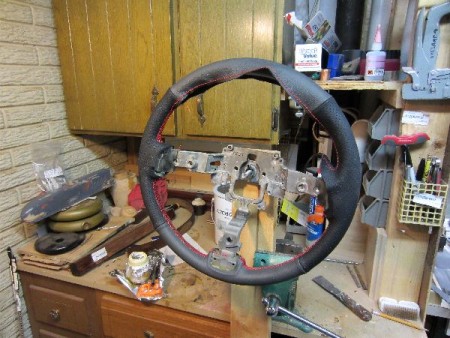
This is the stitching pattern from Redline Goods. This is quick and fairly easy to do but I thought that there was too much red thread. With a darker color thread this would look good.
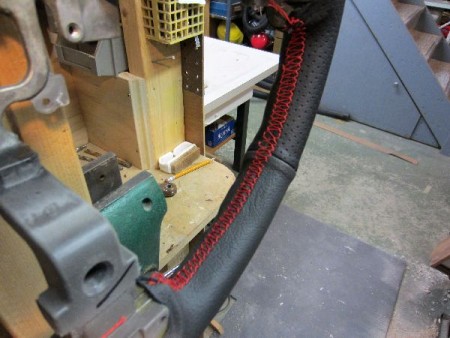
OPTIONAL, but helpful step if you have access to the right tools. To help hold the wheel securely while stitching, I drilled a 1 1/2" hole part way through a 2x4 to hold the steering wheel boss and then clamped it snugly with a bolt & wing nut. I could then clamp this into a vise or onto a table or counter top.
Comparing the two stitch patterns, mine on the left and Redline Goods on the right. You'll find more ideas for patterns on-line if you search You-Tube.
NOTICE! Not all patterns are applicable to Alcantara. Alcantara works different than leather, is less stretchy and more prone to ripping. We do not recommend stitching patterns that involve removing the pre-sewn parallel seams. Only patterns involving lacing the pre-sewn seams should be used on Alcantara steering wheel covers.
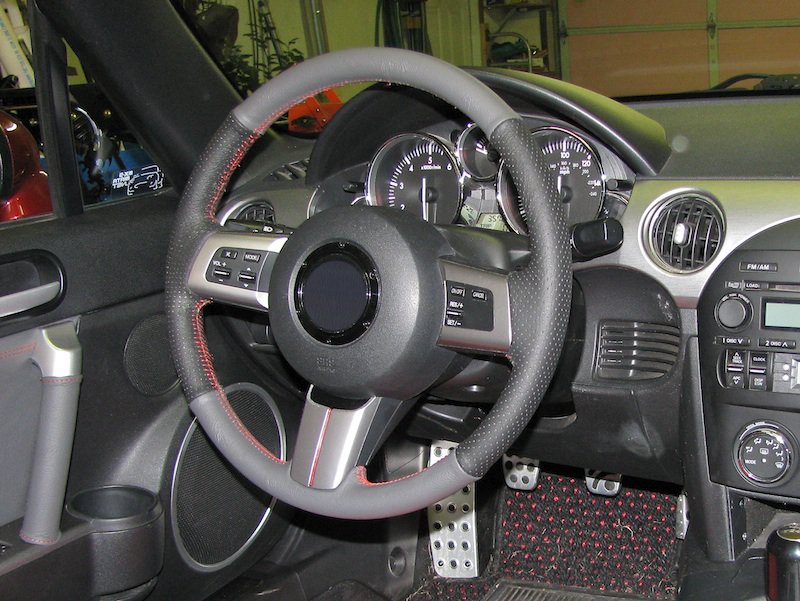
All done but still not in the car. I added a copper-red stripe and a black painted panel to the bottom spoke cover.
Getting ready to put the airbag back into place, the wheel is already bolted back onto the steering shaft (Mazda recommends replacing the lock nut and to torque it to just 29-36 in.lbs.) but note that the negative battery terminal is still not connected. Plug the horn wire back in then the airbag connectors, the airbag connectors are color coded and only fit one way. Then push those black locking plugs into the connectors place the airbag back into the steering wheel hub and reinstall the two bolts (torque to just 69-95 in.lbs - or whatever is the correct rating for your vehicle, please check this beforehand with a service manual).
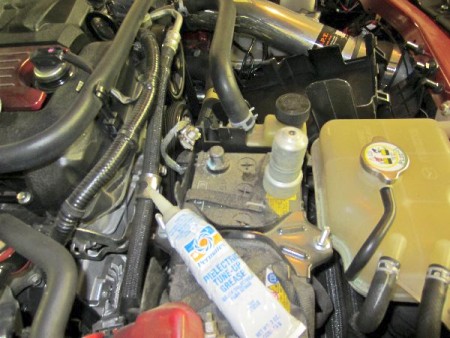
Finally, it's time to reconnect the battery and get the car back into service. First I'll clean that blue corrosion off of the battery terminal and wipe on a bit of dielectric grease to help prevent more corrosion from forming. Both terminals were cleaned and greased.
ENJOY!!!!
Useful tip You have installed a product made out of genuine leather. As you know, to maintain a leather product in good condition, you should take care of it. We suggest occasionally (every 4-6 week for example) applying some leather conditioner/UV protector to keep your leather from drying up in the sun and cracking. |
Please subscribe to our newsletter.
Get an instant 20% discount and enter our montly $100 CASH sweepstakes!