2003-08 MAZDA 6 |
||||||||||||||||||||||||||||||
|
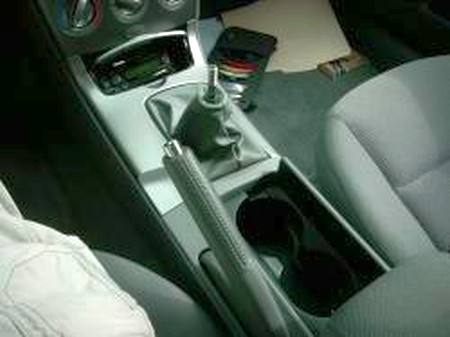
1. Begin by unscrewing and removing the stock shift knob. It unscrews counterclockwise. Set the emergency brake. Open the center console so that the lid is out of the way. |
 |
|
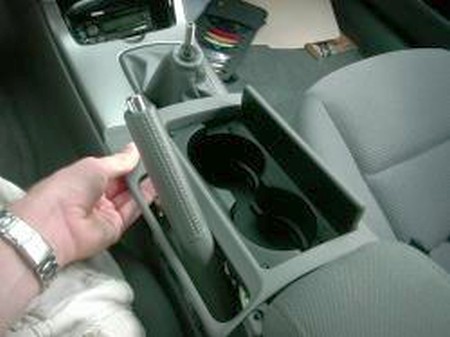
2. Pull up on the cup holder assembly. It should pop straight up. |
 |
|
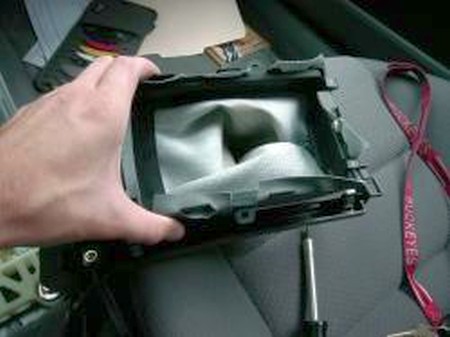
3. Carefully pull up on the silver plastic assembly around the gearshift. It will pop out in the same manner as the cupholders. It is attached to the cupholder assembly by two plastic clips from underneath. Remove these clips.
4. Remove the cupholder assembly completely. Disconnect the electrical connectors behind the ashtray. Remove the silver assembly around the shifter and turn it upside down. |
 |
|
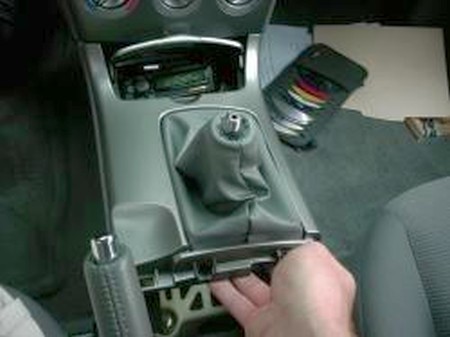
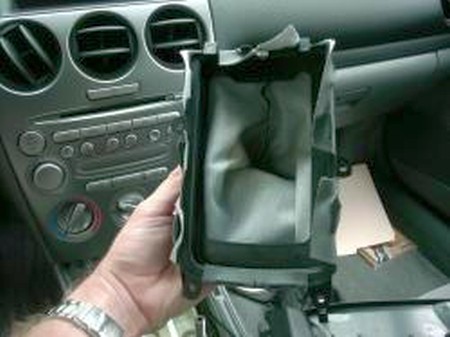
5. You will see 4 screws that hold the shift boot in place. Remove the 4 gold screws. |
 |
|
6. You will see 4 screws that hold the shift boot in place. Remove the 4 gold screws. Remove the stock shift boot and shift boot frame. |
 |
|
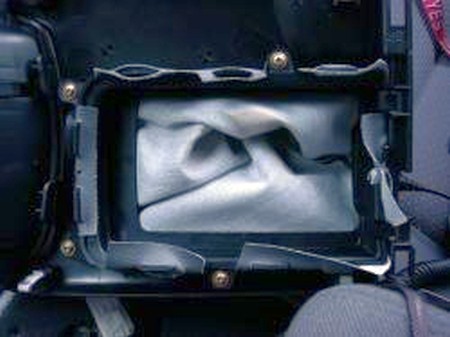
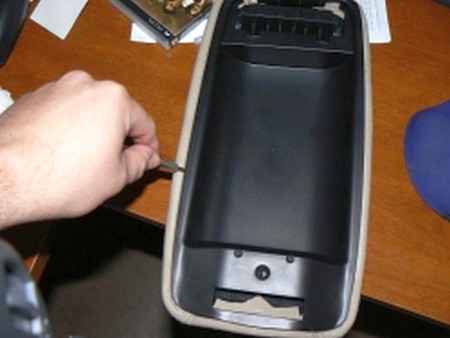
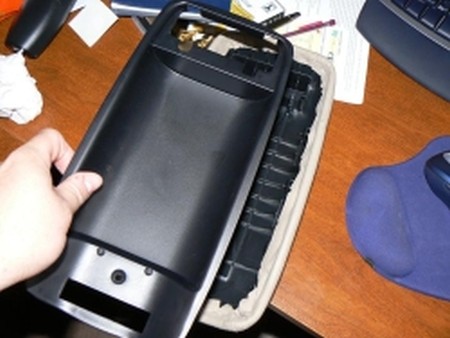
7. Separate the boot from the frame.
8. Take your new boot and hook it onto the frame in the same manner that the stock boot was attached. It should fit perfectly.
9. Place the stock plastic ring off the stock boot on the gearshift rod. You can glue the ring onto the new shift boot if you want to, but it's not necessary. The stock shift knob will hold the plastic ring in place once everything is put back together.
10. Reverse these directions to reassemble the center console.
|
 |
|
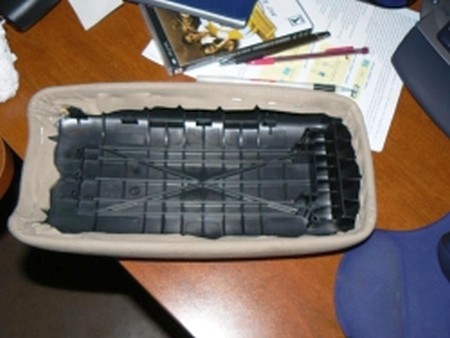
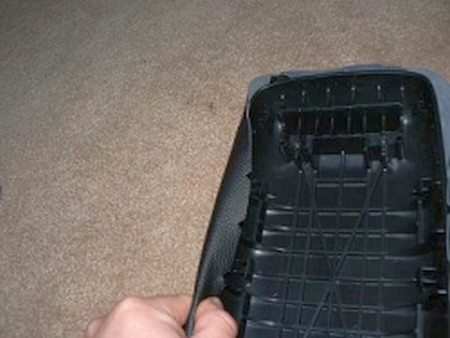
11. Remove 2 lower screws attaching the upper lid to the console. 12. Remove lid 13. Remove single screw holding latch to cover (it will not come out until step 14) 14. Insert long flat tip screwdriver in between the black plastic and cloth cover and pry the plastic piece out. On Japanese models the inner lid is secured with 2 extra screws and won't come off until you remove them.
|
 |
|
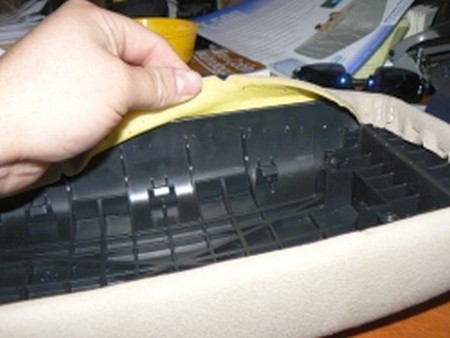
15. Be careful to not break the plastic. It will come just work around the whole thing slowly and carefully. |
 |
|
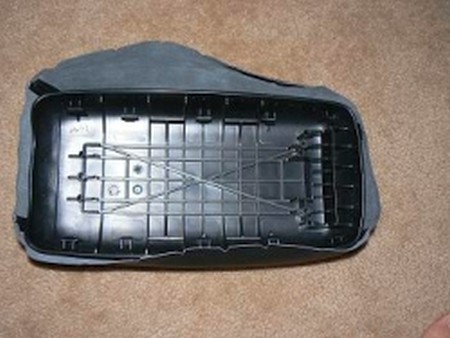
16. Remove inner cover and catch, must remove remaining screw holding catch. |
 |
|
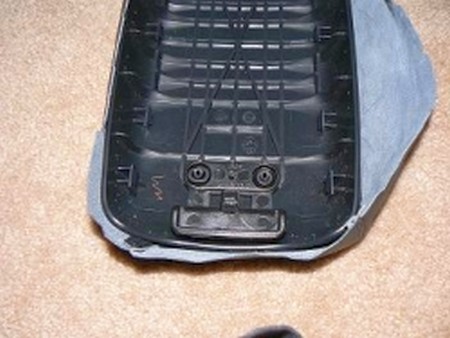
17. Remove cover by removing staples. |
 |
|
18. Once cover is removed, put leather cover over armrest and fold down the sides using either double sided tape or spray adhesive to hold the sides in place. |
 |
|
19. Stretch leather to smooth out all wrinkles and then reinstall the inner cover and catch. |
 |
|
20. Reinstall screw holding catch in place and then two lower screws that hold arm rest to the center console. |
 |
| ENJOY YOUR NEW LEATHER BOOTS! | |
|
Useful tip You have installed a product made out of genuine leather. As you know, to maintain a leather product in good condition, you should take care of it. We suggest occasionally (every 4-6 week for example) applying some leather conditioner/UV protector to keep your leather from drying up in the sun and cracking. |
|
Please subscribe to our newsletter.
Get an instant 20% discount and enter our montly $100 CASH sweepstakes!