2009-13 MAZDA 3 |
||||||||||||||||||||||||||||||||||||
|
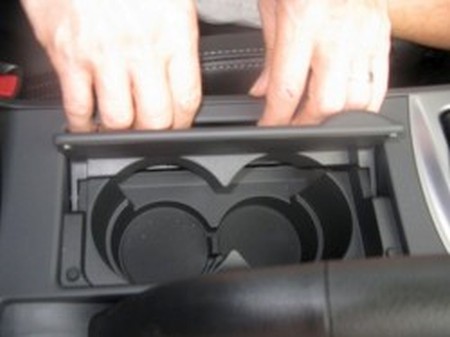
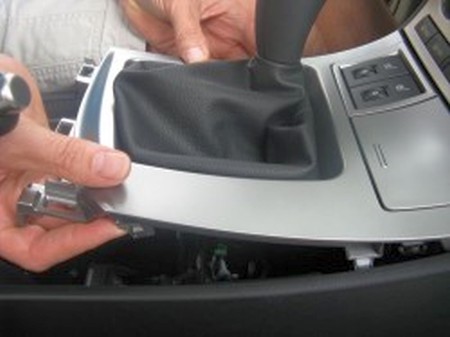
1. Remove shift knob by turning anti-clockwise, set aside. Open cup holder in center console and place fingers on edge along drivers seat. |
 |
|
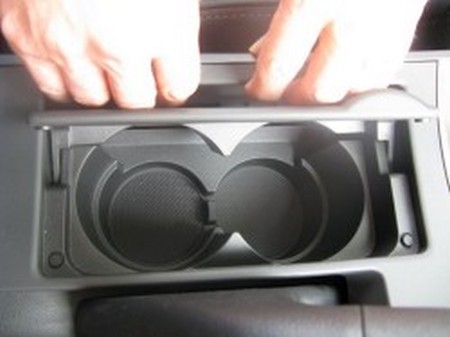
2. Gently pull straight up along drivers side edge. |
 |
|
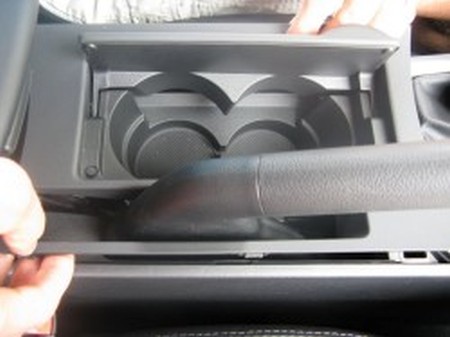
3. After drivers side is loose, gently pull straight up on passenger side edge of cup holder. Remove entire assembly and set aside. |
 |
|
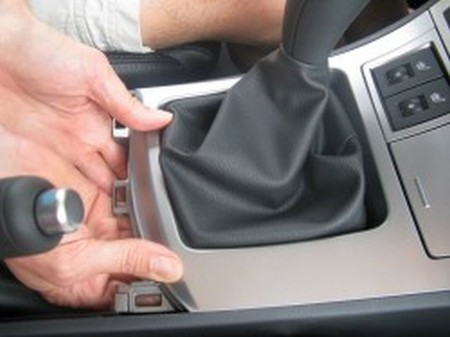
4. Place fingers under rear edge of plastic shift boot surround and gently lift upward loosening clips at rear. |
 |
|
5. After rear clips are loose, move forward and loosen the middle and front clips by gently pulling straight upward. |
 |
|
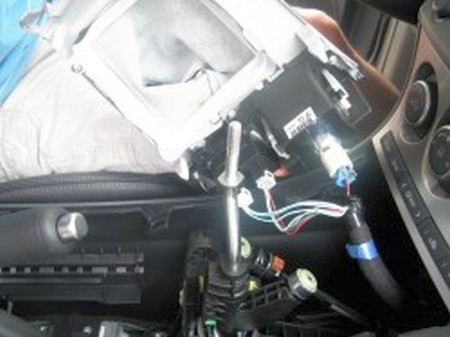
6. Remove entire shift surround and set aside being careful not to scratch any of the plastic surfaces. If necessary, unclip wires attached to seat heaters and accessory socket. |
 |
|
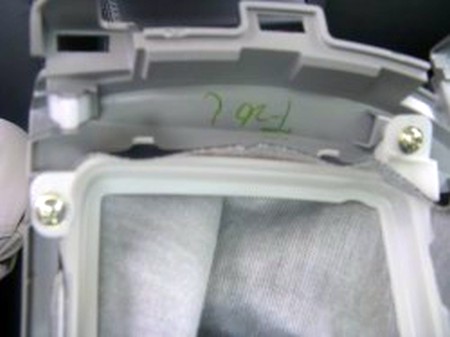
7. On the underside, remove two screws toward rear of shift boor surround and remove plastic retainer. |
 |
|
8. Remove retainer from shift boot surround and then remove shift boot from retainer. Install new shift boot and reinstall in reverse order. |
 |
|
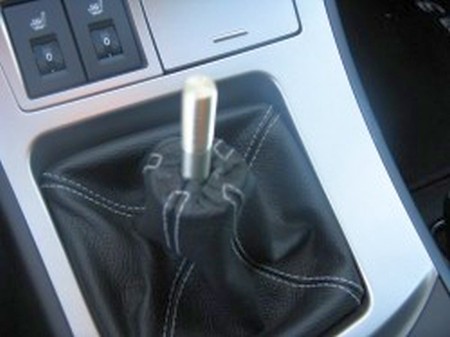
9. Reuse the top trim piece from the old boot and install it on the new one as well. Replace shift knob by screwing into place. |
 |
|
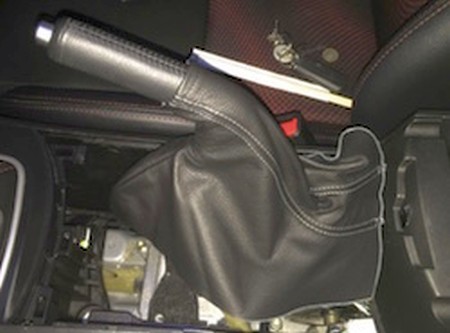
10. Slide the ebrake boot over the ebrake handle. |
 |
|
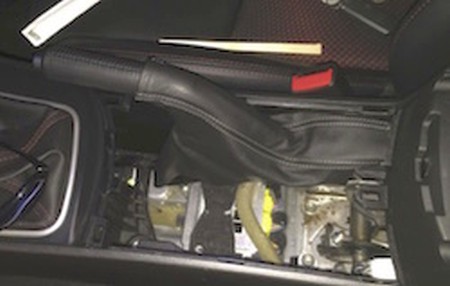
11. Carefully push the leather into place with a blunt object (a chopstick will work well for this task.) Lower the lever back to the disengaged position to help with working the bottom and rear areas into place. |
 |
|
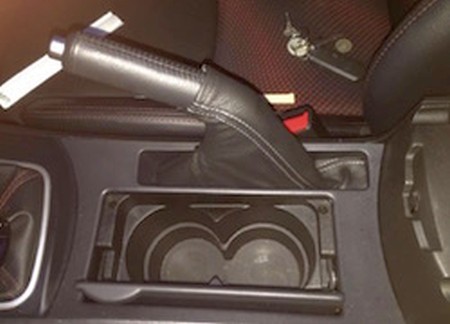
12. Once you are satisfied with the positioning of the eBrake boot, lift the ebrake lever back to its highest level. Reinstall the plastic panel over the ebrake handle and your new boot. You may need to gently pull the opening of the panel apart in order to slip the very top of the boot through the slot. Verify that the ebrake moves smoothly without catching. |
 |
|
INSTALLATION OF THE ARMREST COVER
1. Locate the front of the armrest cover and if applicable, insert the padding inside the cover placing it as far towards the front as possible.
|
|
|
2. Slip the armrest cover over the armrest starting in the front.
|
|
|
3. It is preferrable if you have a friend hold the elastic across the front to take out all the slack out of it while you work your way towards the back.
|
|
|
4. Grab the sides of the armrest at the bottom as you pull back (make sure you grab the bottom of the leather and not the elastic so you don't rip the sewing as you tug on it). As you pull back, the foam padding will slide backwards as well...make sure it does so just enough so that it clears the sliding armrest button and no more.
|
|
|
5. Work your way backwards slowly pushing down on the foam on top to get all the slack out as it will be a very tight fit at the back.
|
|
|
6. Grab one corner in the back pulling from the bottom of the leather and over the corner of the armrest...make sure the elastic is at least below the edge of the armrest.
|
|
|
7. Hold the corner that you just did against the armrest and with the other hand repeat step 6 for the other corner. In 6 & 7, if you encounter any difficulty, make sure you get rid of all the slack there is from the front to the back and try again.
|
|
|
8. Tuck the elastic edges hanging off the back under the armrest for both aesthetic purposes and for the sliding armrest (if applicable) to function properly.
|
|
|
ENJOY YOUR NEW LEATHER BOOTS! |
|
|
Useful tip You have installed a product made out of genuine leather. As you know, to maintain a leather product in good condition, you should take care of it. We suggest occasionally (every 4-6 week for example) applying some leather conditioner/UV protector to keep your leather from drying up in the sun and cracking. |
|
Subscribe to our newsletter to get an instant 20% discount!