2000-04 MITSUBISHI MAGNAVRX |
||||||||||||||||||||
|
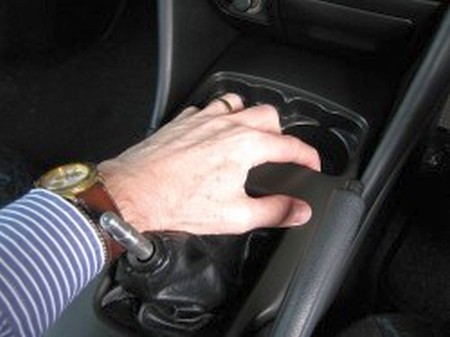
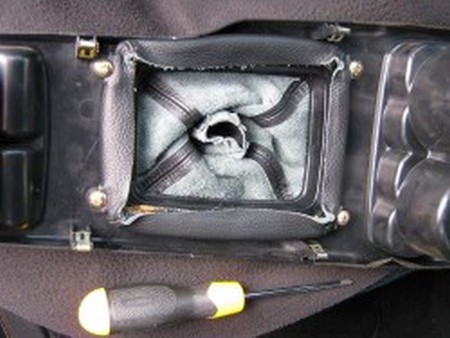
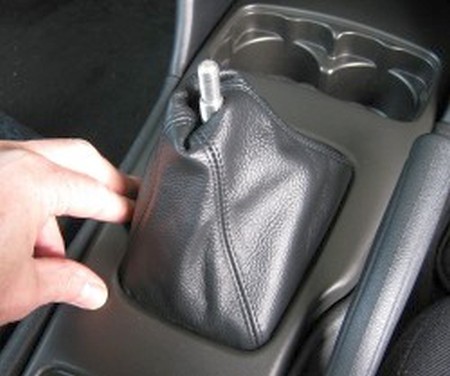
1. Remove the section of console containing the shift boot: Using both hands, pull the console centre section rearwards, and it will unclip from the sides of the console. It can then be easily removed from the vehicle. |
|
|
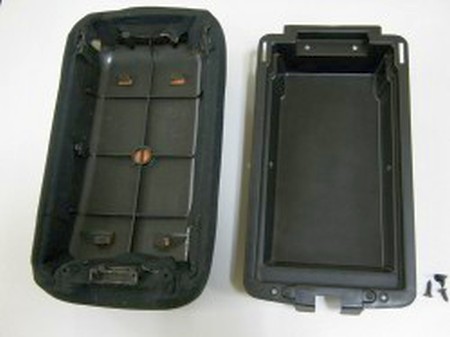
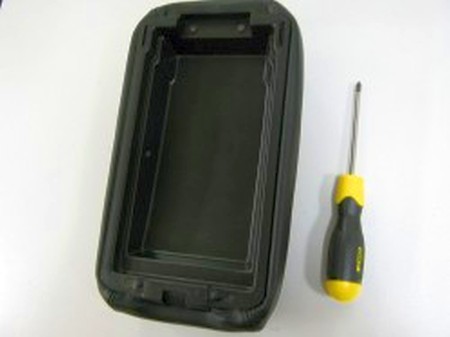
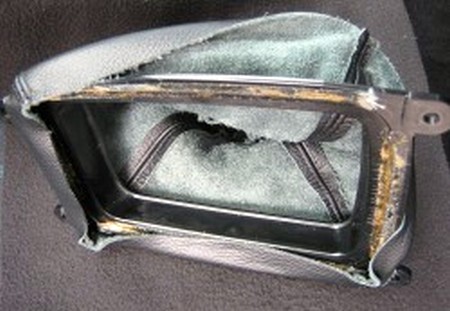
2. Remove the four screws retaining the boot to the underside of the console centre section. Remove the old boot from the moulded boot retainer (the part that was secured by the screws) |
 |
|
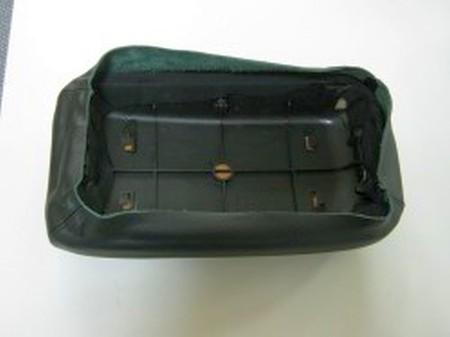
3. Stretch the new leather boot over each of the four screw tabs on the moulded retainer. |
 |
|
4. Refit assembled retainer and leather boot back into console centre section, ensuring the boot is pulled through the square hole in the console adequately. Refit the four screws.
If your preference is to refit the ferrule from the old shift boot, strip it out of the old boot, and refit over gearshift lever. Refitting the ferrule is not necessary.
Refit the console centre section over the gearlever. Position the console section into the console and push down gently on the console centre section either side of the shift boot. The retaining clips will re-engage.
Refit the shift knob. |
 |
|
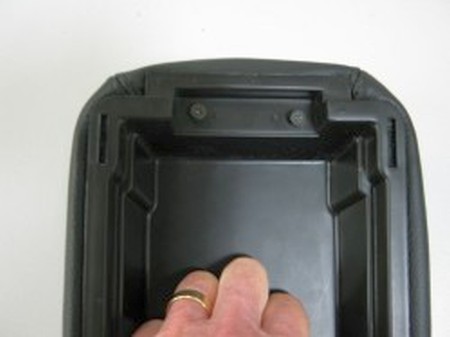
5. Remove the two screws holding the console lid to the hinge |
 |
|
6. Remove the remaining four screws and separate the outer lid section from the inner lid section |
|
|
7. Leaving the existing cover in place, fit the new leather cover over the top of the old cover. Turn outer lid section over and centralize new cover on the outer lid section. |
|
|
7. Fold the edges of the leather cover inwards and refit the inner lid section, ensuring that the leather cover remains snug fitted. Pressing down on the inner lid section to retain the leather cover, refit the two screws at the front end of the console lid and also the two screws on the inner sides of the inner lid section. |
|
|
7. Refit the last two screws (at the rear of the console lid), which attach the console lid to the hinge. |
|
|
CONGRATULATIONS - YOU HAVE SUCCESSFULLY INSTALLED YOUR NEW LEATHER BOOTS!
Useful tip You have installed a product made out of genuine leather. As you know, to maintain a leather product in good condition, you should take care of it. We suggest occasionally (every 4-6 week for example) applying some leather conditioner/UV protector to keep your leather from drying up in the sun and cracking. |
|
Subscribe to our newsletter to get an instant 20% discount!