1991-98 MAZDA MX3 |
||||||||||||||||||||||||||||||||||
|
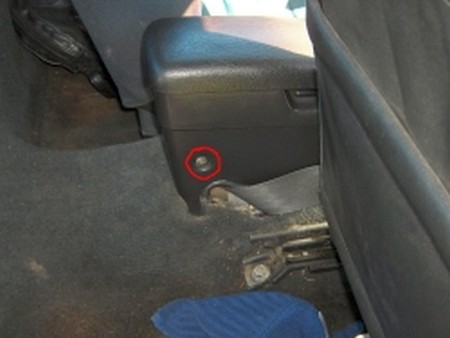
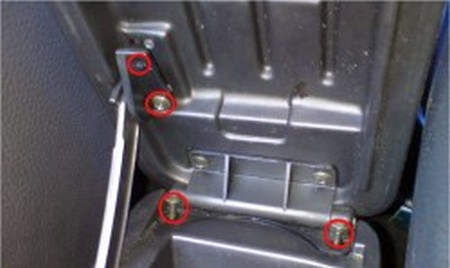
1. Move the passenger seat forward and remove the rear screw from the center bin. |
 |
|
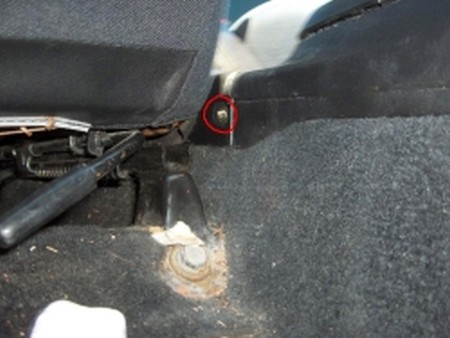
2. Move the seat all the way back, and remove the front screw from the center bin. Be careful not to strip the screw. |
 |
|
3. Repeat steps 1 and 2 on the driver’s side. Make sure the e-brake is in the up position, and then slide the center bin up and off.
4. Pop the snap-fittings off at the front of the center console unit. There should be 2 on each side. Then remove the ash tray and take out the 2 screws behind it. |
 |
|
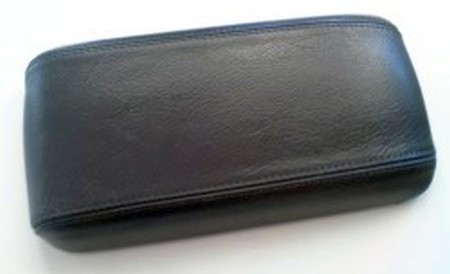
5. Take off the shifter knob – it unscrews, but it could take some force to remove it. Once you have done this, you can remove the center console unit and slide up over the shifter.
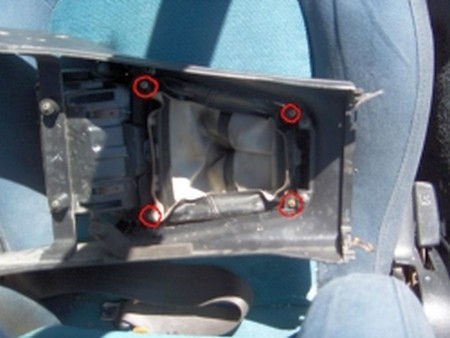
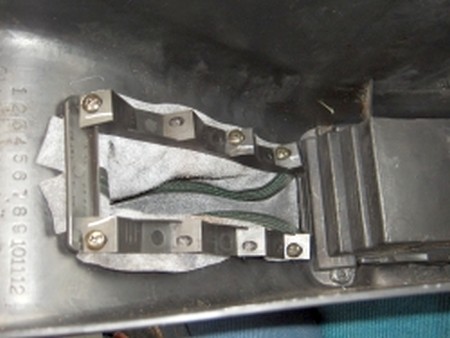
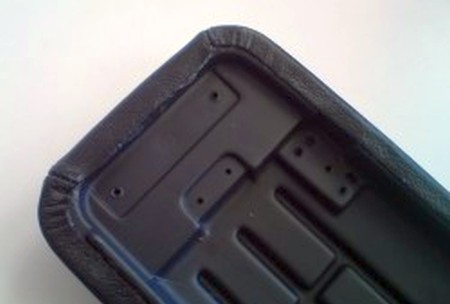
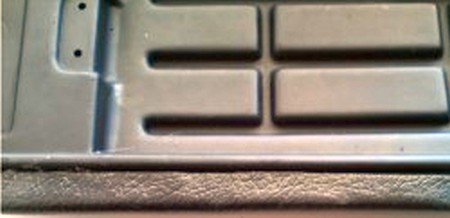
6. Turn the center console unit upside down, and remove the 4 inner screws. This will allow you to take off the shifter boot and the frame holding it on. |
 |
|
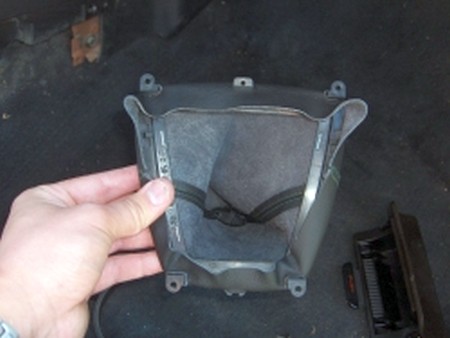
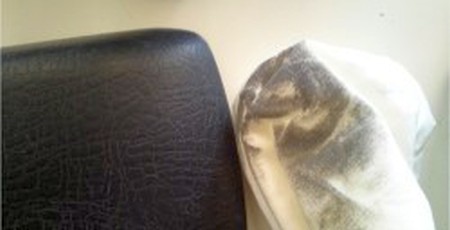
7. Take the stock boot off of the staples (or take the staples out) and slide the boot over the tabs that held the screws, then discard the stock boot. Observe how it fits over the frame.
8. Put the new leather boot over the frame. The longer part with the wider holes goes on the wider part of the frame, the side towards the front of the car. You can secure it with staples like stock, but it isn’t necessary.
9. Now install the frame with the new boot back on the main console unit, then reinstall the center console unit back on the car, sliding the boot over the shifter. Next, put the shift knob back on and slide the boot over the white thing at the bottom of the shifter. |
 |
|
10. Turn the center bin upside down. Unscrew the 5 screws holding on the e-brake boot frame and discard the rubber boot.
11. Test fit the leather boot over the screw holes making sure that it will cover the entire opening. I personally punched holes where I wanted the screws to go and screwed the boot on without the frame to make sure that there was enough slack to operate the e-brake.
12. Once you are satisfied that it is correctly fitted, put the boot over the frame, and then put the screws half-way in to hold the boot in place in the correct position. Next, put the frame with the boot on it in the correct location and screw it in.
13. Slide the e-brake into the new boot, and make sure to slide the boot all the way down. Get the center bin in the correct place, then screw in the remaining 4 screws. |
 |
|
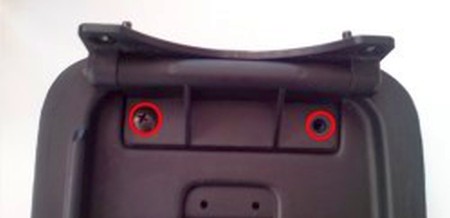
14. Remove the 4 marked screws to take off the lid. |
 |
|
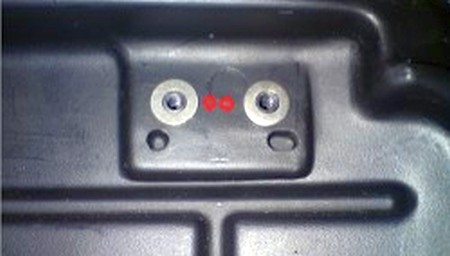
15. Remove the 2 marked screws to remove the hinge. |
 |
|
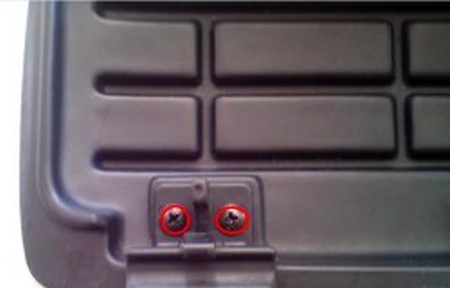
16. To remove the latch remove the 2 marked screws. |
 |
|
17. Clean the lid. Pay extra attention to the bottom areas, where you will later apply glue. |
 |
|
18. Position the leather cover. |
 |
|
19. Glue the cover in place. It's only necessary to use glue on the bottom edge of the cover. |
 |
|
20. The leather can be stretched so it alligns with the edge of the lid. |
 |
|
21. Place som small shims on the lid before installing the latch again. |
 |
|
22. Otherwise the lid will not close properly. Install back into the car. |
 |
|
ENJOY YOUR NEW LEATHER BOOTS! |
|
|
Useful tip You have installed a product made out of genuine leather. As you know, to maintain a leather product in good condition, you should take care of it. We suggest occasionally (every 4-6 week for example) applying some leather conditioner/UV protector to keep your leather from drying up in the sun and cracking. |
|
Please subscribe to our newsletter.
Get an instant 20% discount and enter our montly $100 CASH sweepstakes!