2000-07 TOYOTA MR2 SPYDER |
||||||||||||||||||||||||||||||||
|
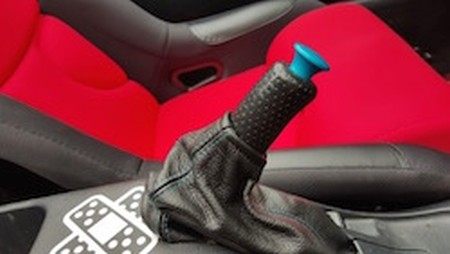
1. Remove your shift knob by simply unscrewing it counter-clockwise with your hand.
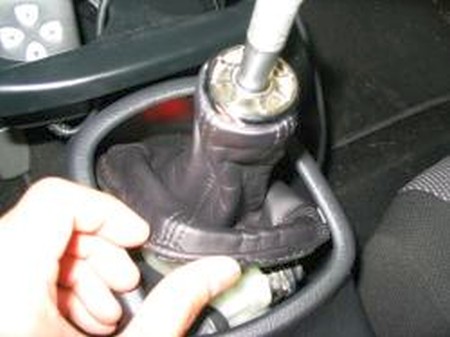
2. Press down on the outer rim of your stock shift boot starting with the front leading edge. It should push right down, you will then be able to slide out the other 3 outer edges from the retaining clips. |
 |
|
3. Remove the wire from the old boot and slide it into the fold at the bottom of the new one. Better yet, take a drycleaner's wire coat hanger, cut it and form it to the same shape the wire from the stock boot has. This way you won't be ruining your stock boot should you ever need it.
4. Remove the top trim piece from the stock boot and mount it to the RedlineGoods.com one. Flip the stock boot inside out and it will become evident on how to do that. :)
|
 |
|
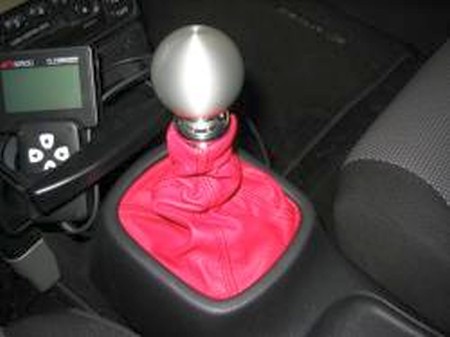
5. Insert the right most edge of your new boot into the two retaining clips and slowly work it in following with the top and bottom sides of the shift boot. Lastly, finish snapping in the left most edge into its retaining clips. Screw your shift knob back on.
CONGRATULATIONS! YOU'RE DONE! |
 |
|
EBRAKE BOOT INSTALLATION |
 |
|
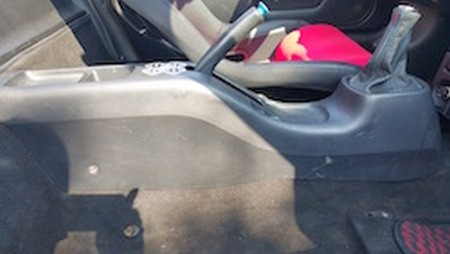
2. Remove 4 screws. There are 2 on each side. You might need to unbolt seat(s) to get to it. Also don’t forget to unscrew your shift knob (not shown). Start lifting it up. |
 |
|
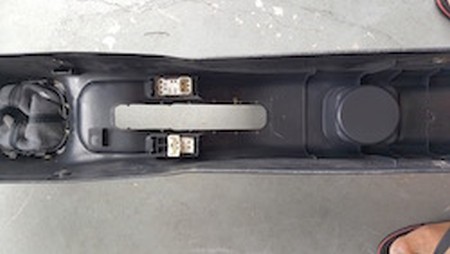
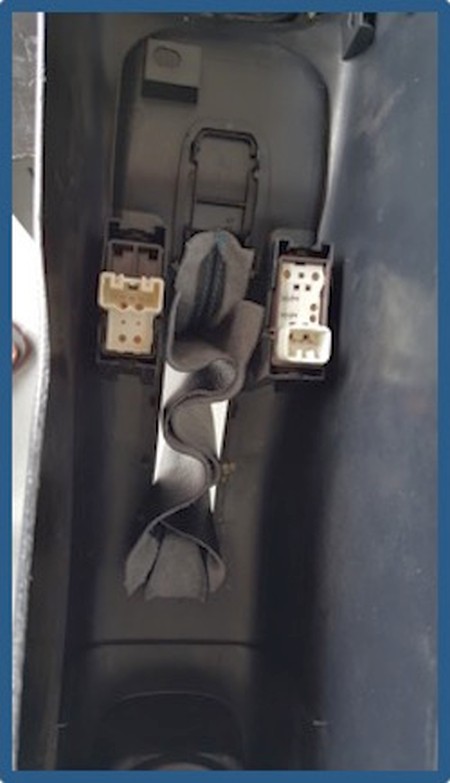
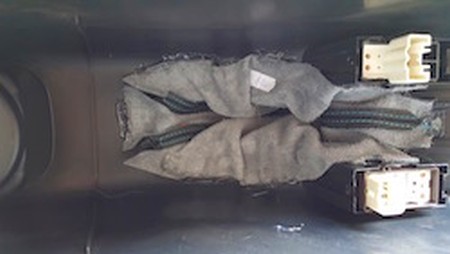
3. Unplug the harnesses for the power windows (red arrows) and remove the inner rubber piece. Some folks leave this in. I opted to rip it out. |
 |
|
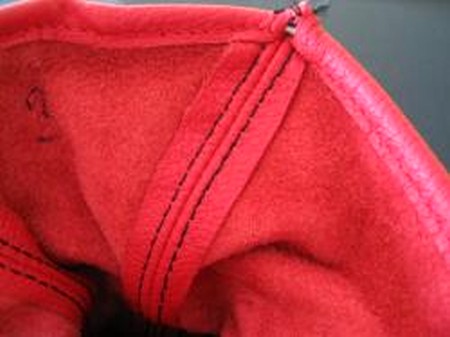
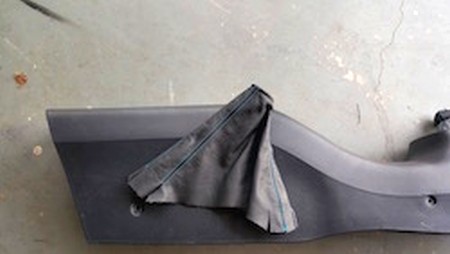
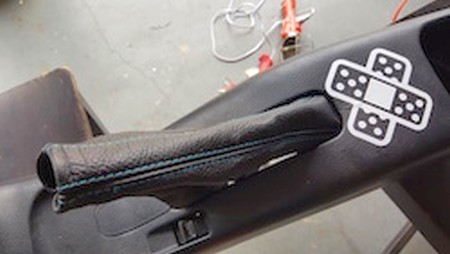
4. Make sure the boot facing the right way. In my case, the double stitching (red arrow) is towards the rear, and single stitch is towards front. |
 |
|
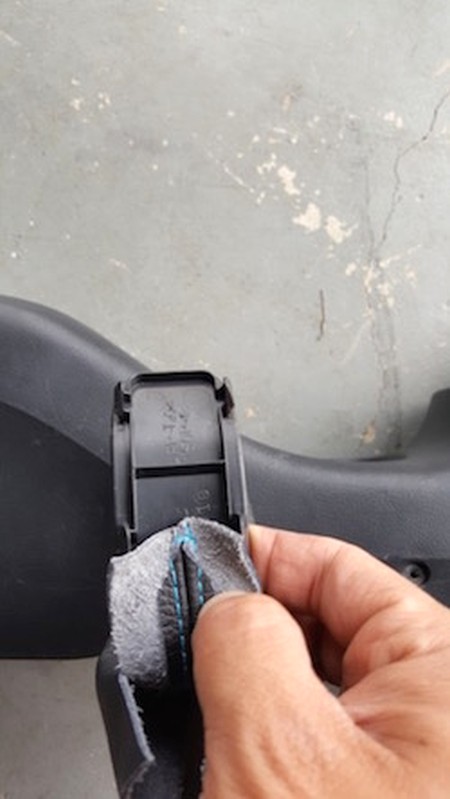
5. Apply some glue between the plastic tab from console & leather from boot. My boot was trimmed already in this fashion, so I simply used that as a guide. |
 |
|
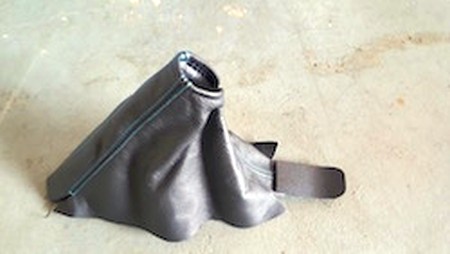
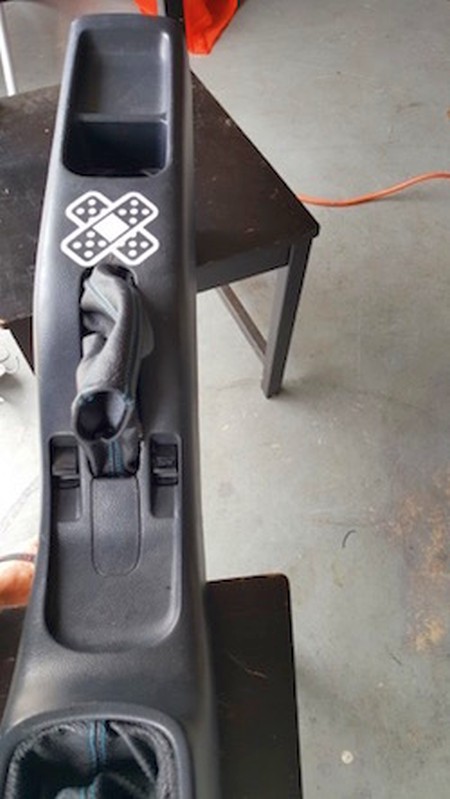
6. As you can see, it would look something like when done. This helps with the fitting. Now snap this piece back in to console. |
 |
|
7. After snapping the plastic back in place (red arrow), you can see that lot’s of gaps exist (yellow arrow). |
 |
|
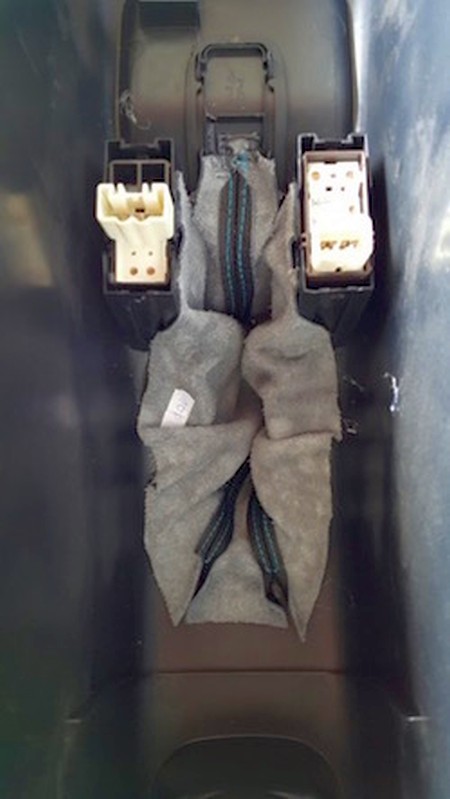
8. Even more so when I flip the console over. Now you need to start gluing inside. |
 |
|
9. Start by gluing the other end first, then glued different points, from side to side. |
 |
|
10. Always make sure to flip the console over after each 'set' of parallel glue points to make sure no gaps exist. |
 |
|
11. I went around all the edges with the leftover glue I had, just in case. I don’t think this is needed if your glue skills are awesome. Mine aren’t. Better safe then sorry. |
 |
|
12. Now you can put the console back and reverse your steps. a) Put console back on w/harnesses plugged b) Screw shift knob back on c) Put the 4 screws back in |
 |
|
|
Subscribe to our newsletter to get an instant 20% discount!